

Did you know that a well-rendered food illustration can trigger the same salivary response as a photograph of the real thing? This powerful connection between art and appetite is the foundation of our project.
I will guide you through creating a stunningly realistic illustration of a decadent chocolate biscuit cake. This is not about baking; it’s about building an image layer by layer. We will use a dynamic mixed-media approach to achieve a truly appetizing result.
Our process begins with watercolor to establish rich, fluid base tones. Then, we employ colored pencils to add intricate texture and sharp detail. This combination allows for incredible depth and realism. You can see the full process in this comprehensive mixed-media tutorial.
The final artwork will showcase a delicious slice, complete with tangerine and berries. This drawing method is accessible to artists at various levels. It focuses on logical steps from concept to finished piece.
Key Takeaways
- Create a realistic dessert illustration using watercolor and colored pencils together.
- Learn to build an image starting with a watercolor underlayer for depth.
- Add fine details and textures with colored pencils for a finished look.
- Follow a structured process from initial sketch to final refinement.
- Develop skills in color harmony and texture rendering specific to food art.
- Understand that no culinary expertise is needed, only artistic techniques.
- Achieve a professional, appetizing result suitable for a portfolio.
Concept and Color Planning for a Delicious Design
https://www.youtube.com/watch?v=p_jqeirC1NA
Successful cake illustrations start with strategic planning of both form and color harmony. This preparatory phase determines your artwork’s visual impact and realism.how-to-draw-baby-yoda
Visualizing the Cake’s Structure and Inspiration
Begin by selecting your dessert’s basic shape. Consider whether a triangular slice, square piece, or rectangular portion best suits your vision. Each form creates distinct compositional opportunities.
Gather inspiration through quality reference photos or browse cake recipe illustrations. Personal memory and imagination offer alternative approaches for unique designs.
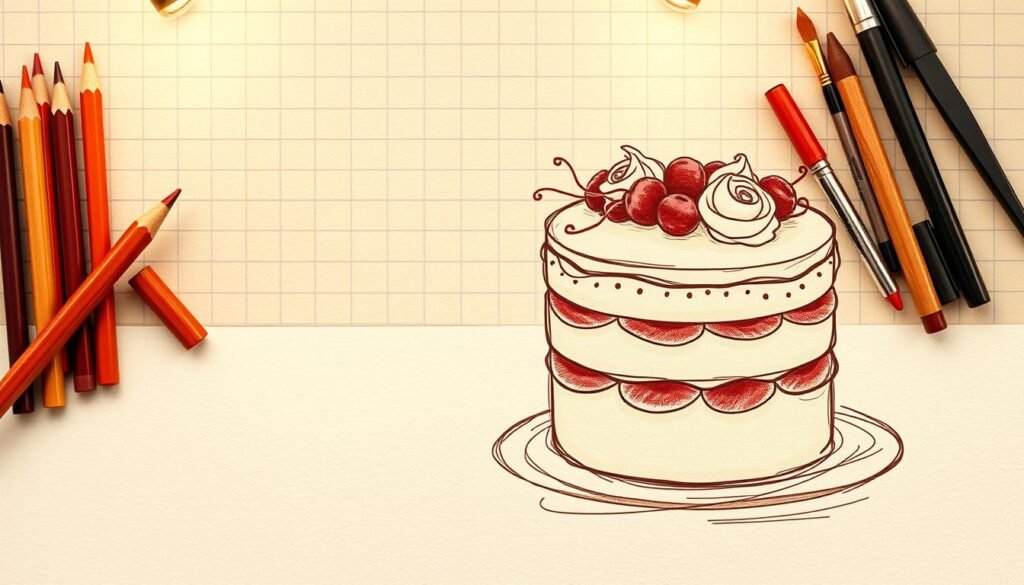
My design features an elongated rectangular cuboid with three biscuit layers separated by cream. Chocolate frosting tops the creation, decorated with blueberries, nuts, and a tangerine slice.
Choosing the Color Palette and Texture Details
Color planning creates depth and visual interest. My palette ranges from light yellow-orange to dark orange with varying saturation levels. The tangerine slice provides the strongest color intensity.
Complementary colors enhance composition. Blue berries create pleasing contrast with orange tones. In shadowed areas, blue shifts toward blue-violet for harmony.
This variety of hues demonstrates how strategic color choices elevate artwork. Planning placement in these terms ensures cohesive results before applying any media.
Essential Materials and Sketching Techniques

Gathering the right tools is the first practical step toward creating your artwork. Quality materials make the process smoother and significantly impact the final result.
I rely on a specific set of supplies for this mixed-media approach. Each item serves a distinct purpose in building the illustration.
Selecting Art Supplies: Graphite, Watercolor, and Colored Pencils
The foundation is an A4 sheet of rough-textured watercolor paper. This surface grips pigment beautifully.how-to-draw-a-wolf
For the initial sketch, use an HB or H graphite pencil. Softer leads leave dark, stubborn lines. A kneaded eraser is perfect for lightening marks without damaging the paper.
The right pencil choice ensures your underdrawing supports, rather than competes with, subsequent color layers.
My watercolor palette is concise, requiring only four White Nights colors. I use round squirrel brushes (sizes 2 and 5) for control and a synthetic brush for splash effects.
The colored pencils are primarily Faber-Castell Polychromos. I make one exception for highlights.
| Tool Type | Brand/Type | Key Purpose |
|---|---|---|
| Paper | A4 Rough Watercolor | Textured base for media adhesion |
| Graphite Pencil | HB or H Hardness | Creating a light, erasable sketch |
| Watercolor Paints | White Nights (4 colors) | Establishing fluid base tones |
| Colored Pencil | Derwent Chinese White | Applying dense, opaque highlights |
Creating the Initial Underdrawing and Basic Shapes
Begin by lightly sketching a slightly elongated cube. This forms the core structure. Let the vertical lines diverge a little to suggest a top-down view.
Define the three biscuit layers and cream sections between them. Keep all graphite marks faint. This drawing method prevents lines from showing through later.
Add the tangerine slice, berries, and nuts on top. Fill empty spaces with chocolate shavings. Use an eraser to soften the borders between layers for a natural look.
This foundational way of working establishes proportion and perspective. It is the crucial first stage described in this comprehensive guide to drawing food. In simple terms, you are building the skeleton of your cake illustration before adding color and life.
Step-by-Step Process: How to Draw a Cake

Our mixed-media process now enters its most dynamic phase as we transition from graphite to vibrant color application. This stage transforms the basic sketch into a dimensional, appetizing illustration.
Applying a Watercolor Underpainting for Depth
I begin by gently softening graphite marks with a kneaded eraser. This prevents pencil lines from showing through subsequent layers.how-to-draw-anime-eyes
Next, I moisten specific areas with clean water before applying paint. This technique allows colors to spread smoothly across the paper surface.
Burnt Umber establishes darker biscuit layers and chocolate elements. Yellow Ochre, heavily diluted, covers cream sections and nuts.
Golden paint brings the tangerine slice to life. Indanthrene Blue defines the berries with careful drying between applications.
Strategic color layering creates the illusion of edible texture before any detail work begins.
Building Texture with Colored Pencils and Stencil Techniques
The colored pencil phase adds intricate detail and realistic texture. I work systematically through a specific color sequence.
Cream colored pencil covers lighter elements first. Burnt Siena unifies all brown areas using small circular motions.
This method creates even coverage on the rough paper surface. Directional lines suggest the porous texture of the dessert.
| Pencil Color | Primary Application | Texture Effect |
|---|---|---|
| Dark Cadmium Yellow | Tangerine refinement | Vibrant citrus surface |
| Mauve | Berries and shadows | Blue-violet harmony |
| Burnt Umber | Porous texture | Dot pattern detail |
| Chinese White | Highlights and burnishing | Unified cream layers |
Raw Umber introduces color variety while Cadmium Orange deepens intensity. The final drawing achieves remarkable realism through this layered approach. For additional mixed-media techniques, explore this comprehensive tutorial.
Conclusion
This project’s completion brings a powerful, tangible result. I now feel a genuine craving for a slice of that decadent chocolate biscuit cake. This sensory response is the ultimate indicator of a successful food illustration.
The journey from a simple sketch to a textured, vibrant artwork demonstrates the power of a logical, mixed-media process. We built the image systematically, starting with watercolor washes and finishing with detailed colored pencil work.
These techniques are a fantastic foundation for any food illustration. I encourage you to apply them to your own projects. Experiment with different desserts and color palettes to discover your unique style.
Share your creations and continue honing your skills. For further guidance, this comprehensive mixed-media tutorial offers deeper insights. The ability to make a drawn cake look delicious is a rewarding artistic achievement.how-to-draw-a-shark


