

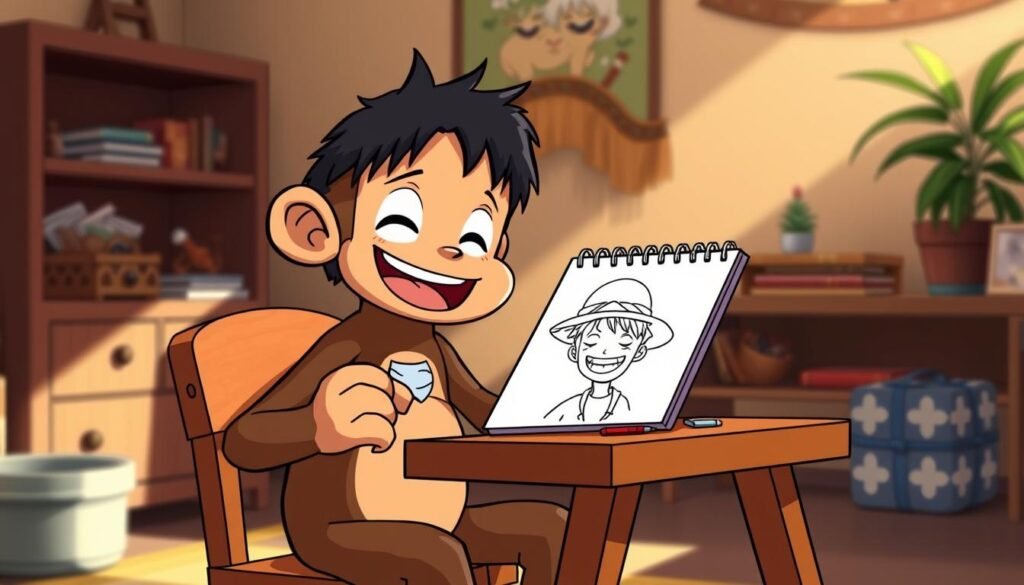
Monkey D. Luffy, the captain of the Straw Hat Pirates, is one of the most iconic figures in the world of anime. His image is recognized by millions of fans globally, making him a fantastic subject for artists.
I am thrilled to guide you through the process of creating your own artwork of this beloved One Piece protagonist. Capturing his signature straw hat and determined grin is a rewarding artistic challenge.
This comprehensive drawing tutorial is designed for all skill levels. I will walk you through each stage, from basic shapes to final details. You will learn the fundamental techniques needed to bring Monkey Luffy to life on the page.how-to-draw-a-unicorn
My goal is to make this experience both educational and enjoyable. By the end, you will have a solid understanding of character construction and the distinctive features that make this character so memorable.
Key Takeaways
- Grasp the fundamental shapes that form the basis of Monkey Luffy’s anatomy.
- Learn to accurately capture his famous facial expression and straw hat.
- Understand the step-by-step process from a simple sketch to a finished drawing.
- Develop skills that can be applied to illustrating other anime characters.
- Gain confidence in your artistic abilities through clear, structured guidance.
Introduction and Setup for Drawing Luffy
Before putting pencil to paper, understanding the character’s core design elements is crucial for an authentic representation. Proper preparation sets the foundation for a successful artistic endeavor.
Overview of Luffy and the One Piece Universe
Monkey Luffy embodies the adventurous spirit of the anime One Piece universe. His distinctive features make him instantly recognizable to fans worldwide.
The character’s design includes signature elements that define his personality. These include the iconic straw hat, facial scar, and energetic expression.how-to-draw-a-turtle
Capturing his cheerful determination requires studying these key features. Reference images help understand how these elements work together.
Gathering Materials and Preparing Your Workspace
Quality materials make the drawing process smoother. I recommend starting with basic sketching tools for your initial work.
Essential items include HB and 2B pencils, clean paper or a sketchbook page, and a good eraser. These tools allow for easy adjustments during the early sketch phase.
| Essential Materials | Optional Enhancements | Workspace Setup |
|---|---|---|
| HB & 2B Pencils | Colored Pencils | Well-Lit Area |
| Drawing Paper | Markers | Comfortable Seating |
| Quality Eraser | Blending Tools | Reference Images |
Proper preparation prevents poor performance in artistic endeavors. Setting up your workspace thoughtfully makes the creative process more enjoyable.
Having multiple reference images of Monkey Luffy helps study proportions and expressions. A comfortable, organized space supports focused creative work.
This preparation phase ensures your final artwork captures the essence of this beloved character from the One Piece series.
How to Draw Luffy: Step-by-Step Process

Capturing Luffy’s energetic spirit starts with a light pencil sketch that maps out his proportions. I follow a clear sequence of steps to build his form accurately. These instructions make the entire drawing process straightforward.
Starting with a Pencil Sketch and Basic Shapes
I always begin by placing a large circle in the middle of the page. This shape forms the top of the head. Using light strokes is crucial for this initial guide.
Next, I add a curved line below for the jaw. This creates the foundation for the face. Proper proportions are established right from this first stage.
Drawing Facial Features and Construction Lines
Guiding lines are essential for placing features. I draw two intersecting lines over the head circle. They help position the eyes and other elements symmetrically.
Creating Luffy eyes involves making two round shapes on the horizontal guide. I pay close attention to their size and placement. This ensures his expression is captured correctly from the start.
Adding Details: Hair, Straw Hat, and Expression
The final step brings the character to life. I carefully add his spiky hair and iconic hat. Following these instructions ensures every detail is accurate.
His wide smile and determined look complete the portrait. This is the most rewarding part of the process to draw Monkey Luffy.
Tips, Tricks, and Common Pitfalls

The journey from beginner sketches to polished artwork involves overcoming predictable obstacles through targeted practice. I’ve identified key strategies that accelerate improvement while avoiding frequent mistakes.how-to-draw-a-house
Learning from Video Tutorials and Practice Sessions
I strongly recommend supplementing written guides with visual video tutorials. Watching an artist work in real-time reveals subtle techniques that text cannot capture. These resources let you pause and replay complex steps.
When I learn draw techniques, I often revisit the same tutorial multiple times. This repetition builds muscle memory for character proportions. Consistent practice sessions are essential for mastering any anime one character.
Using Construction Lines and Adjusting Proportions
Many beginners rush the construction phase, but these guides are crucial. Light initial strokes allow easy adjustments as you refine your work. I always evaluate these foundational lines before adding details.
When you draw two eyes or other symmetrical features, construction lines ensure proper alignment. Stepping back periodically provides fresh perspective on proportion issues. This approach helps you draw monkey characters accurately.
Patience during the learning process pays significant dividends. For more advanced pencil art techniques, consistent practice remains the most reliable path to improvement.
Conclusion
The completion of your Monkey Luffy artwork marks an important milestone in your artistic development. This drawing tutorial has equipped you with fundamental techniques for capturing characters from the One Piece universe.
You now understand proper placement of facial features, with the eyes positioned correctly in the middle and top portions. These skills transfer to other anime characters beautifully. Consistent practice remains the key to improvement.
I encourage you to explore additional resources like this comprehensive Monkey Luffy tutorial for further guidance. Each session on your sketchbook page builds confidence and refines your ability to draw monkey characters authentically.
Your journey with the One Piece captain has just begun. Keep creating and developing your unique artistic voice!


