

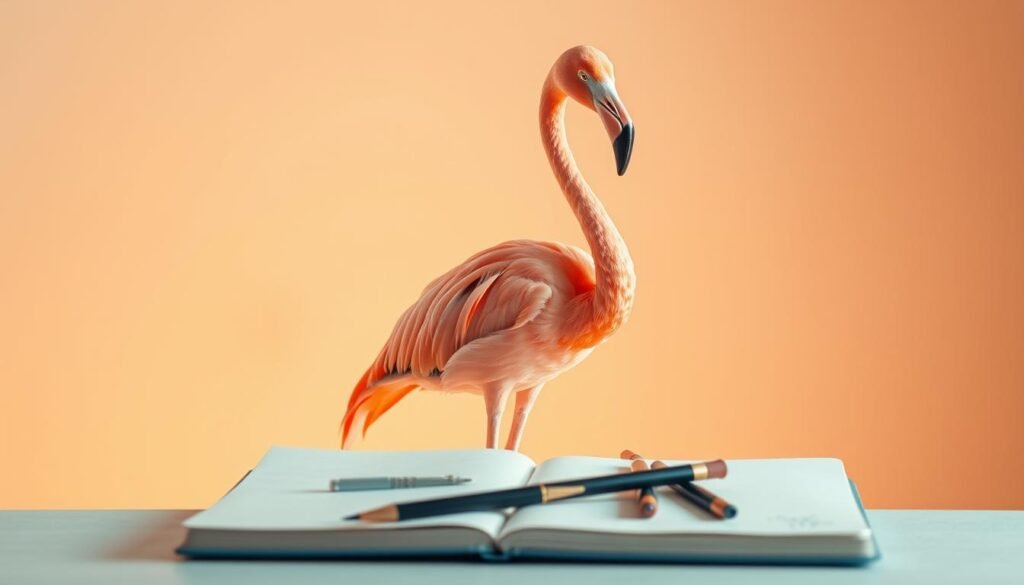
Did you know a single flamboyance of flamingos can contain over ten thousand birds? This stunning visual spectacle showcases their incredible social nature. Capturing the essence of such a magnificent creature on paper is a rewarding artistic challenge.
I have crafted this comprehensive tutorial to guide you through creating a beautiful representation of this iconic bird. My approach is perfect for artists of all skill levels. Flamingos make captivating subjects with their distinctive pink feathers and elegant, curved necks.
I break down their unique anatomy into simple, manageable steps. This method helps you understand the proportions that give flamingos their characteristic grace. You can find additional inspiration and guidance on detailed techniques at Emily Drawing and Art in Context.
Key Takeaways
- This guide is designed for artists at any experience level.
- Flamingos are excellent subjects due to their unique shape and color.
- The tutorial simplifies complex anatomy into easy-to-follow steps.
- You will learn professional techniques for capturing grace and form.
- The skills you gain are transferable to drawing other birds and animals.
- Understanding the flamingo’s distinct features builds artistic confidence.
Introduction and Essential Materials for Drawing
The graceful silhouette of a flamingo presents a fascinating challenge for artists due to its distinctive proportions. Proper preparation ensures your creative process flows smoothly from start to finish.
My Personal Drawing Setup and Tools
I rely on a minimal yet effective toolkit for capturing these elegant birds. Quality materials make a significant difference in achieving professional results.
My essential drawing kit includes several key components. Each tool serves a specific purpose in creating accurate representations.
| Tool Type | Specific Item | Primary Purpose |
|---|---|---|
| Drawing Surface | Medium-weight drawing paper | Provides tooth for pencil work |
| Sketching | HB and 2B pencils | Initial outlines and shading |
| Refining | Kneaded eraser | Lifting graphite without damage |
| Measuring | 12-inch ruler | Ensuring proper proportions |
Understanding Flamingo Anatomy and Proportions
These large birds feature unique physical characteristics that define their appearance. Their compact body contrasts dramatically with elongated neck and legs.
I emphasize maintaining proper scale between the head, neck, body, and legs. Flamingos can reach heights of five feet, making proportion critical.
The gracefully curved neck creates an elegant S-shape that characterizes these birds. Their stick-like legs feature backward-bending joints that are actually ankles.
Understanding that flamingos develop pink feathers as they mature helps artists capture their distinctive coloring. This knowledge informs realistic representations.
how to draw a flamingo: Step-by-Step Drawing Process

With the main form established, it’s time to add the signature long legs and final features. This phase transforms your sketch into a recognizable bird.
Sketching the Body, Neck, and Head
I begin this stage by ensuring the primary shapes are correct. The body should be a compact oval, connected to the long, curved neck.
The head is small and sits gracefully at the end of the neck. Getting these proportions right is the most important step.
Detailing the Beak, Eye, and Wings
Next, I define the distinctive downward-curving beak and a simple dot for the eye. The wings are suggested with soft, flowing lines along the body‘s side.
These details give the illustration personality without overwhelming the initial sketch.
Adding Legs, Tail, and Final Touches
The final step brings the flamingo to life. I create two attachment points under the body for the legs.
For the front leg, I draw two straight lines down. I add a small circle for the joint. The back leg is bent, shaped like a wide “V”.
I finish the tail with short, pointed feathers. A final pass to clean up lines completes your tail-end masterpiece.
Personal Tips and Advanced Techniques for a Realistic Flamingo

The final stage of your artwork involves refining the initial sketch and introducing vibrant color. This phase elevates your work from a simple outline to a lifelike representation.
My approach focuses on two critical areas: perfecting the form and applying color with depth.
Refining Lines and Correcting Shapes
I carefully go over my pencil lines, erasing any unnecessary construction marks. This cleanup creates a clean foundation for coloring.
I check the proportions one last time, ensuring the neck’s curve and leg angles look natural. A precise outline is essential for a believable final bird.
Incorporating Color and Shading for Depth
I recommend colored pencils or watercolors for adding color to your flamingo. These mediums offer excellent control for blending shades.
The iconic pink feathers require a layered approach. I start with a light peach base, building up to richer coral tones.
Shading adds dimension. I identify my light source and darken areas like the neck’s curve and under the wing. This technique makes the form pop.
Flamingos get their pink hue from their diet of shrimp and algae. This fact inspires my color choices for a natural look.
For a complete scene, a subtle blue wash suggests water. This makes the pink feathers stand out beautifully.
Final white highlights on the beak and eye give the drawing a polished, three-dimensional finish. This post-coloring step is a game-changer.
Conclusion
Capturing the distinctive silhouette of these tropical birds requires patience and practice, but the results are truly rewarding. This tutorial has guided you through creating your own beautiful representation of an iconic species.
The techniques covered in this post help artists at any level approach complex subjects with confidence. Breaking down the bird‘s anatomy into manageable steps makes the process accessible.
Remember my key tip about starting with light lines. This approach works for any subject, not just flamingos. The skills you develop here will help you learn draw other species with similar grace.
I encourage continued practice with different poses and angles. For additional guidance on capturing those distinctive pink feathers, explore this comprehensive flamingo drawing resource.
Your artistic journey with these elegant creatures has just begun. Each drawing builds your skills and confidence for future creative challenges.


