

Goats possess a unique anatomy that artists have studied for centuries. Their expressive faces and dynamic forms offer a rewarding challenge for any creative individual. I find these creatures to be a perfect subject for developing artistic skills.
This guide will walk you through a comprehensive process for creating a realistic illustration. We will start with basic shapes and build up to intricate details. My method simplifies the complex structure of a goat into clear, manageable stages.
This approach is designed for artists at various skill levels. Whether you are new to sketching animals or looking to refine your technique, you will find value here. Learning to capture these animals deepens your appreciation for their form and character. For additional guidance on animal illustration techniques, you can explore further resources.
By the end of this tutorial, you will have the confidence to create your own charming goat artwork. Let’s begin this artistic journey together.
Key Takeaways
- Goats are excellent subjects for artists due to their distinctive features and expressive nature.
- The drawing process is broken down into simple, manageable steps suitable for all skill levels.
- Starting with basic shapes is the foundation for an accurate and proportional illustration.
- Adding texture and details, like fur and horns, brings the artwork to life.
- This tutorial aims to build both technical skill and a greater appreciation for animal anatomy.
- The final result will be a charming and realistic representation of a goat.
Introduction and Materials
Before your pencil touches the paper, gathering your materials sets the stage for a smooth creative process. This stage is crucial for artists of all levels, especially when guiding kids through their first animal tutorials.how-to-draw-a-nose-easy
Having the right resources on hand transforms the experience from frustrating to fun.
Essential Tools and Printable Resources
You only need a few basic items to begin. A reliable pencil, some paper, and an eraser are the core essentials. I often suggest a black marker for final outlines, but it is optional.
The real game-changer is a printable drawing guide. This visual reference breaks the project into clear steps. It is incredibly helpful for beginners and perfect for keeping kids engaged and confident.
For educators, having multiple copies of this printable drawing guide allows each student to work independently.how-to-draw-a-rose-easy-step
My Personal Preparation for Drawing a Goat
My routine starts with a well-lit, comfortable workspace. I organize my favorite pencil and other tools within easy reach. I always review the steps once before starting.
This preparation makes the session enjoyable and successful. For those interested in other mediums, exploring pen and ink techniques can add another dimension to your artwork.
Understanding Goat Anatomy and Basic Shapes

Successful animal illustration depends on breaking down complex forms into simple, manageable components. I start every project by analyzing the fundamental structure before adding details.
This approach makes the process less intimidating and more systematic. Understanding the underlying framework ensures proper proportions from the beginning.how-to-draw-a-square-with-3-lines
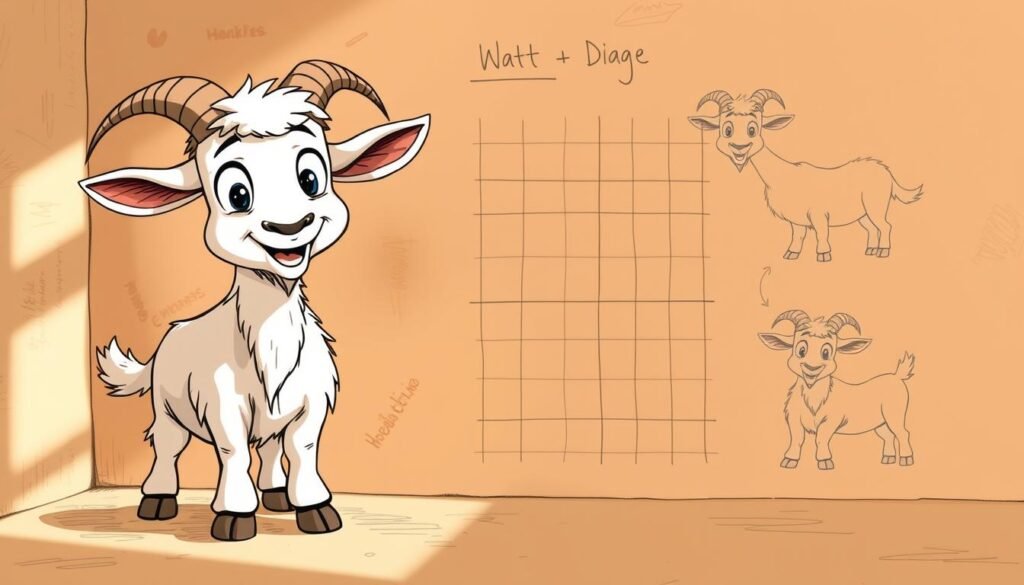
Breaking Down the Head, Face, and Horns
I visualize the head as two primary geometric forms. A circular shape represents the skull area, while an oval forms the muzzle and chin.
This combination creates the characteristic goat profile. The face features emerge naturally from this foundation.
For the distinctive horns, I consider both curved and straight variations. Rounded triangular ears position near the top of the head, completing the facial structure.
Mapping the Body, Legs, and Tail
The main body begins with a large oval shape. I connect this to the head using smooth, curved lines for the neck.
Proper leg placement is crucial for balance. Front legs connect below the neck, while rear ones attach at the body’s bottom. The tail remains simple initially, indicating position and direction.
Understanding this skeletal framework provides the foundation for realistic goat illustrations. For detailed anatomical reference, consult this comprehensive goat anatomy guide.
Step-by-Step Instructions: How to Draw a Goat

The moment has arrived to put pencil to paper and build our illustration from the ground up. This sequence of steps transforms basic shapes into a recognizable form. I follow this logical progression to ensure accurate proportions every time.how-to-draw-a-rabbit-easy
Outlining the Head and Body
My first step involves lightly sketching a circle for the head. I leave space below for the muzzle. Next, I draw a large oval shape for the main body.how-to-draw-a-person
Smooth, curved lines connect these two forms, creating a strong neck. This foundation establishes the core proportions for the entire piece.
Sketching the Legs and Defining the Proportions
I then focus on the supporting structure. Using pairs of lines, I outline each leg. Proper placement is crucial for a stable stance.
I pay close attention to the unique joint angles. The front legs bend backward, while the rear legs have a longer straight section before bending forward.how-to-draw-baby-yoda
Adding Curved Horns and Ears
This step brings significant character. At the top of the head, I add rounded triangular shapes for the ears. Just above them, I draw the iconic curved horns.
The horns arc outward and upward with smooth, tapered lines. This finalizes the distinctive silhouette before we move on to detailing.
Adding Details and Texture

This stage transforms a basic sketch into a living creature with personality and texture. I focus on suggesting rather than over-rendering to maintain freshness in the artwork. The goal is to create believable surfaces that enhance the underlying forms.
Creating Realistic Fur and Skin Textures
I build fur texture using quick, rough strokes across the entire body. Fast zigzag or wavy lines suggest hair without drawing every strand. This approach creates believable fluffiness with minimal effort.
Areas like the chin, cheeks, and rump receive extra attention. I add fluffier tufts in these regions using broken strokes. The beard forms with downward marks beneath the chin.how-to-draw-a-fox
Enhancing Facial Features and Expressions
Facial details bring significant character to the animal. I deepen the eyes and refine the nose shape for dimension. The mouth line gets defined with careful darkening.
I add interior details to the ears using short lines for folds. The eyebrow area follows the skull’s bone structure. These subtle touches create an expressive face that feels alive.
Throughout this drawing phase, I visualize how fur attaches to the body. This mental picture guides my stroke direction and texture placement. The result is a convincing goat drawing with natural-looking surfaces.
Advanced Tips for Animal Artists

Elevating your animal illustrations requires moving beyond technical accuracy into personal expression. I focus on developing a distinctive approach that reflects individual creativity while maintaining anatomical credibility.how-to-draw-a-heart
Personalizing your artistic approach transforms standard illustrations into unique creations. I experiment with horn shapes and ear positions to create distinctive characters. Studying real goats helps me understand their personality for more compelling artwork.
Personalizing Your Goat Drawing Style
Environmental elements like grass or farm fencing ground your subject in believable settings. This technique tells a complete visual story. Varying line weight on different sides suggests lighting and dimension effectively.
Understanding interesting facts about these animals enhances accuracy. Their lifespan of 8 to 12 years and jumping ability inform realistic portrayals. Researching coat patterns adds authenticity during the coloring phase.
Avoiding Common Mistakes in Animal Drawings
I emphasize careful observation of the skull’s curve to prevent flattening the top head. Many artists mistakenly elongate the body instead of capturing its compact build. Practicing from multiple angles develops comprehensive understanding.
These creatures have been vital to human civilization for thousands of years. This knowledge inspires more respectful artwork. For additional guidance, explore this complete goat tutorial to refine your technique further.
Conclusion
I believe this journey proves that creating animal art is an accessible and rewarding pursuit. The process of building a character from simple forms to a detailed finish is a fundamental artistic skill.
Starting with basic shapes for the head and body provides a solid foundation. Adding the legs, distinctive horns, and a short tail brings the creature to life. Paying attention to the fur along the back and bottom adds realistic texture.
This tutorial offers a clear path for artists of all levels, including kids. For continued practice, I recommend this excellent step-by-step guide. It reinforces the core principles covered here.
Your sketchbook will soon be filled with charming goat illustrations. Each one will reflect your growing confidence and skill. Keep practicing, and enjoy the creative process.


