

Did you know that over 80% of character artists report that mastering a unique creature design significantly boosts their creative confidence? This is the magic of Labubu, a captivating figure that has exploded in popularity across art communities and collector circles.
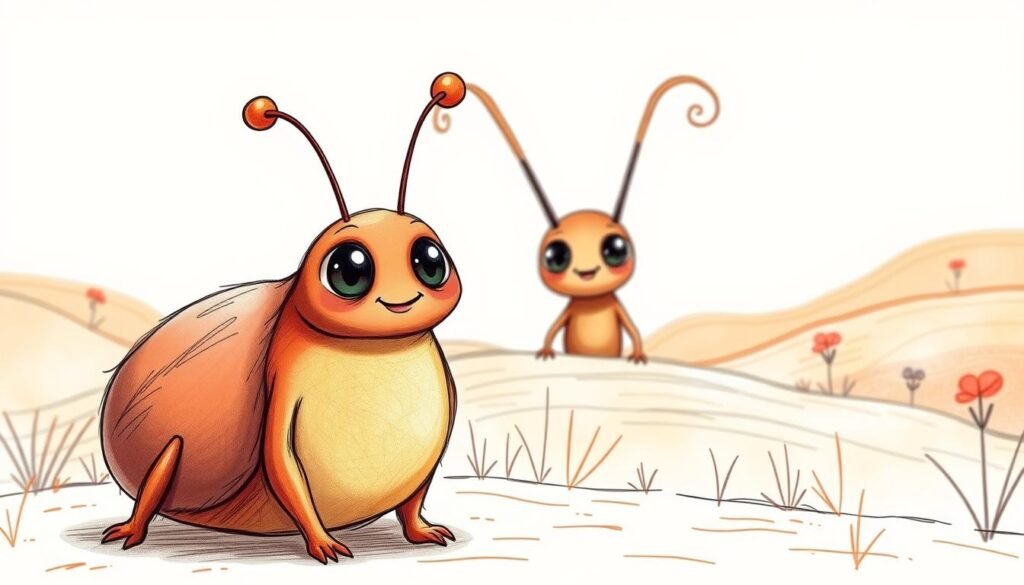
I want to introduce you to this enchanting world. Labubu stands out with its distinctive features: prominent teeth, playful elf-like ears, and an expression full of personality. These characteristics make it a fantastic subject for artists looking to expand their skills beyond conventional designs.
The purpose of this guide is straightforward. I will help you master the process of creating your own Labubu illustration. We will cover everything from basic shapes to final details. This journey will enhance your understanding of character proportions and adding life to your artwork.
This tutorial is designed for all skill levels. With clear, step-by-step instructions and a bit of practice, anyone can achieve great results. Let’s begin this creative adventure together.
Key Takeaways
- Labubu is a unique character that helps artists develop skills in creature design.
- Its defining features include prominent teeth and playful, elf-like ears.
- This guide provides a clear, step-by-step approach suitable for beginners and intermediates.
- Learning this process improves understanding of proportion and character personality.
- The tutorial covers material preparation and professional finishing techniques.
- Success is achievable with patience and practice, regardless of current skill level.
Getting Started with Your Labubu Sketch
The foundation of any great illustration begins with thoughtful material selection and workspace organization. Proper preparation ensures your creative process flows smoothly from start to finish.
Gathering Materials and Tools
I recommend starting with graphite pencils in varying hardness levels. HB, 2B, and 4B pencils provide the range needed for light sketching to darker shading.
Quality erasers are equally important. Kneaded erasers allow for gentle corrections, while standard rubber erasers handle more definitive changes. Choose medium-weight drawing paper with a smooth texture for optimal results.how-to-draw-a-guitar
For those interested in color, keep colored pencils or markers nearby. These tools add the final touches that bring your creation to life.
Setting Up Your Workspace
Proper lighting makes a significant difference in your drawing experience. Natural daylight or a daylight-simulation lamp prevents eye strain and minimizes shadows.
Organize your materials within easy reach to maintain creative momentum. Arrange tools in a logical sequence that matches your workflow progression.
Comfort during extended sessions is crucial. Use a supportive chair and position your work surface at an appropriate angle. Having reference images readily available helps guide your process. You can find excellent Labubu reference examples to support your work.
Create a distraction-free environment that promotes deep concentration. This allows you to fully immerse yourself in the creative journey.
Step-by-Step: How to Draw a Labubu

Building a character illustration systematically ensures proper proportions and maintains the distinctive features that make it unique. This methodical approach transforms simple shapes into a complete creation.how-to-draw-a-lightning-bolt
Sketching the Basic Shapes
Begin with a light construction circle for the head. This fundamental shape establishes the foundation for symmetry and proper scale.
Add a smaller oval beneath the head circle to represent the compact body. Maintain the character’s signature stocky proportions throughout this initial stage.
Sketch simple guidelines across the face circle. A vertical center line and horizontal eye line ensure balanced facial feature placement.how-to-draw-a-heart
Adding Details and Refining the Form
Position large, round eyes along the horizontal guideline. These elements create the character’s expressive appearance.
Draw the prominent front teeth that create the characteristic mischievous smile. This distinctive feature defines the creature’s personality.
Sketch pointed, elf-like ears extending from the head sides. Maintain proper size relative to overall head proportions.
Refine the body shape by adding short, stubby arms and legs. This maintains the adorable, compact silhouette essential to the design.
Gradually darken successful lines while erasing construction guides. Review overall proportions before finalizing details for a polished result.
Tips and Tricks for Perfecting Your Exotic Creature Drawing

Even with a solid foundation, capturing a character’s unique spirit presents specific hurdles. I want to share insights from my own experience to help you navigate these common obstacles smoothly.
Common Challenges I Encountered
Proportional balance is often the first hurdle. The large head and small body must feel cohesive, not awkward. I solve this by lightly sketching the head and body as simple, overlapping shapes first. This establishes their relationship before adding any details.
Getting the signature teeth right is another frequent test. They should be prominent but not cartoonish. I draw them as two gentle curves emerging from the mouth line. This keeps them natural and integrated into the face.how-to-draw-a-haunted-house
Symmetry, especially with the ears, can be tricky. My technique involves using very light vertical and horizontal guidelines. I measure the distance from the center line to each ear tip to ensure they match perfectly in placement and size.
Eyes are the soul of the character. Placing them too far apart or making them too small drastically changes the expression. I keep them large and aligned with my horizontal guideline. Subtle adjustments to their shape can convey different moods, from playful to curious.
Finally, line weight adds professional polish. I use a thicker, confident line for the main outline. For internal details like fur texture or facial features, I switch to a lighter, thinner stroke. This creates immediate depth and visual interest.
Regular practice is the ultimate key. Sketching this creature from various angles builds muscle memory and confidence. Don’t be afraid to develop your own style while respecting the original design’s charm.
Conclusion
The skills you’ve developed through this tutorial extend far beyond this single character design. Congratulations on completing this comprehensive artistic journey and investing your creativity in mastering these techniques.
You’ve progressed from material preparation through the systematic creation process. Each step built upon the last, developing your understanding of proportions and expressive features. Continue practicing these foundational techniques to strengthen your artistic abilities.
Now explore new creative directions with your character illustrations. Experiment with different poses, expressions, and backgrounds. Remember that your personal interpretation brings unique value—embrace your individual style rather than seeking exact replication.
Share your Labubu creations with artistic communities for valuable feedback. These skills transfer to all your future character design work. Thank you for following this guide—may your creative journey continue to flourish.how-to-draw-a-lily


