

Did you know that over 300 people search for instructions on sketching these masked bandits every month? This surprising fact highlights a shared fascination with capturing the unique charm of forest animals on paper.
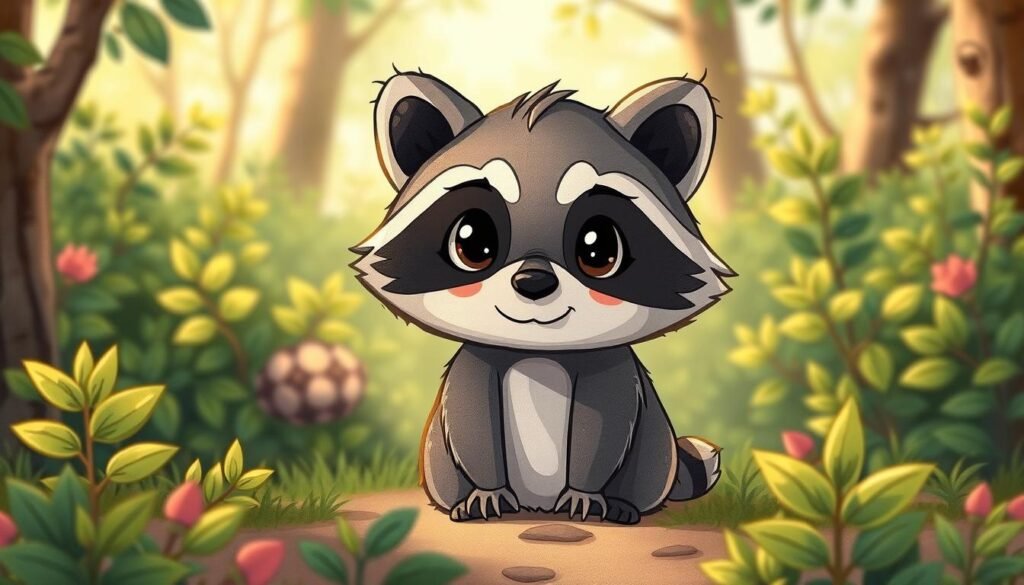
Raccoons, with their clever eyes and distinctive markings, are a fantastic subject for artists. Their playful nature and fluffy tails offer a wonderful challenge. This process is not just about creating a picture; it’s a journey in artistic growth.
I believe that learning drawing improves focus and patience. This guide is designed for everyone, from complete beginners to experienced artists looking to expand their repertoire. You can find additional inspiration for your artistic journey on this Pinterest board filled with creative ideas.
In just about 15 minutes, you will follow clear steps to create your own adorable raccoon character. Let’s begin this creative adventure together.
Key Takeaways
- Raccoons are compelling subjects for artists due to their unique, playful appearance.
- Drawing animals is an excellent way to develop focus and patience.
- This tutorial is suitable for artists of all skill levels.
- The entire process is designed to be completed in approximately 15 minutes.
- Following structured steps makes learning this skill accessible and enjoyable.
- You will create a cute raccoon drawing by the end of this guide.
Essential Materials and Preparation
Before putting pencil to paper, thoughtful organization of your tools and environment makes all the difference. This preparation phase sets the stage for a smooth, enjoyable creative session. I find that proper setup eliminates distractions and allows complete focus on the artistic process.
Having everything within reach before you begin prevents interruptions that can break creative flow. This systematic approach ensures you can concentrate fully on developing your skills.
Gathering Art Supplies
You will need a few basic tools to create your forest creature illustration. Start with a range of graphite pencils—HB for initial sketches and 2B or 4B for darker shading. A good quality eraser and sharpener are equally important.
For adding depth and character, consider having blending stumps or tortillons available. These simple tools help create smooth transitions between light and shadow areas.how-to-draw-a-rainbow
Setting Up a Creative Workspace
Your environment significantly impacts your artistic results. Choose a comfortable chair and table with adequate space for movement. Natural lighting is ideal, but a bright, adjustable lamp works well for evening sessions.
Proper illumination allows you to see subtle pencil lines clearly. It also helps distinguish between different shades when you progress to coloring stages. Keep your workspace clutter-free to maintain mental clarity throughout the process.
Step-by-Step Tutorial: How to Draw a Raccoon

Moving from preparation to execution, we’ll now build our forest creature using fundamental geometric forms. This systematic approach ensures proper proportions and character development throughout the process.how-to-draw-a-parrot
Each phase builds upon the previous one, creating a solid foundation for your illustration. I recommend working with light pressure initially, allowing for easy adjustments as needed.
Sketching the Raccoon’s Head and Ears
Begin with a large circular shape for the main structure. Position two triangular forms at the top for the characteristic ears. Maintain light, sketchy lines during this initial phase.
For the third step, create a small oval on the lower half of the raccoon head. Ensure the bottom part doesn’t touch the edge of the main circle. This creates space for the chin area.
Constructing the Body, Legs, and Tail
Extend the form downward using oval shapes for the torso. Add four leg positions with simple cylindrical guides. The fluffy tail should curve gently from the rear section.
Keep all connections smooth and proportional. This foundation supports the distinctive features we’ll add next.
Detailing the Face and Adding the Mask
The face requires careful attention. Position the eyes symmetrically within the upper area. Add a small triangular nose at the center of the muzzle oval.
Now create the iconic bandit mask around the eyes. Use curved shapes that extend toward the ears. This characteristic feature instantly identifies your cute raccoon.
| Sketching Phase | Key Focus | Recommended Tools | Common Challenges |
|---|---|---|---|
| Head & Ears | Basic proportions | HB pencil | Symmetry placement |
| Body Construction | Form relationships | 2B pencil | Balance and posture |
| Facial Details | Character expression | Fine liner | Mask alignment |
For additional guidance on facial features, explore this comprehensive raccoon illustration tutorial. The final step brings everything together into a cohesive cute raccoon character.
Advanced Techniques and Tips for Drawing Forest Creatures

Mastering advanced techniques elevates your forest animal illustrations from simple drawings to professional artworks. These methods add depth and personality to your creations.how-to-draw-a-raccoon
Using Light Strokes for Precision
I recommend building texture with gentle, layered strokes. This approach creates realistic fur effects without overwhelming the paper.how-to-draw-a-seahorse
Light pressure allows for easy corrections. It also helps maintain clean lines throughout your artistic process.
Integrating Creative Expressions and Color Techniques
Color selection brings your creature to life. Use grey or brown shades for the main body. Apply black for distinctive markings like masks and tail stripes.
Add subtle pink accents to noses and inner ears. Experiment with shading to create three-dimensional effects.how-to-draw-pokemon
This tutorial emphasizes developing your personal style through color choices. Creative expression makes each piece uniquely yours.
Conclusion
With the final touches complete, you now possess a charming illustration of this forest dweller. Your commitment to following each phase has truly paid off.how-to-draw-naruto
I congratulate you on mastering this comprehensive artistic guide. The systematic steps you followed demonstrate real dedication. You’ve developed valuable skills for capturing wildlife characters.
These techniques apply to many other forest animals. For more focused practice, explore this detailed raccoon facial features tutorial. It builds perfectly on your current achievement.
Remember these key facts: patience and observation are your greatest tools. Your growing confidence will make future tutorials even more rewarding. Keep exploring and enjoy your creative journey!


