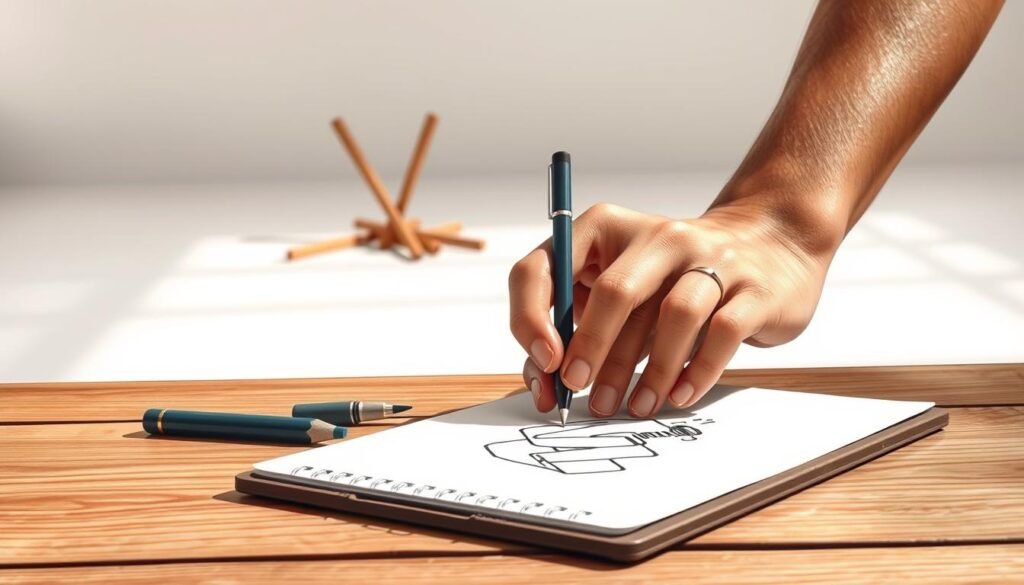
Drawing hands can seem tough at first. But, with the right help, it can become fun and easy.
I’ve learned that breaking it down into simple steps helps a lot. In this article, I’ll show you 5 easy steps to draw hands well.
By following these steps, you’ll get better at drawing. You’ll also feel more confident in drawing the human hand.
Key Takeaways
- Understand the basic anatomy of the hand
- Learn to proportion the hand correctly
- Master the art of drawing fingers
- Practice drawing hands from different angles
- Refine your skills with shading and detailing
Understanding the Structure of the Hand
Drawing hands well means knowing their bones, joints, and muscles. It’s key to grasp hand anatomy to draw hands that look real.
Bones and Joints Explained
The human hand has many bones and joints for movement. The carpals, metacarpals, and phalanges are the main bone groups. Knowing how these bones work at joints is vital for drawing hands in different poses.
The hand’s joints make it flexible and movable. The metacarpophalangeal joints and interphalangeal joints are important for finger bending and straightening. For more on hand anatomy, check out https://www.jeyram.org/hand.
Muscle Groups to Consider
The hand’s muscles are split into two groups: intrinsic and extrinsic. Intrinsic muscles are inside the hand and control fine actions like playing music or typing. Extrinsic muscles, in the forearm, handle stronger actions like gripping.
Knowing these muscle groups is crucial for drawing hands that seem real and can do various things. By focusing on the hand’s anatomy, artists can make their drawings more believable and lively.
Tools and Materials Needed for Drawing
Having the right tools and supplies is key for drawing hands. The quality of your drawing depends on the materials you pick.how-to-draw-the-cake
Choosing the Right Pencils
Pencils are essential for drawing hands. Different grades offer different line widths and shading. For detailed work, use pencils from HB to 6H for fine details and 2B to 6B for shading.
Here’s a simple guide to get you started:
| Pencil Grade | Use |
|---|---|
| HB | General drawing and outlining |
| 2H, 4H, 6H | Fine details and light shading |
| 2B, 4B, 6B | Shading and darker tones |
Selecting Paper Types
The paper you choose affects your drawing. Smooth paper is best for detailed work. Textured paper adds interesting effects. For hands, use paper with a moderate texture (around 80-100 gsm).
Other Helpful Supplies
Other supplies can improve your drawing. A good eraser corrects mistakes, and a sharpener keeps pencils sharp. Blending stumps or tortillons smooth out shading. A reference image or still-life setup helps with accuracy.
- Eraser (kneaded or white vinegar eraser)
- Sharpener
- Blending stumps or tortillons
- Reference images or still-life setups
With the right tools and supplies, drawing hands becomes easier. You’ll draw with confidence and precision.how-to-draw-a-zebra
Basic Hand Shapes and Forms
Breaking down the hand into basic shapes is key to drawing realistic hands. It makes the hand’s complex structure simpler. This way, artists can easily capture its essence and proportions.You can learn more about how to draw a rose.
Simplifying the Hand’s Structure
Think of the hand as a mix of basic shapes. The palm is like a rectangle or square with soft edges. The fingers are cylinders. This makes it easier to focus on the hand’s overall look and how its parts fit together.
Breaking Down Proportions
Knowing the hand’s proportions is key for accurate drawings. The hand has several important proportions. For example, the palm is about as long as the middle finger. The lengths and relationships of the fingers to the palm are crucial for a realistic look.
| Hand Component | Proportion |
|---|---|
| Palm Length | Equal to middle finger length |
| Finger Length | Middle finger is the longest |
| Thumb Proportion | Reaches the first joint of the index finger |
Mastering these proportions and using basic shapes helps artists draw hands more realistically. This skill is useful for drawing hands in different positions.
Gesture Drawing: Capturing Movement
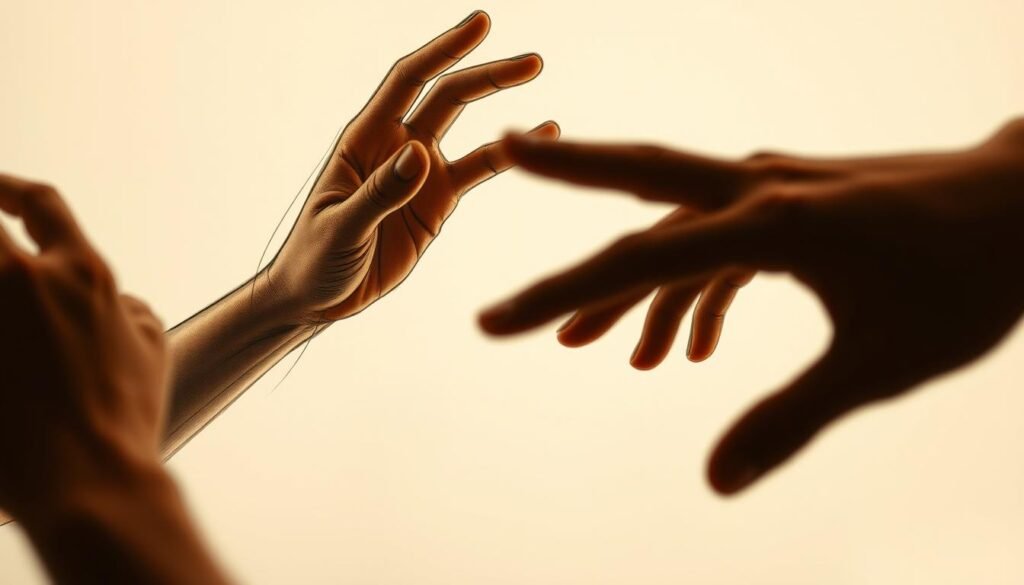
To draw hands that seem to move off the page, you need to learn gesture drawing. It’s not just about drawing the hands. It’s about capturing their movement and essence.
Gesture drawing is a skill that lets artists show the energy and fluidity of hand movements. It involves making quick, expressive sketches that focus on the overall gesture, not the details.You can learn more about how to draw aeyes.
Quick Sketch Techniques
Gesture drawing is all about quick and effective sketching. You need to observe the hand’s pose and movement. Then, capture it on paper in a short time.how-to-draw-a-seashell
- Start by observing the hand’s overall pose.
- Use simple shapes to block out the main areas.
- Focus on capturing the movement and gesture.
- Keep your sketches loose and expressive.
Artist and instructor, Robert Beverly Hale, once said, “The gesture is not just a movement, it’s a manifestation of the inner state of the being.” This shows how important it is to capture the essence of the gesture, not just the physical movement.
Practicing with Live Models
Practicing gesture drawing with live models is very helpful. It lets artists see and capture the subtleties of hand movements in real-time.
| Benefits | Description |
|---|---|
| Improved Observation Skills | Practicing with live models enhances your ability to observe and capture the subtleties of movement. |
| Better Understanding of Hand Anatomy | Observing live models helps in understanding how the hand’s structure contributes to its movement. |
| Enhanced Drawing Skills | Regular practice improves your ability to draw hands in various poses and gestures. |
By adding gesture drawing to your routine, you’ll get better at capturing hand movement. It takes patience and practice, but it’s worth it.
Practicing Hands in Different Positions
Practicing drawing hands in various positions helps artists get better and feel more confident. By mastering different hand poses, artists can improve their overall drawing skills. They can also capture the subtleties of human anatomy.
To start, let’s explore some common hand positions that are essential for any artist to practice.
Drawing a Hand in a Fist
Drawing a hand in a fist requires understanding the underlying structure and tension in the hand. Start by sketching the overall shape, noticing how the fingers curl into the palm. Pay attention to the way the knuckles protrude and the fingernails dig into the palm.
Drawing an Open Hand
An open hand is characterized by its relaxed state, with fingers gently curled. Observe the way the fingers are spaced and how the thumb lies in opposition to the other fingers. Notice the creases and lines on the palm, which add character to the hand.
Drawing Hands at Different Angles
Drawing hands at different angles challenges the artist to understand the hand’s three-dimensional structure. Practice rotating the hand and observing how the fingers, wrist, and forearm interact. This exercise helps in capturing the hand’s movement and gesture.
By practicing these different hand positions, artists can enhance their drawing skills. They can also develop a more nuanced understanding of human anatomy.
Focusing on Fingers: Techniques and Tips
Drawing fingers can be tough, but with the right methods, it’s doable. Fingers are key in drawing hands. Knowing their size and details is crucial.how-to-draw-a-tornado
Proportions of the Fingers
Finger proportions are vital for realistic hand drawings. Fingers are about the same length as the palm. Each finger is different in length and width.
The middle finger is usually the longest. The thumb is the shortest and thickest. The index and ring fingers are similar in length. The little finger is shorter and thinner.
Drawing Individual Fingers
When drawing fingers, notice their unique traits. Fingers have three bones, and knowing how these bones work is important for realistic drawings.
- Begin by sketching the finger’s overall shape, including the tip and base.
- Focus on the joints, as they impact the finger’s flexibility and look.
- Look at how the fingernail is shaped and positioned.
Adding Details to Nails
Nails add realism to hand drawings. When drawing nails, think about their shape, size, and how they curve around the finger tip.
- The nail plate is curved and varies in shape from person to person.
- Don’t forget the cuticles and the skin around the nails for a more realistic look.
Improving hand drawings requires focus on finger proportions, unique traits, and details. Practice is essential. Spend time sketching fingers in different positions and angles.
Understanding Hand Anatomy
To draw hands well, you need to know their anatomy. This knowledge helps artists make their drawings look real and detailed.how-to-draw-a-rabbit-easy
Key Tendons and Ligaments
The hand moves thanks to a complex system of tendons and ligaments. Tendons link muscles to bones, and ligaments connect bones to each other. This setup keeps the hand stable.
The flexor tendons in the palm help bend the fingers. The extensor tendons on the back of the hand let fingers extend. Knowing these details can improve your drawing.
The Role of Palms and Wrists
The palm and wrist are key parts of hand anatomy. The palm is the base of the hand, made of metacarpal bones and soft tissues. The wrist connects the hand to the forearm, allowing for many movements.
For more on hand anatomy, check out Anatomy for Sculptors. It offers deep insights into the subject.
Shading Techniques for Realistic Hands
To draw hands that look real, you need to know about shading. Shading adds depth and makes your drawings look alive.
Light Source Considerations
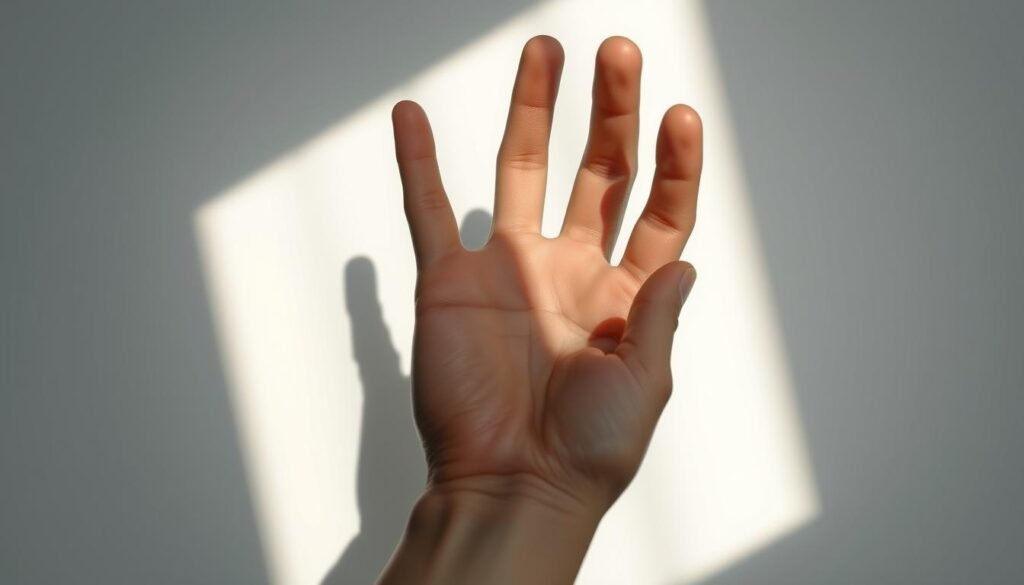
Finding the light source is the first step in shading. The light’s direction and strength change how shadows and highlights look. Knowing how light affects the hand’s shape is key to a realistic drawing.
Think about how the light source impacts the hand’s parts. Closer areas will be brighter, and farther ones will be darker. This contrast makes your drawing seem deeper.
Blending Techniques
Blending is important for smooth shading. You can use a blending stump, tortillon, or your fingers. Blend softly to avoid harsh lines.
Practicing blending helps you blend shades smoothly. This makes your drawings look more natural.
Adding Depth and Texture
Creating depth and texture in hand drawings is more than shading. It’s about showing the hand’s three-dimensional shape. Focus on the hand’s contours and creases for more detail.
To add texture, think about the skin’s features. Hands have wrinkles, veins, and fingernails that can be shaded for realism. Highlighting these details makes your drawing more engaging.
In summary, mastering shading is crucial for realistic hand drawings. Understanding light, blending, and adding texture will improve your drawings.how-to-draw-a-square-with-3-lines
Drawing Hands in Everyday Activities
Hands are key in our daily lives. Drawing them in different activities can be tough. It’s important to watch how hands move in various situations.
Writing and Typing Poses
When drawing hands writing or typing, focus on the finger curl around the pen or keyboard. The finger tension and hand relaxation can make your drawing look real. As artist and instructor, John Smith, said, “The small details in hand positions are crucial for your artwork’s authenticity.”
Hand Gestures in Conversation
Hand gestures are vital in talking without words. When drawing hands talking, notice how they move and their positions. For example, a hand emphasizing a point or a palm facing up can show different feelings. Catching these details can make your drawings richer.
Engaging in Sports and Hobbies
Hands are involved in many sports and hobbies, like playing music or holding sports gear. Drawing hands in these activities needs you to understand how the hand interacts with the object. For instance, the grip on a tennis racket or the touch on a guitar string is interesting. As noted by
“The way a hand interacts with an object can reveal the character’s personality and story.”
By practicing drawing hands in these activities, you can get better and add more detail to your art.
Exploring Diverse Hand Positions
Learning about different hand positions is crucial for mastering hand drawing. By mastering various hand poses, you can greatly improve your artwork. This makes your drawings come to life.
Understanding hands in different situations is important. Whether a hand is moving or still, capturing its details adds depth and realism. This makes your drawings more believable.
Hands in Action
Hands are involved in many activities, like playing music or sports. Drawing hands in action is tough but rewarding. It helps you practice drawing dynamic poses.
- Observe how the fingers wrap around objects.
- Notice the tension in the hand and forearm when performing actions.
- Practice drawing hands holding different objects or performing various tasks.
Hands in Relaxed Poses
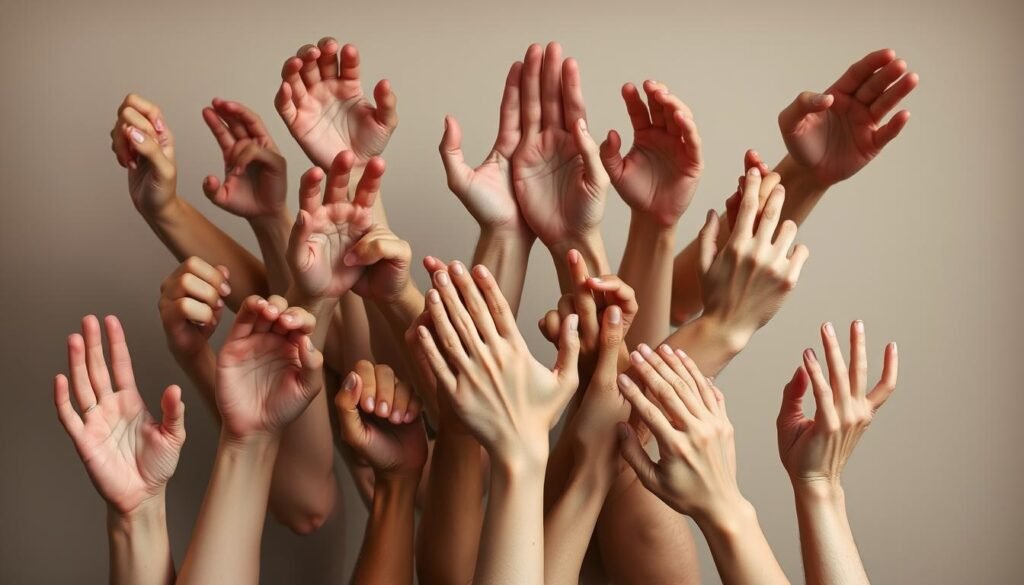
Drawing hands when they are relaxed helps you see their natural state. This includes hands resting on a surface or hanging by the side.
- Study the way the fingers curl slightly when at rest.
- Observe the subtle variations in the shape of the hand when relaxed.
- Practice drawing hands in relaxed poses to capture their natural, effortless appearance.
By practicing both hands in action and at rest, you can develop a comprehensive understanding of hand positions. This will improve your drawing skills.
Common Mistakes to Avoid
One of the biggest hurdles in drawing hands is avoiding common mistakes. Knowing these pitfalls can greatly improve your skills and reduce frustration.
When drawing hands, it’s easy to get caught up in the details. But, there are several common mistakes to watch out for.
Overcomplicating Details
One common mistake is overcomplicating the hand’s details. Hands are complex, but too much detail can make your drawing look cluttered and unnatural.
To avoid this, focus on the essential features that define the hand’s structure and gesture. Simplify the details and emphasize the overall form.
Ignoring Proportions
Another critical mistake is ignoring the hand’s proportions. The proportions of the hand are crucial for a realistic drawing. The length of the fingers, the width of the palm, and the overall shape of the hand all need to be in proportion.
Proportions to Keep in Mind:
| Part of the Hand | Proportion |
|---|---|
| Fingers | The length of the fingers should be roughly the same as the length of the palm. |
| Palm Width | The width of the palm is typically slightly less than its length. |
| Overall Shape | The overall shape of the hand should be considered in terms of basic forms. |
Skipping Basic Shapes
Skipping the basic shapes that underlie the hand’s structure is another common mistake. Before diving into the details, it’s essential to establish the basic forms that make up the hand.
Start by sketching the overall shape of the hand, breaking it down into simple geometric forms such as rectangles, circles, and triangles. This will help you get the proportions and placement right.
By being mindful of these common mistakes, you can improve your hand-drawing skills and create more realistic and engaging drawings. Remember, practice is key, and being aware of these pitfalls is the first step towards mastering the art of drawing hands.how-to-draw-a-rose-easy-step
Studying Reference Images
For artists wanting to improve their drawing, studying reference images is key. These images give a real look at the human hand’s details.
Looking at these images helps artists learn about the hand’s shape, size, and details. This makes drawings look more real.
Analyzing Photographs
Photographs are full of useful reference material. They show how light and shadow work on the hand’s details.
When looking at photos, notice how light and shadow affect the hand. This helps in adding depth and dimension to drawings.
Using Hand Models
Working with hand models offers a 3D view that’s very helpful for drawing. Seeing how the hand moves and changes shape is key to understanding its structure.
Models let you see the hand from different angles. This is great for drawing hands in various positions.
Digital References and Resources
Today, there are many online resources for reference images. Websites and artistic communities have lots of material.
Using these resources saves time. They offer a wide range of poses and angles to study.
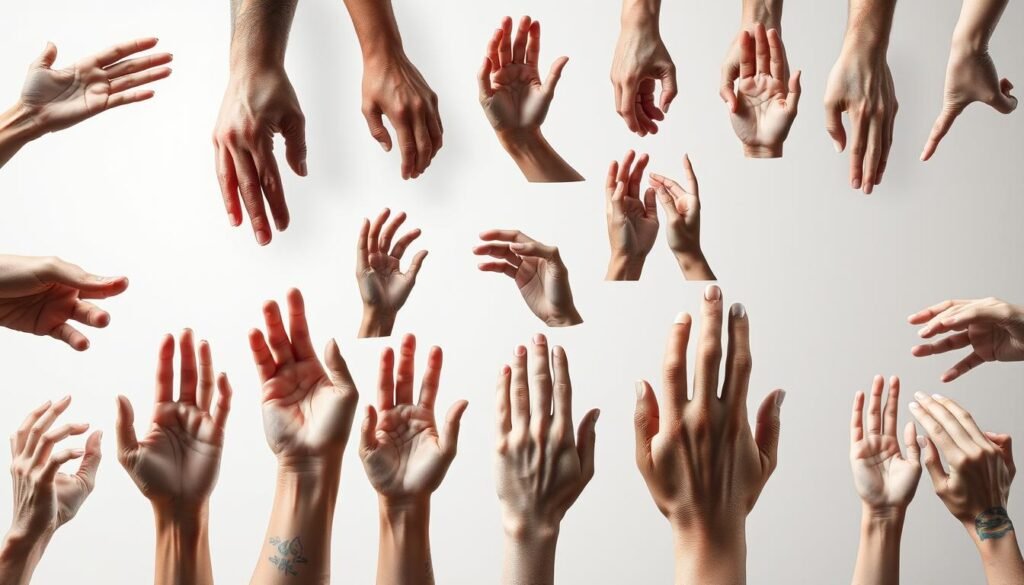
To help your study, make a table to compare different reference images. This can highlight common and different features in hand anatomy.
| Feature | Observation 1 | Observation 2 |
|---|---|---|
| Finger Proportions | The index finger is slightly longer than the ring finger. | The middle finger is the longest. |
| Knuckle Details | Knuckles are more pronounced when the hand is clenched. | Knuckles are less visible when the hand is relaxed. |
By studying reference images and comparing them, you can improve your drawing skills. This leads to more realistic results.
Practicing with Different Styles
Hand drawing is versatile, fitting many styles from realistic to cartoonish. Exploring these styles can boost our skills and spark creativity.
Different styles of hand drawing have unique qualities. Realistic drawings focus on details and anatomy. Stylized hands offer creative freedom. Cartoon hands exaggerate for humor or emotion.
Realistic vs. Stylized Hands
Realistic hand drawings need a deep understanding of anatomy. Artists must focus on skin texture, nail shape, and finger movements. For tips on realistic drawing, check out Clip Studio Tips.
Stylized hands let artists simplify or exaggerate features. This style is great for animation and comic art, where characters’ hand shapes are key to their look.
| Style | Characteristics | Applications |
|---|---|---|
| Realistic | Detailed anatomy, realistic proportions | Portrait drawing, realistic art |
| Stylized | Simplified or exaggerated features | Animation, comic art, illustration |
| Cartoon | Exaggerated features, often humorous | Cartooning, comics, caricatures |
Cartoon Hands and Expressions
Cartoon hands are all about emotion and character. They use big gestures and expressions. This style is very flexible, letting artists create many kinds of characters.
Practicing different styles helps artists become versatile. Whether you’re into realistic portraits or cartoon characters, mastering hand drawing is key for engaging art.
Continuous Improvement for Hand Drawing
To get better at drawing hands, you need to keep improving. This means practicing and getting better at it all the time.
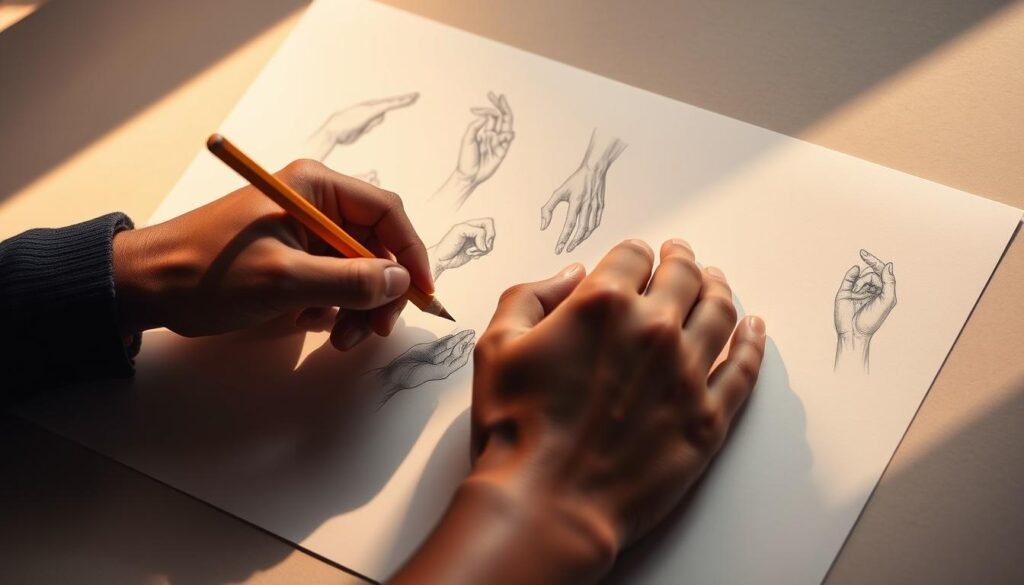
Keeping a drawing journal is a great way to see how you’re doing. It shows you what you need to work on and lets you look back at your progress.
Keeping a Drawing Journal
A drawing journal is a key tool for getting better. It lets you:
- See how you’ve improved over time
- Spot mistakes and fix them
- Try out new techniques and styles
Artist and instructor says, “A drawing journal is a window into your creative process, offering insights into your strengths and weaknesses.” For more tips, check out Clip Studio Tips.
Seeking Feedback from Peers
Getting feedback from others is also important for improving. You can do this by:
- Joining a local art group or club
- Sharing your work online through social media or art communities
- Going to drawing workshops or critique sessions
Good feedback from others can give you new ideas and help you get better at drawing hands.
Engaging with Online Communities
Online communities are full of knowledge and inspiration for artists. They help you improve your hand drawing skills. You can connect with other artists and stay motivated.
Following Tutorials and Workshops
Joining online communities gives you access to tutorials and workshops. Experienced artists share these resources. They help you learn new techniques and approaches to drawing hands.
For example, you can find tutorials on Lemon8. They offer step-by-step guidance on drawing.
Participating in Drawing Challenges
Joining drawing challenges is another great way to improve. These challenges have a theme or subject, like drawing hands in different positions. They encourage artists to create within a set time.
This helps you practice regularly. You also get feedback from others.
| Benefits | Online Communities | Drawing Challenges |
|---|---|---|
| Learning Opportunities | Tutorials and workshops | Regular practice |
| Feedback | Comments and critiques | Community feedback |
| Motivation | Seeing others’ progress | Timed challenges |
By joining online communities and participating in challenges, you can improve your hand drawing. I encourage you to explore these opportunities. Connect with other artists to keep learning and growing.
Final Thoughts on Hand Drawing Techniques
As we wrap up our exploration of hand drawing, let’s think about what we’ve learned. Mastering hand drawing takes time, effort, and lots of practice.
This article has given you a solid base in drawing hands. We’ve covered everything from hand anatomy to different drawing styles. Joining online communities has also helped a lot.
Key Takeaways and Future Practice
We’ve learned a lot, like the importance of knowing hand anatomy and how to shade. To keep getting better, keep practicing and ask for feedback from others.
Remember, improving at hand drawing is a long-term goal. Stay excited and try out new things. With regular practice, your drawings will get much better.


