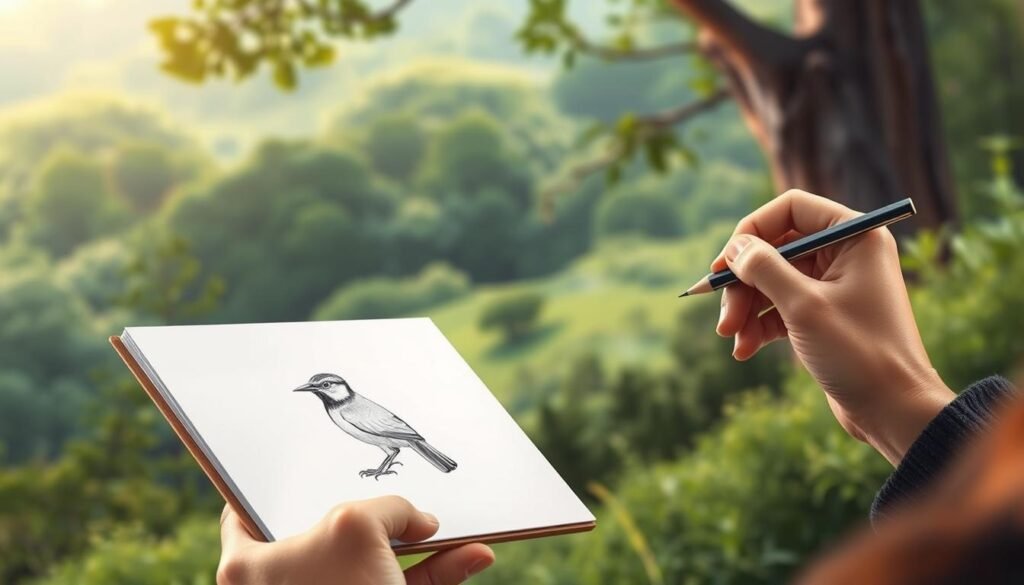
Did you know that drawing birds can be a calming hobby? It can even help your brain work better. I’ve always loved drawing birds and I’m here to share my tips with you.
With practice and patience, you can make beautiful bird art. This guide will show you how to draw birds that look real. You’ll learn everything from start to finish.
Key Takeaways
- Learn the basic steps to create a realistic bird drawing
- Understand the importance of proportions and anatomy in bird art
- Discover tips for adding texture and detail to your bird drawings
- Explore different techniques for capturing the essence of various bird species
- Develop your skills with practice and patience
Understanding Bird Anatomy
Drawing realistic birds starts with knowing their anatomy. You need to grasp their basic structure, key features, and the many bird types you can draw.
Basic Body Structure
A bird’s body is made up of the head, body, wings, and tail. The proportions of these elements are crucial for a realistic drawing. Birds have a streamlined shape for flight, with each species having its own unique look.
Major Features of Birds
Birds are known for their feathers, beaks, and claws. Feathers are a distinctive feature, helping with insulation, support, and flight. The shape, size, and color of feathers change a lot among different bird species. Beaks and claws also vary, fitting the bird’s diet and habitat.
Types of Birds to Draw
There are many birds to draw, from simple sparrows to complex eagles. Choosing the right type of bird depends on your skill level and interest. Beginners can start with simpler birds and move to more complex ones as they get better.
Choosing the Right Materials
The right materials are key to a great bird drawing. Knowing what to choose is crucial. With the right tools, you can make your bird come to life with precision and detail.You can learn more about how-to-draw-a-cat.
Essential Drawing Tools
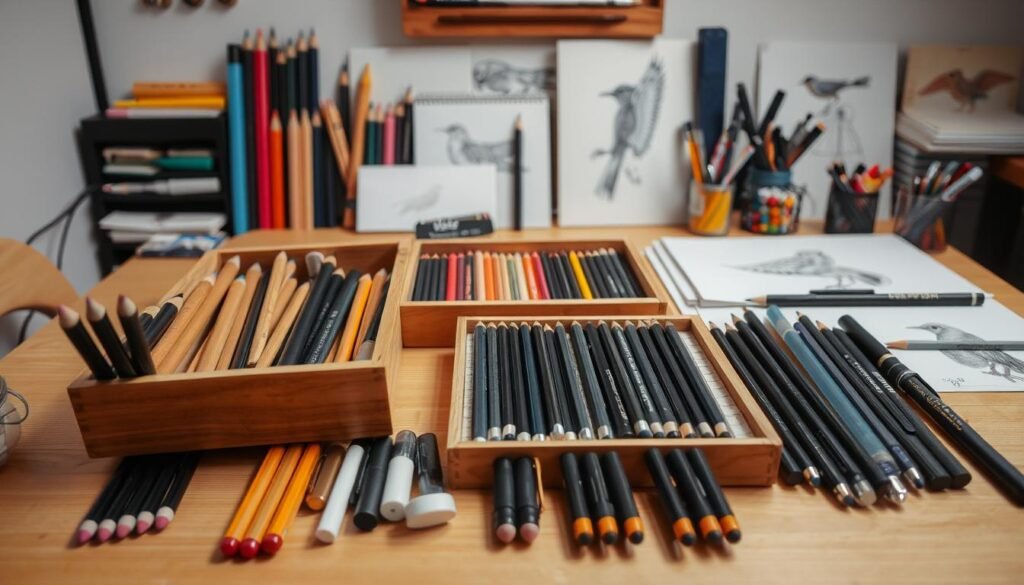
To begin drawing birds, you’ll need a few essential tools. A good quality pencil is a must, as it allows for a range of tonal values and shading. I suggest using a graphite pencil, as it’s versatile and easy to blend. Also, a sharpener and a good eraser are needed for keeping your pencils sharp and fixing mistakes.
A sketchbook with the right paper quality is also key. Choose one designed for drawing and sketching. It should handle various media, like pencils, pens, and markers.
Recommended Paper Types
The paper type you choose can greatly impact your bird drawing. For pencil drawings, a smooth paper with some texture is best. It allows for smooth shading and detail work. Hot press or cold press papers are good choices, depending on your texture preference.
For advanced techniques or mixed media, consider heavier paper or mixed media paper. This type can handle multiple layers and textures. As
“The right paper can make all the difference in your artwork, allowing you to achieve the desired effects and textures.”
- Smooth paper for detailed work
- Textured paper for more expressive drawings
- Mixed media paper for versatility
Finding Bird References
References are key to drawing birds well. They add the details that make your drawings come to life. To draw birds right, watch their shapes, actions, and features closely.
There are two main ways to get bird references: photos and watching live birds. Both are good and can help each other for the best results.You can learn more about how-to-draw-a-rose.
Using Photos for Drawing
Photos are easy to find and use. They let you see birds’ anatomy, feathers, and expressions without seeing them live. Look for clear, detailed photos from different angles.
For example, a bright photo can show a bird’s feather patterns well. Websites like Emily’s Notebook have many bird photos to help your drawings.
| Reference Type | Advantages | Disadvantages |
|---|---|---|
| Photographs | Convenient, detailed, and accessible | May lack dynamic movement, can be static |
| Live Observations | Captures dynamic movement and behavior | Can be challenging to capture fine details, weather dependent |
Observing Live Birds
Watching birds in nature or in places like zoos can teach you about their behavior and movement. This method shows birds’ dynamic side, hard to get from photos alone.
“The best artists are those who observe nature with a curious and open mind, seeing beyond the obvious to the intricate details that make their subjects come alive.”
When watching live birds, notice their posture, movement, and how they act with others. These details can make your drawings more real.
Using photos and watching birds live together can make your drawings both accurate and lively. The goal is to capture the bird’s essence. Having many references helps you do that.
Sketching the Outline
The foundation of a great bird drawing is its outline. A well-crafted outline makes sure your drawing looks right and shows the bird’s features well. We’ll look at how to make a precise outline in this section.
Starting with Basic Shapes
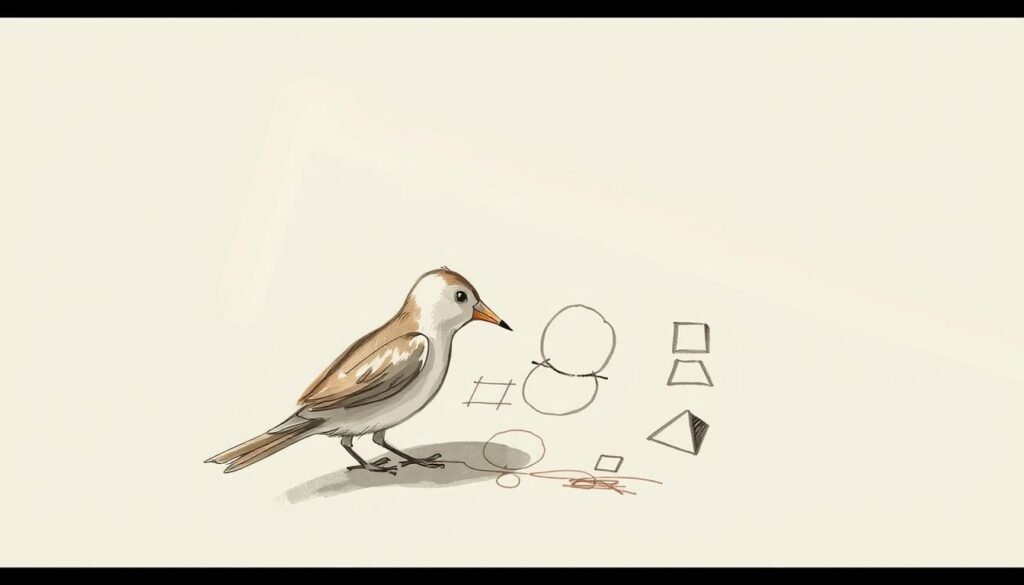
To start, use basic shapes. Circles, ovals, and rectangles help block out the bird’s body, wings, and head. This method helps get the proportions and feature placement right.
- Use a circle for the body
- Draw an oval for the head
- Sketch rectangles for the wings and tail
Refining the Outline
After the basic shapes, add more details to the outline. Make sure the shapes blend smoothly. Knowing the bird’s anatomy helps guide your pencil.
Tips for refining the outline:
- Pay attention to the bird’s anatomy
- Smoothly connect the basic shapes
- Refine the edges to create a natural look
Keeping Proportions in Mind
Keeping the right proportions is key when drawing a bird. Measure the head, body, and wings against each other for accuracy. Use a pencil to measure from your reference image.
Proportional accuracy is crucial for a realistic drawing. By keeping proportions right, you avoid mistakes that change the bird’s look.
Adding Details to Your Bird
Now that you have the basic outline, it’s time to add details. These details will make your bird drawing come alive. They are what make your bird look real and interesting.
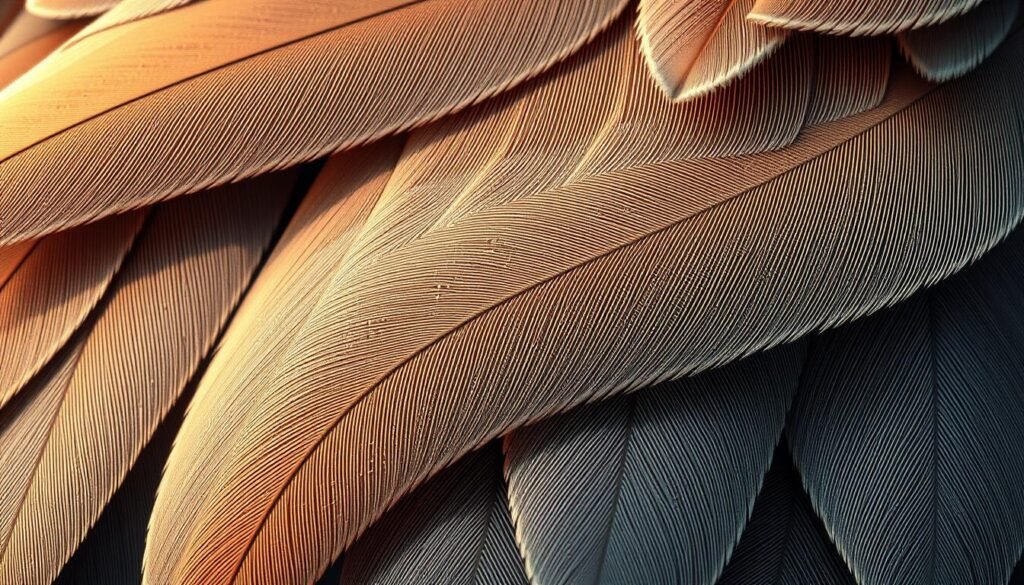
Feathers are key to drawing a bird. They have texture, depth, and direction. Start by noticing how feathers lie on the bird’s body. Use soft, gentle strokes to show their softness. Use different pencils for different shades and textures, from soft downy feathers to stiff flight feathers.
Drawing Feathers
When drawing feathers, focus on their shape and how they overlap. Start with the big feathers and then the small ones. This layering adds depth and dimension to your bird. As experienced artists say, drawing feathers takes patience and attention to detail.
“Drawing feathers is about understanding their structure and how they reflect light,” says a famous bird illustrator. “It’s not just about drawing feathers but capturing their overall texture and flow.”
Capturing Facial Features
The face of a bird is important for its expression and character. Pay attention to the eyes, beak, and any special markings. The eyes are key, so draw them carefully. Use different shading techniques to add depth and emotion to your bird’s eyes.
To get it right, study the shape and size of the beak and how it fits with the face. The beak’s texture and small details greatly affect your bird’s look.
By focusing on these details and using the right techniques, you can make a bird drawing that’s both realistic and engaging. Remember, practice is key to getting better at drawing birds. Don’t get discouraged if it takes time.
Choosing a Bird Pose
A good pose can make your bird drawing more interesting. It can show the bird’s character and emotion. The bird’s pose greatly affects your artwork’s feel and impact.
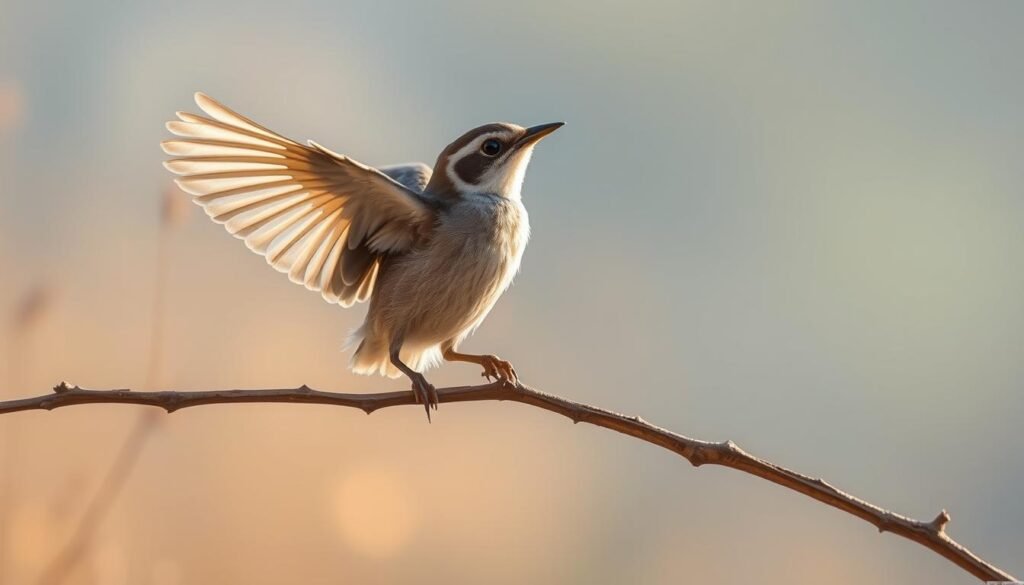
Popular Bird Poses to Try
There are many bird poses that are both popular and challenging. These include:
- Perched birds, which are great for practicing the bird’s anatomy and texture.
- Birds in flight, which need a good grasp of motion and feather placement.
- Birds foraging or feeding, which add action and dynamism to your drawing.
For more ideas, check out this page for realistic bird drawing ideas.
How Pose Affects Your Drawing
The pose you pick can change your drawing’s mood and story. For example, a defensive bird pose shows tension. A relaxed pose can make your drawing feel calm.
As wildlife artist noted, “The pose of the animal can tell a story and evoke emotions in the viewer.” This shows how important it is to pick a pose that matches your artwork’s message.
Trying different poses can help you show the birds’ characters and personalities in new ways.
Adding Color to Your Drawing
The right colors can make your bird drawing pop. When you’re how to draw a bird, color is key. It turns a simple sketch into a vibrant piece of art.
To make your bird look real, pick colors that match its natural hues. For example, a cardinal needs shades of red, from bright to deep. Knowing your bird’s color palette is crucial for a believable drawing.
Color Choices for Realism
Choosing the right colors for your bird drawing is more than picking favorites. It’s about matching the bird’s natural colors and how they look in light. For realism, consider these color choices:
- Observe the bird’s natural plumage and beak colors.
- Use reference images to get an accurate color palette.
- Experiment with different shades to capture the subtleties of the bird’s feathers.
For more detailed guidance on drawing realistic birds with colored pencils, visit this resource for tips and techniques.
Blending Techniques for Feathers
Blending colors is key for a smooth, realistic effect, like when drawing feathers. Here are some techniques to blend colors effectively:
| Technique | Description |
|---|---|
| Layering | Build up layers of color to achieve depth and dimension. |
| Blending Stumps | Use blending stumps to smooth out colors and create a uniform texture. |
| Wet Blending | Apply a solvent to your colored pencil marks to blend colors together. |
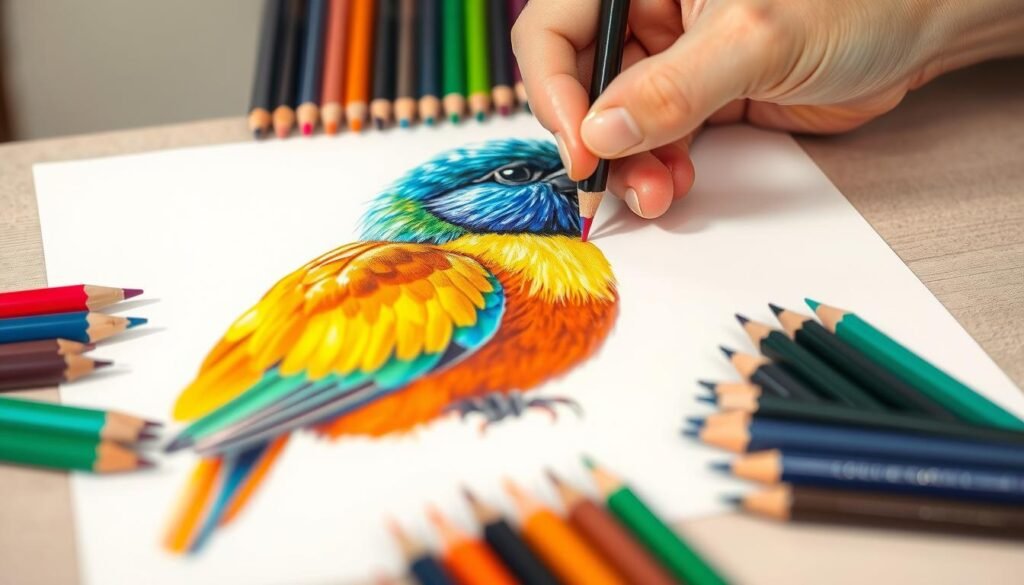
Mastering color choices and blending techniques can add depth and realism to your bird drawings. This makes them more engaging and lifelike.
Shading Techniques for Depth
To make a bird drawing look real, you need to master shading. Shading brings out the light and shadow details. It adds depth and makes your art more engaging.
Shading is about how light affects the bird. The light on the bird’s feathers, beak, and body creates shadows and highlights. These details give your drawing depth.
Understanding Light and Shadow
Light and shadow are key to a realistic drawing. The light source’s direction and strength decide the highlights and shadows on the bird.
For example, if the light is from the side, one side of the bird will be bright, and the other will be dark. Knowing this helps make your drawing look three-dimensional and real.
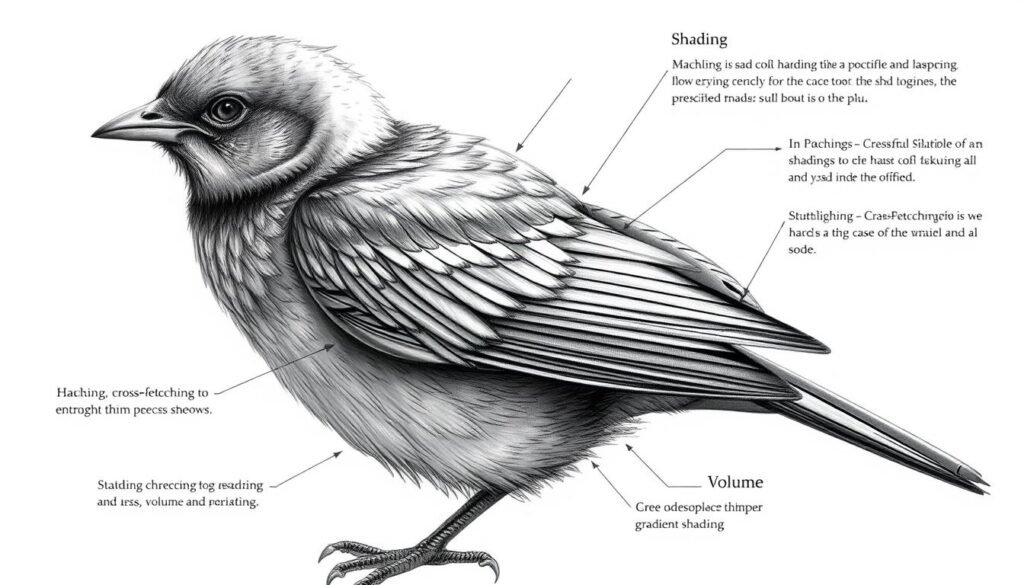
Techniques for Realistic Shading
There are many ways to shade a bird drawing realistically. Hatching is one method. It involves drawing close lines that follow the bird’s shape.
Cross-hatching is another technique. It stacks hatching lines at different angles. This creates deep shadows and texture.
| Shading Technique | Description | Effect |
|---|---|---|
| Hatching | Creating closely spaced lines that follow the subject’s contours | Gradated shading, texture |
| Cross-Hatching | Layering hatching lines at different angles | Deeper shadows, more detailed texture |
| Stippling | Creating images using small dots | High level of detail, subtle gradations |
For detailed bird drawing tips, check out Emily’s Notebook. It has lots of helpful advice and techniques.
Finalizing Your Drawing
The last steps in drawing a bird include cleaning up your work and adding context. Your drawing should be almost done, with the bird’s features and details clear.
Steps to Clean Up Your Artwork
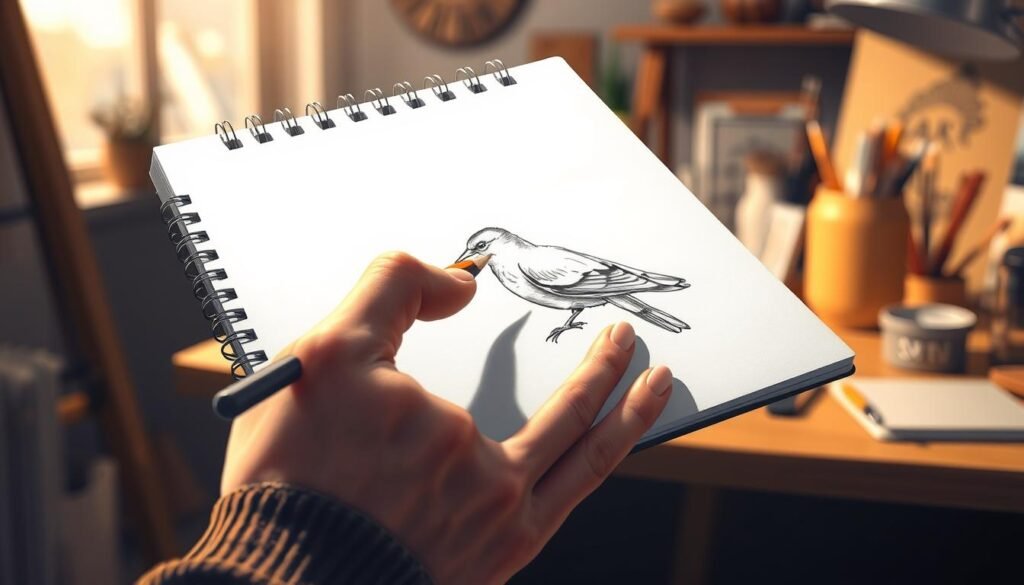
To clean up your drawing, start by erasing any extra guidelines or sketch marks. Use a gentle eraser to avoid smudging. Then, refine the outlines and details, making sure they are sharp and clear.
Adding a Background
Adding a background can make your bird drawing better by adding context and depth. Think about the bird’s natural habitat when picking a background. For example, a bird near water might have a simple water or sky backdrop.
Keep the background simple to focus on the bird. Use soft shading or gentle colors for a background that complements your drawing. This will make your bird stand out and add realism to your artwork.
Common Mistakes to Avoid
To get better at drawing birds, knowing common mistakes is key. These errors can make your drawings less realistic and less engaging. By avoiding them, you can improve your skills.
Overcomplicating the Sketch
One big mistake is making the sketch too complicated. Adding too many details at first makes it hard to change or fix things. Start with simple shapes and then add more details.
Begin with basic forms: Use shapes like circles, ovals, and lines to outline the bird. This helps you get the proportions right and makes adding details easier.
Ignoring Proportions
Not paying attention to proportions is another big mistake. It can really hurt the quality of your drawing. Make sure to measure and compare the bird’s body parts to get them right.
Tips for Maintaining Proportions:
- Use a grid or measuring technique to ensure accuracy.
- Compare the size of different features, such as the beak, eyes, and body.
- Practice drawing birds from different angles to improve your understanding of their proportions.
Here’s a comparison table to help you understand the common mistakes and their corrections:
| Common Mistake | Correction |
|---|---|
| Overcomplicating the sketch | Start with simple shapes and gradually add details |
| Ignoring proportions | Use measuring techniques and compare feature sizes |
By knowing these common mistakes and how to avoid them, you can greatly improve your bird drawing skills. Always start simple, pay attention to proportions, and practice often for the best results.
Inspiration from Bird Artists
The world of bird illustration is full of talented artists. Their work can inspire and guide you in your drawing journey. By looking at their techniques and styles, you can learn how to draw a bird well.
Notable Bird Illustrators
Many famous bird illustrators have made big contributions. John James Audubon is known for his detailed North American bird illustrations. Ludwig Thaler is famous for his realistic and detailed bird portraits.
Online Resources for Learning
There are many online resources to help you get better at drawing birds. Sites like Skillshare and New Masters Academy have tutorials and courses. Platforms like Instagram and Pinterest are full of visual inspiration.
| Resource | Description | Level |
|---|---|---|
| Skillshare | Online courses on drawing and illustration | Beginner/Intermediate |
| New Masters Academy | Tutorials and courses on figure drawing and illustration | Intermediate/Advanced |
| Visual inspiration and reference images | All Levels |
Practicing Your Skills
To get good at drawing birds, you need to practice a lot. Doing it every day helps you find your own style and way of drawing.
Daily Drawing Challenges
Doing daily drawing challenges can really boost your skills. Set aside time each day to draw different birds. Try different poses and techniques. You can find ideas on Julia Bausernhardt’s bird drawing class website.
Joining Art Communities Online
Being part of online art communities is also great for improving. These places let you share your work and get feedback. You can also learn from other artists. Joining forums and social media groups for bird drawing keeps you motivated and inspired.


