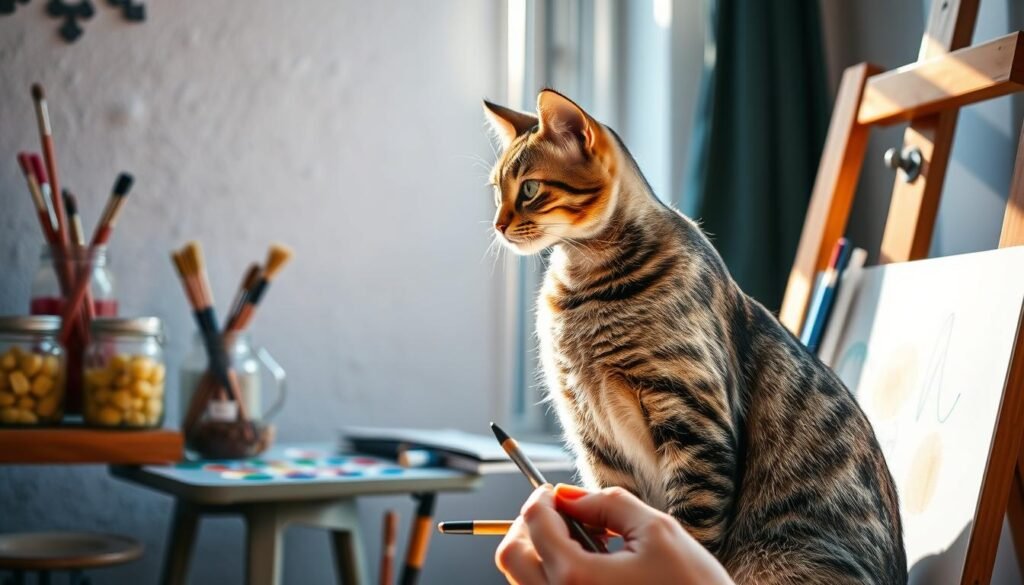
Did you know drawing cats can help reduce stress and boost your brain? It’s a hobby that’s easy to learn with the right help. In this guide, I’ll show you how to draw cats step by step. We’ll cover the basics of cat anatomy and how to capture their unique look.
Whether you’re new to drawing or already skilled, this guide will enhance your cat drawing abilities. By the end, you’ll be able to draw cats with confidence and precision.
Key Takeaways
- Understand the basics of cat anatomy for drawing.
- Learn techniques for capturing a cat’s likeness.
- Improve your drawing skills with step-by-step guidance.
- Create beautiful cat drawings with confidence.
- Discover the therapeutic benefits of drawing cats.
Understanding Cat Anatomy for Drawing
To draw cats well, you need to know their body structure. It’s key to understand the basics of cat anatomy for realistic drawings.
Key Features of Cats
Cats have unique features that make them stand out. Their facial structure, like their eyes, nose, and mouth, is important for their look. The body shape, including their limbs and torso, helps show their posture and movement.
Common Cat Postures
Cats are very agile and flexible, showing many postures. They sit, stand, and lounge a lot. Knowing these postures is key to drawing them naturally. For more tips on drawing cats, check out this beginner’s guide.
Proportions to Consider
Getting the proportions right is important when drawing cats. The body length is usually the same as the height at the shoulders. The head is about the same size as the body, with the eyes a third of the way down from the top.
| Body Part | Proportion | Description |
|---|---|---|
| Head | 1/4 to 1/5 of body length | The size of the head in relation to the body. |
| Eyes | 1/3 down from top of head | Position of the eyes on the head. |
| Body Length | Equal to height at shoulders | Overall body proportion. |
Tools and Materials Needed for Drawing Cats
To make amazing cat drawings, you need the right tools and materials. The quality of your art depends a lot on what you use.
Choosing the Right Pencils
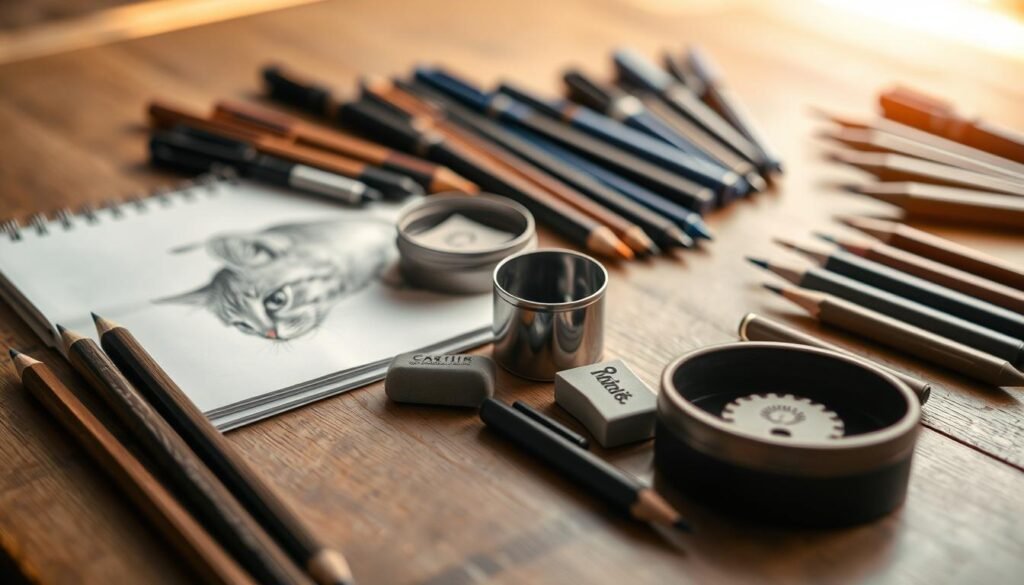
Pencils are key for drawing cats. Start with graphite pencils (HB, 2B, 4B, 6B) for different shades and textures. A sharpener and eraser are must-haves for detailed work. Mechanical pencils help with fine details too.
Selecting Paper Types
The paper you choose matters a lot. For cat drawings, sketch paper or cartridge paper work best. They handle graphite well and can be erased many times. Heavy paper prevents buckling and lasts longer.
Optional Tools for Enhancements
While pencils and paper are basic, other tools can make your cat drawings better. Trying out different techniques, like charcoal or colored pencils, can add depth and variety.
| Tool/Material | Description | Use in Cat Drawings |
|---|---|---|
| Graphite Pencils | Range of pencils for shading and detail | Essential for creating realistic fur textures and expressions |
| Sketch Paper | Paper suitable for graphite and erasing | Ideal for initial sketches and drafts |
| Charcoal | Drawing tool for expressive sketches | Useful for creating dynamic, expressive cat portraits |
Basic Shapes for Cat Drawing
Learning to draw cats starts with using basic shapes. These shapes help you draw cats more accurately and in detail. It’s all about breaking down a cat’s features into simple forms.
Starting with Simple Forms
The first thing to do is find the simple shapes that make up a cat. Use circles, ovals, and rectangles for the head, body, and limbs. Starting with simple forms ensures the cat’s features are in the right place.
The head is a circle, and the body is an oval or a mix of shapes. The limbs are lines or simple rectangles, based on the cat’s pose.
Building on Basic Shapes
After setting up the basic shapes, add more details to your cat drawing. This means making the shapes more like a real cat’s anatomy. Building on basic shapes makes your cat look more real and detailed.
Think about the cat’s pose when adding details. A sitting cat looks different from a standing or jumping one.
Importance of Shape in Cat Art
Shape is key in cat art. It’s the base of your drawing. Getting these shapes right is essential for a believable and beautiful cat drawing.
Using basic shapes also helps with the drawing’s composition and balance. It makes your cat drawing look balanced and pleasing to the eye.You can learn about how to draw a dog.
Sketching the Cat’s Face
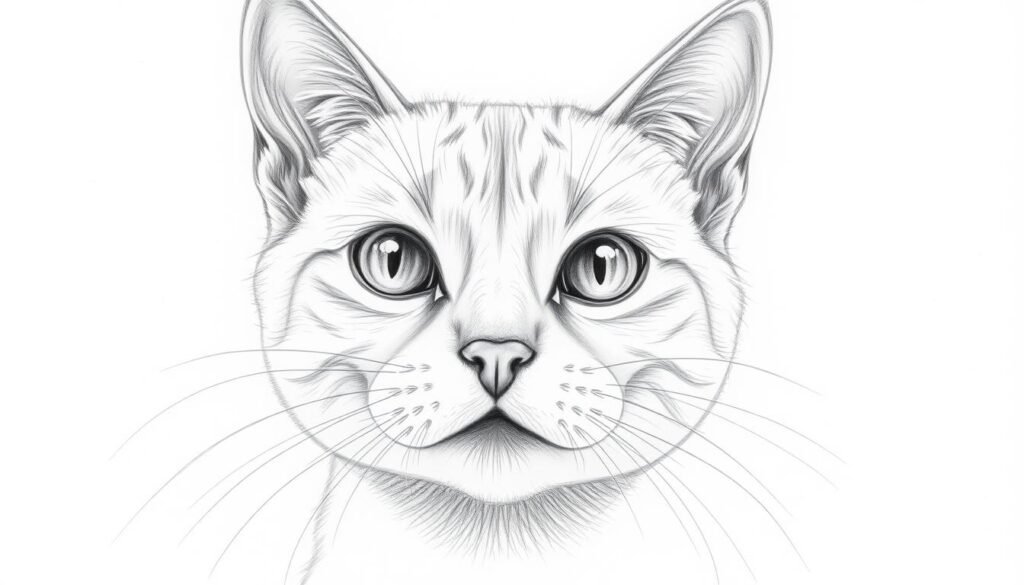
To draw a cat’s face, you need to know its anatomy. The face is key because it shows the cat’s mood and character.
Drawing the Face Outline
Begin by sketching the face’s outline. Focus on the shape and size to make it smooth and balanced. This outline is the base of your drawing.
Eyes, Nose, and Mouth Details
The eyes, nose, and mouth are the face’s most telling features. Make sure they’re in the right size and place. The eyes should be big and full of life. The nose and mouth should match the rest of the face.
For more detailed guidance on drawing cats, you can refer to this step-by-step guide.
Adding Whiskers and Fur Texture
Whiskers and fur texture make your cat drawing look real. Use short, soft strokes for the fur. Notice the whiskers’ direction to make it look more real.
| Feature | Description | Tips |
|---|---|---|
| Eyes | Large and expressive | Pay attention to the shape and color |
| Nose | Small and proportional | Ensure it’s in line with the eyes and mouth |
| Mouth | Subtle and gentle | Capture the curve and expression |
By following these steps and practicing often, you can get better at drawing cat faces. Your drawings will become more engaging and lifelike.
Capturing Cat Body Shapes and Movements
To draw cats that seem to leap off the page, mastering their body shapes and movements is essential. Capturing the fluidity and grace of cats in your drawings can make your artwork more engaging and realistic.
Sketching the Body Fluently
When sketching a cat’s body, it’s crucial to observe and render the smooth, flowing lines that define their anatomy. Start by using simple shapes to outline the overall posture and movement of the cat. Use gentle, curved lines to suggest the cat’s muscular structure and fluid motion.
Practice drawing cats in various poses to get a feel for how their bodies move and flex. This will help you develop a more intuitive understanding of their anatomy, allowing you to sketch more confidently.You can learn about how to draw a eye.
Different Cat Postures and Their Impact
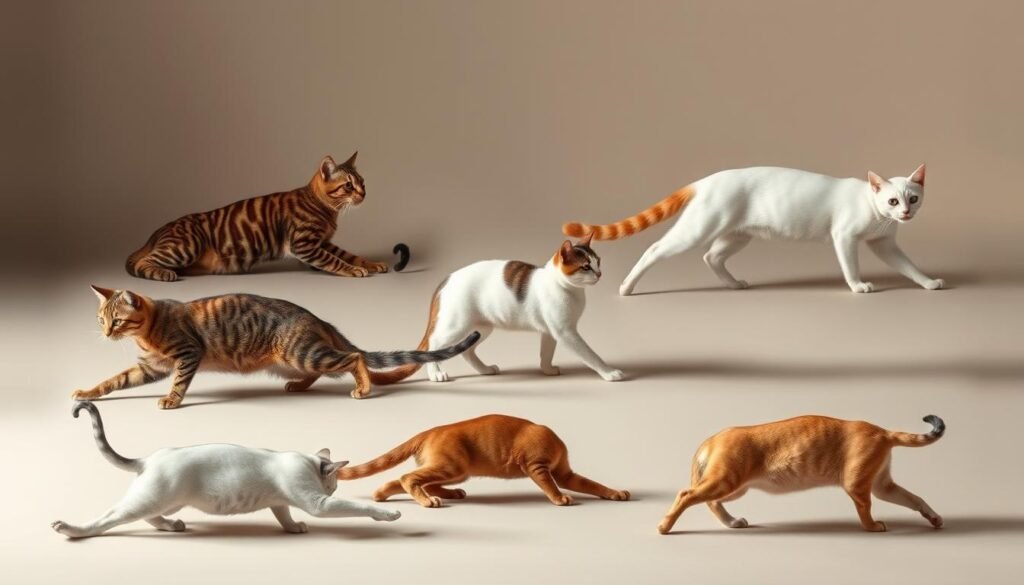
Cats are known for their agility and flexibility, and they exhibit a wide range of postures. From the relaxed, sprawling pose of a cat lounging in the sun to the tense, coiled posture of a cat preparing to pounce, each position conveys a different mood and energy.
Understanding the impact of different postures can help you choose the right pose for the mood or story you want to convey in your drawing. For example, a cat with its back arched and fur standing on end suggests fear or aggression, while a cat curled up in a ball conveys comfort and security.
| Posture | Mood/Energy |
|---|---|
| Arched back | Fear/Aggression |
| Curled up | Comfort/Security |
| Stretched out | Relaxation/Trust |
Tips for Dynamic Poses
To capture dynamic poses, focus on the cat’s movement and energy. Exaggerate the curves and lines of the body to convey a sense of motion. Use quick, gestural drawings to capture the essence of the cat’s movement, and then refine your drawings to add more detail and texture.
- Observe cats in motion to understand how their bodies move.
- Practice drawing cats from different angles and perspectives.
- Use reference images to help you draw cats in various poses.
Adding Details: Fur, Patterns, and Colors
Creating captivating cat drawings starts with details like fur texture, patterns, and colors. These elements are key to making your artwork look real and appealing.
Techniques for Texture and Fur
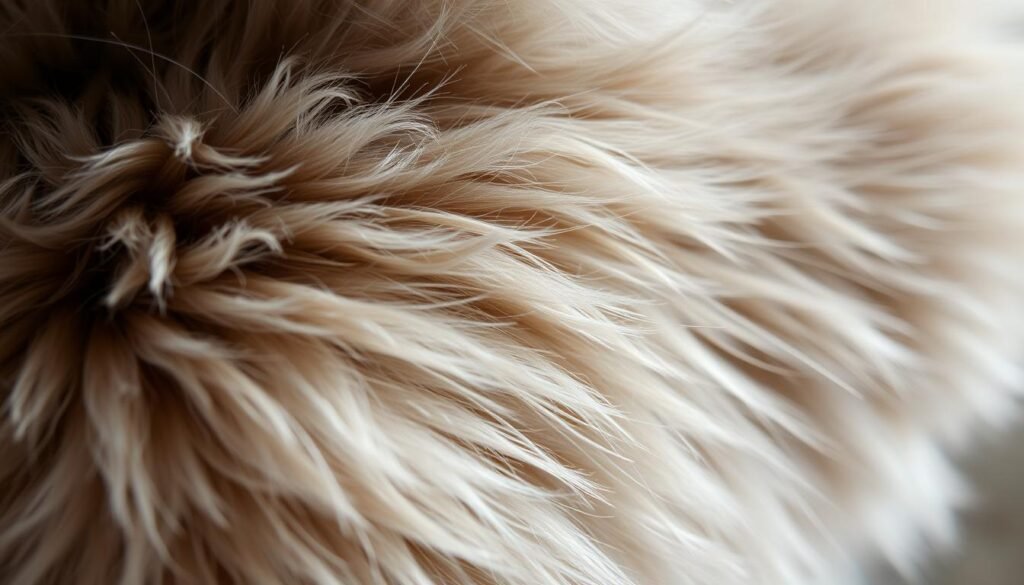
Getting the fur texture right is essential for drawing cats. Start by using pencil techniques like hatching and cross-hatching. This will help create the illusion of fur. For more tips, check out this beginner’s guide.
The direction and flow of the fur are crucial. It should follow the cat’s body shape. To add texture, think about the fur length and type. For example, Maine Coons have longer fur than Siameses.
Varying pencil pressures can create different shades and textures. This adds depth to your drawing.
Understanding Cat Patterns
Cat patterns vary a lot, from solid colors to complex tabby patterns. Knowing these patterns is key to drawing realistic cats. The tabby pattern, for example, has M-shaped markings on the forehead and stripes on the legs and body.
Other patterns include tortoiseshell, calico, and pointed. Each breed has its own pattern. Researching the breed you’re drawing is helpful.
| Pattern Type | Description | Common Breeds |
|---|---|---|
| Solid | Single color throughout the coat | British Shorthair, Siamese |
| Tabby | M-shaped markings on the forehead, stripes on legs and body | Maine Coon, Bengal |
| Tortoiseshell | Mix of colors, typically red, black, and cream | Tortoiseshell cats (various breeds) |
Choosing Color Palettes for Cats
Choosing the right colors is key to capturing your cat’s essence. The colors you pick can change the mood and look of your drawing. Warm colors like oranges and yellows can make your drawing feel cozy. Cool colors like blues can make it calm.
Think about the cat’s breed and natural colors when picking a palette. Cats with bright blue eyes or pink noses add interesting contrasts. Try different palettes to find the best one for your subject.
For realism, observe the cat’s natural colors and shading. Using reference images can help a lot.
Shading and Lighting Techniques in Cat Drawings
To make your cat drawings come alive, learning about shading and lighting is key. These techniques can greatly change how your cat looks, making it more real and interesting.
Importance of Light Sources
The way light hits your cat drawing matters a lot. Natural light and artificial light can make your cat look different. Knowing this can help you set the mood in your art.
For example, soft natural light can make your cat look calm. But harsh artificial light can create bold shadows.
Basic Shading Techniques
There are simple shading methods for cat drawings, like hatching, cross-hatching, and stippling. Each method gives a unique look and can show off your cat’s fur and features.
- Hatching makes lines that follow your subject’s shape.
- Cross-hatching adds more lines at an angle for deeper shadows.
- Stippling uses dots for detailed, contrasty images.
Creating Depth with Shadows
Shadows are key for depth in your cat drawings. By watching where shadows fall, you can make your cat’s features and body look more real.
It’s also important to notice shadow edges. Soft edges mean smooth changes, while hard edges show sharp lines.
Finalizing Your Cat Drawing
Finalizing your cat drawing is a key step. It involves refining details and capturing the essence of your feline subject. This stage is crucial for elevating your artwork.
Reviewing and Refining Your Work
Start by stepping back to view your drawing as a whole. Check for proportions, perspectives, and details that need work. Compare it to the original or reference image to spot any issues.
Refine your drawing by adjusting the outline, texture, and shading. Make sure the proportions are right and the posture looks natural. For more tips on sketching cats, check out this resource.
Common Mistakes to Avoid
When finalizing your cat drawing, watch out for common mistakes. These include:
- Inconsistent proportions
- Insufficient detail in key areas like the eyes and fur texture
- Over-shading or under-shading
Knowing these pitfalls can help you avoid them and create a better drawing.
Adding Personal Touches and Flair
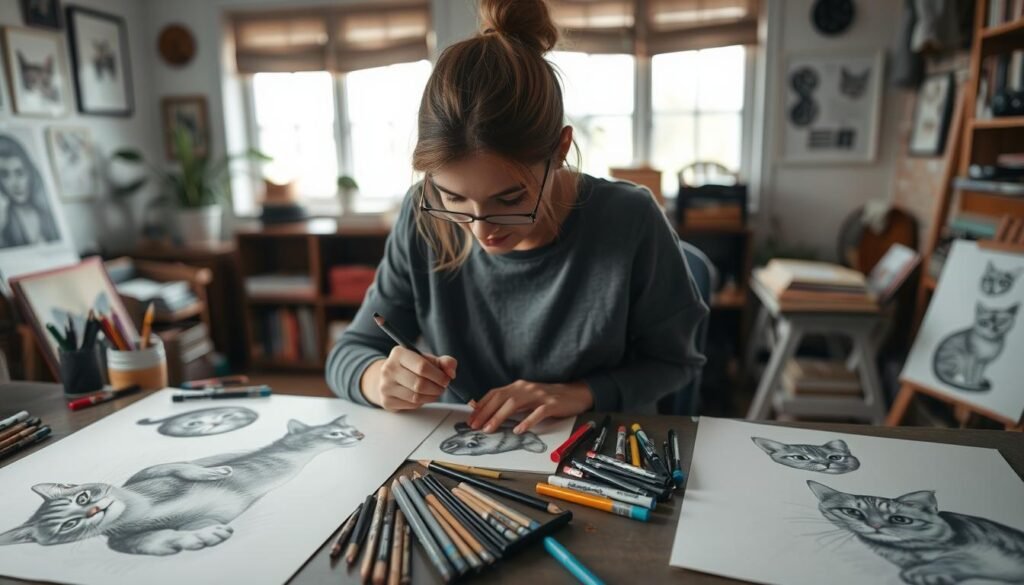
To make your cat drawing unique, add personal touches. Try different styles, add backgrounds, or highlight your cat’s personality.
| Technique | Description | Effect |
|---|---|---|
| Soft shading | Gently gradating tones to create depth | Creates a soft, natural look |
| Bold lines | Using confident strokes to outline | Adds definition and character |
| Texture variation | Mixing smooth and rough textures | Enhances visual interest |
Using these techniques can add a personal touch to your cat drawing. It will make it stand out.
Creating Backgrounds for Your Cat Art
The background of your cat art can add context, depth, and emotion. A well-designed background can turn a simple cat portrait into a captivating story.
When thinking about backgrounds, remember how they can enhance your cat drawings. As artist and illustrator, Andrew Loomis once said,
“The background is not just a setting; it’s an integral part of the composition that can make or break the overall impact.”
Simple Background Ideas
Simple backgrounds can be just as effective as complex ones. Some ideas include:
- Soft gradients that complement the cat’s fur color
- Minimalist patterns, such as subtle textures or gentle stripes
- Plain colors that contrast with the cat’s coat, making it stand out
These simple backgrounds let the cat be the main focus while adding depth to the artwork.
How Backgrounds Enhance Cat Portraits
A well-designed background can significantly enhance your cat portraits by:
- Adding context to the scene, such as a cozy home environment or a natural outdoor setting
- Creating mood and atmosphere, influencing how the viewer perceives the cat
- Drawing attention to the cat by using contrasting colors or complementary textures
By carefully selecting the background, you can turn your cat portraits into engaging stories.
Integrating Cats with Environments
Integrating your cat with its environment can make the artwork more engaging. Think about the cat’s natural behaviors and habitats when designing the background. For example, a domestic cat might be placed in a cozy living room, while a wild cat could be set against a savannah or forest backdrop.
Tips for Effective Integration:
- Observe real-life environments where cats are found
- Use reference images to get details right
- Experiment with different compositions to find the most harmonious balance between the cat and the background
By integrating cats with their environments, you can create more dynamic and interesting artworks that capture the viewer’s imagination.
Displaying and Sharing Your Cat Art
Now that you’ve finished your cat drawing, it’s time to share it. You can show off your skills or connect with cat lovers. There are many ways to display and share your art.
Sharing on Social Media
Social media sites like Instagram and Facebook are perfect for sharing your cat art. Post high-quality images and engage with your followers. Use hashtags to get more views. Sharing on social media helps you get feedback and build a community.
Creating Digital or Printed Versions
Think about making digital or printed copies of your cat art. You can sell or share these online. This way, more people can see and enjoy your art.
Participating in Local Art Events
Art shows and local events are great for showing your cat art in person. Look for art exhibitions, cat shows, or community events. Showing your art at these events can help you meet new people and find fans.


