Drawing flowers can be a fun and calming activity. Many people find it hard to start, but it’s easier than you think. Flower drawing is not just about making pretty pictures. It’s also a way to relax and show your creativity.
I’ll show you how to draw a flower step by step. You’ll start with the basics and then move on to more advanced techniques. With practice, you’ll be able to make beautiful flower drawings. For a detailed guide, check out my previous article on drawing flowers.
Key Takeaways
- Understand the basics of flower drawing
- Learn a simple, step-by-step process to draw flowers
- Discover techniques to create beautiful and realistic flower drawings
- Practice and improve your drawing skills
- Create stunning flower art with ease
Understanding the Basics of Flower Anatomy
Learning about flower anatomy is key to drawing them well. Knowing their structure makes my flower drawings more realistic and detailed.
Let’s dive into the main parts of a flower that are important for drawing.
The Essential Parts of a Flower
A flower has several main parts: petals, sepals, stamen, and pistils. The petals are colorful and attract pollinators. The sepals are green and protect the flower bud. The stamen and pistils help with reproduction. For more info, check out this resource.
Common Flower Shapes
Flowers have different shapes, like radial and bilateral. Knowing these shapes helps draw flowers that look natural and beautiful.
| Flower Shape | Description | Examples |
|---|---|---|
| Radial | Symmetrical around a central point | Roses, Sunflowers |
| Bilateral | Symmetrical about a single plane | Orchids, Snapdragons |
| Irregular | Lacking symmetry | Calla Lilies, some Orchids |
The Importance of Symmetry
Symmetry is crucial in drawing flowers. Many flowers have radial symmetry, looking the same from any angle. Copying this symmetry makes your drawings more believable and attractive.
By grasping flower anatomy basics, including parts, shapes, and symmetry, you’ll enhance your flower drawings.
Gathering My Materials
Before I start drawing flowers, I need to gather the right materials. This ensures my artwork turns out as I envision. The correct drawing tools and art supplies are key to quality drawings.
To get started, I’ll need a few essential items. Let’s begin with the basics.how-to-draw-a-kitty
Recommended Drawing Tools
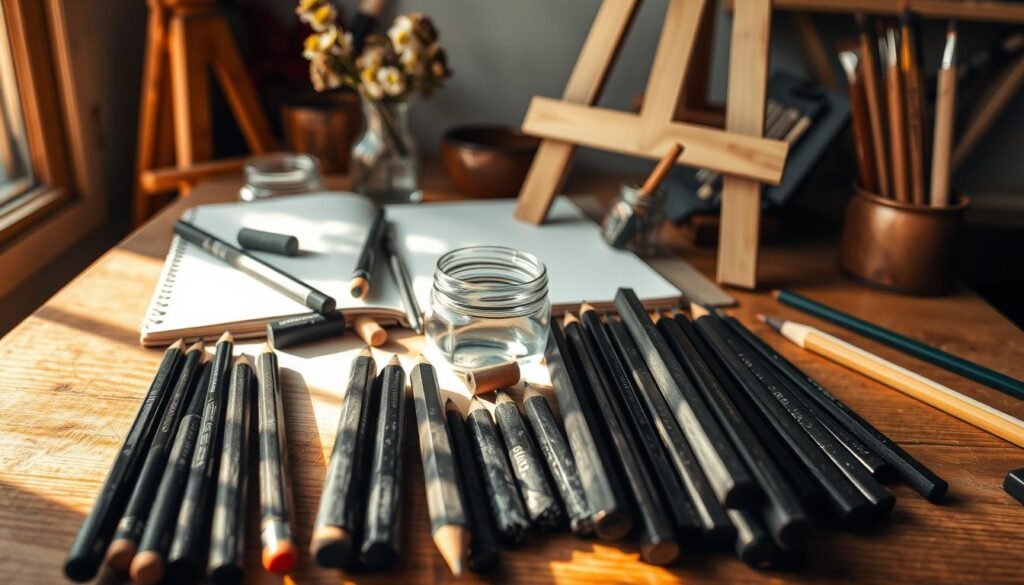
For drawing flowers, I recommend using a variety of pencils. I use soft (B) pencils for shading and hard (H) pencils for fine details. A good quality eraser, like a kneaded eraser, helps me correct mistakes without damaging my paper. For detailed work, I sometimes use a fine-tip pen or a marker.
Choosing the Right Paper
The type of paper I choose is crucial. I prefer high-quality, textured paper for various drawing techniques. The texture helps in creating subtle transitions between shades, adding depth to my flower drawings. For more information on techniques, you can visit this tutorial on realistic flower drawing.
Optional Tools for Detail
While the basics are enough for beautiful flower drawings, optional tools can enhance my work. A blending stump is great for smoothing out shading. I can also use colored pencils or watercolors to add color, making my drawings more vibrant and lifelike.
By gathering these materials, I’m well-prepared to start drawing flowers with confidence and precision.how-to-draw-a-man
Choosing a Flower to Draw
Starting to draw flowers begins with picking one that excites you. This first choice is key because it influences your whole drawing journey. Drawing a flower you love makes the process fun and fulfilling.
Popular Flowers for Beginners
Beginners should start with simple, iconic flowers. Daisies, sunflowers, and tulips are great because they’re easy to draw and recognizable.
These flowers are not only pretty but also teach you about flower anatomy.
Seasonal Inspiration
Choosing a flower based on the season can be inspiring. For instance, spring is perfect for drawing tulips or daffodils. Summer is great for sunflowers or roses.
This method keeps your drawings current and relevant.
Personal Favorites
Using a favorite flower can add depth to your art. It could be a flower you love, one that reminds you of a special memory, or one that fascinates you. Drawing a personal favorite makes the process more enjoyable.
By considering these factors, you can pick a flower that inspires you and helps you grow as an artist.
Sketching the Outline
When I start drawing flowers, the first step is crucial. It’s about setting the foundation for the whole piece. This step needs focus and a light touch to make sure everything looks right.how-to-draw-a-phone
Starting with Basic Shapes
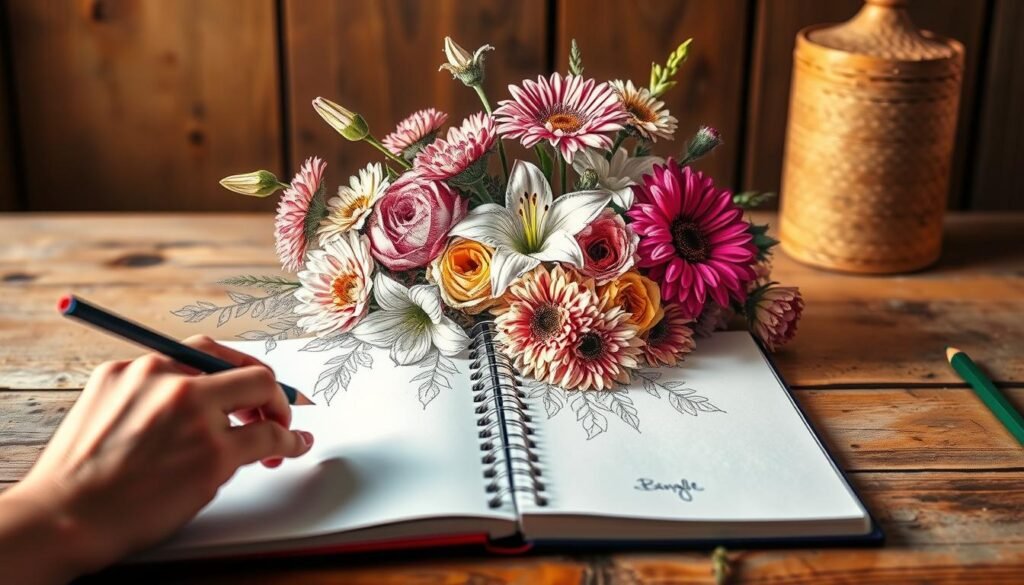
I start by breaking down the flower into simple shapes. For example, a daisy is just a circle for the center and ovals for the petals. This makes drawing more accurate.
Using basic shapes like circles, ovals, and triangles helps. It’s great for beginners because it makes drawing easier.
Establishing Proportions
Getting the proportions right is key when drawing flowers. I measure each part to ensure they’re in the right order. For instance, the size of the center compared to the petals is important for realism.
- Compare the size of the flower center to the petals.
- Measure the distance between petals to maintain even spacing.
- Check the overall shape to ensure it matches your reference.
Tips for Keeping it Light
It’s important to keep the first sketch light. Heavy lines are hard to erase and can mess up your paper. I use a hard pencil (H or 2H) for this. It makes fine, light lines that are easy to fix if needed.
For more inspiration on simple flower drawings, check out https://artfulhaven.com/simple-flower-doodles/. There, you can find different styles and techniques.
Adding Petals and Leaves
My flower drawing is coming to life as I add petals and leaves. This step is key to making my flower look real.
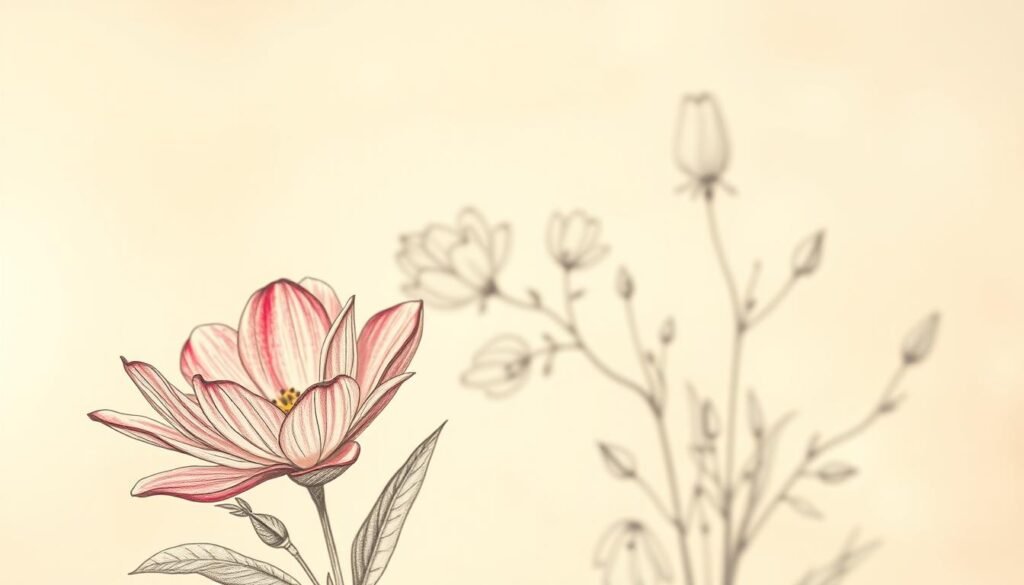
When drawing petals, the style changes with each flower. Some petals are smooth and round, while others are pointed or ruffled.how-to-draw-a-rainbow
Different Petal Styles
Flowers have many petal styles. Roses have layered, ruffled petals. Lilies have long, smooth petals.
- Roses: Layered, ruffled petals
- Lilies: Elongated, smooth petals
- Daisies: Simple, flat petals
Techniques for Leaf Shapes
Leaves are as important as petals in a flower drawing. Drawing leaves means knowing their shapes and how they connect to the stem.
| Leaf Type | Description | Example |
|---|---|---|
| Ovate | Egg-shaped leaves | Roses |
| Lanceolate | Narrow, lance-shaped leaves | Lilies |
| Linear | Long, narrow leaves | Grasses |
Considerations for Composition
When adding petals and leaves, I think about the drawing’s overall look. It’s important to balance the elements for a beautiful piece.
To get a balanced look, I pay attention to where I place leaves and petals. I make sure they’re not too even or too messy. This balance makes the drawing more appealing.
Detailing the Flower Center
To make your flower drawings come alive, focus on the flower center’s details. The center is key to making your drawing look real.
Using Texture to Enhance
Texture adds depth and authenticity to your flower drawings. The flower center often has unique textures. You can capture these using different drawing techniques.
Try hatching or cross-hatching for detailed textures. This makes your flower center look more realistic. Experimenting with pencil grades can also help create different textures.
The Role of Color in Centers
Color is crucial for detailing the flower center. The center often has a different color than the petals. This creates contrast and draws attention to the center.
Choose colors based on what you see in real flowers. You can also try different color combinations to make your drawing unique.how-to-draw-a-parrot
Incorporating Details from Nature
Studying nature is essential for realistic flower drawings. Look closely at real flower centers. Note their shapes, textures, and colors.
| Observation | Drawing Technique | Effect |
|---|---|---|
| Texture of the center | Hatching or cross-hatching | Realistic texture |
| Color variation | Layering colors | Depth and contrast |
| Shape and form | Detailed outlining | Accurate representation |
By adding these details to your drawing, you can make a more authentic and engaging piece of art.
Shading and Texturing Techniques
Shading and texturing can make your flower drawings look amazing. They add depth, realism, and emotion. With these techniques, your artwork can go from simple to sophisticated.
Understanding Light and Shadow
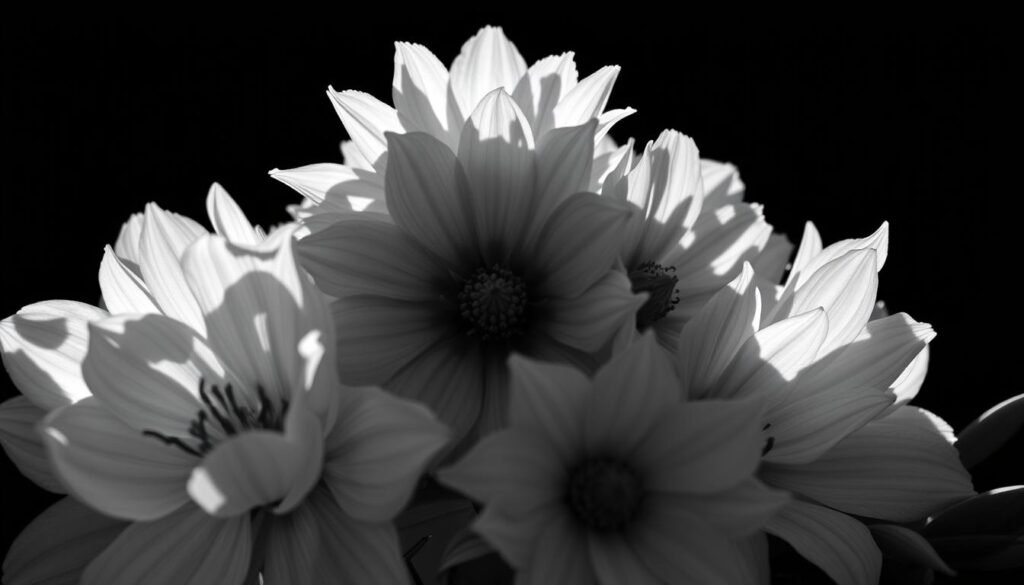
Light and shadow are key to realistic drawings. Knowing how light affects your subject is important. Light sources change how flowers look, creating highlights and shadows.
When drawing flowers, think about the light’s direction and strength. This helps you show shadows and highlights correctly. For more on shading flowers with ink, check out this resource.
Blending for Realism
Blending smooths out shades and textures in your drawing. It’s crucial for a realistic look. Use blending stumps, tortillon, or your fingers to blend.how-to-draw-a-raccoon
Start with light layers and add darker shades gradually. This prevents your drawing from looking too dark. Aim for a natural, soft transition between shades.
Using Cross-Hatching
Cross-hatching adds texture and depth to your drawings. It involves layering lines at different angles for shading. Varying line density and direction creates detailed textures.
Mastering cross-hatching takes practice. Begin with lines in one direction, then add more at angles. This technique enhances texture and dimension in your flower drawings.
Incorporating Color
Adding color to my flower drawings is a careful process. I think about the look I want to create. It’s all about the aesthetic.
Choosing a Color Palette
Choosing the right colors is key for a beautiful flower drawing. I pick colors that match the flowers I’m drawing. For example, sunflowers might get shades of yellow, orange, and brown.
I find inspiration in nature for my colors. Sometimes, I use online tools or apps to find the perfect shades. For more tips on digital art, I check out Clip Studio’s tips.
Techniques for Layering Colors
Layering colors adds depth to my drawings. I start with a base color and add more, blending them for a natural look.how-to-draw-a-monster
I start with light colors and move to darker ones. This keeps the colors clear and interesting. I also play with brushstrokes and textures for extra flair.
Utilizing Watercolor or Markers
Watercolor and markers are great for adding color. Watercolor gives soft, blended colors, while markers offer bold, precise lines.
With watercolor, I start with a light wash and build up. Markers let me create vibrant, graphic colors. I pick my medium based on the look I want and the style of my drawing.
Final Touches and Enhancements
My flower drawing is almost done. I step back to review and refine it. This stage is key to making sure my artwork looks good and shows the flower’s beauty.
Reviewing My Work
I start by looking at the whole picture. I check if it’s balanced and harmonious. I also make sure the proportions are right and the details are enough.
Being critical at this point helps me find what needs work.
To help with the review, I use a checklist like this:
| Aspect | Satisfactory | Needs Improvement |
|---|---|---|
| Proportions | ||
| Details | ||
| Composition |
Making Adjustments
After finding what needs work, I make the changes. This could mean making the petals finer, adjusting the shading, or adding texture. I use different techniques, like soft pencil shading or bold strokes, to get the look I want.
For example, if the flower center needs more detail, I might use a finer pencil to add intricate patterns or textures.
Adding Background Elements
Adding a background can make my flower drawing better. It adds context and depth. I might choose a simple background like a gradient or a soft wash, or something more complex like foliage or other flowers.
By adding background elements thoughtfully, I can make my art more engaging and dynamic. Whether it’s simple or complex, the background should enhance the flower without taking over.
Tips for Effective Backgrounds:
- Keep it simple to avoid distracting from the main subject.
- Use colors that complement the flower.
- Consider the mood or atmosphere I want to convey.
By following these steps and focusing on the final touches, I can improve my flower drawing and create a stunning piece of art.how-to-draw-a-seahorse
Sharing My Artwork
As I finish my flower drawing, I’m eager to share it. Sharing art lets me connect with other artists and get feedback. It’s a great way to grow.
Practical Display Ideas
I think about framing or mounting my drawings on a board. This makes them look professional and easy to share.
Digital Platforms for Sharing
Today, I can share my art online on sites like Instagram and Pinterest. These platforms help me show my work to more people and connect with other artists.
Building a Community
Connecting with other artists is key. I join online groups or local art clubs to share my work and learn. Sharing my art and meeting others keeps me inspired and helps me improve.


