Drawing people is an art that needs patience, skill, and practice. Did you know that portrait drawing can significantly improve your overall drawing skills? Learning to draw realistic faces and figures can boost your artistic skills and create amazing portraits.
As an artist, I’ve learned that knowing human anatomy is key for realistic portraits. In this guide, I’ll show you how to draw people step by step. We’ll cover everything from basic anatomy to adding the final touches to your artwork.
Key Takeaways
- Understand the basics of human anatomy for realistic portraits
- Learn step-by-step techniques for drawing people
- Improve your overall drawing skills with portrait drawing
- Master the art of adding final touches to your artwork
- Enhance your artistic abilities with practice and patience
Understanding Basic Human Anatomy
Human anatomy is key to drawing people well. To draw figures effectively, you must know the body’s structures.
Learning the body’s proportions is the first step. The human body has certain measurements and ratios. For example, an adult’s body is about seven to eight heads tall. This helps artists draw more realistically.
Proportions of the Human Body
Body proportions vary, but there are general rules. The head is a key measurement. An adult’s height is roughly seven to eight times their head’s height.
| Body Part | Proportion |
|---|---|
| Head | 1 unit |
| Total Body Height | 7-8 units |
| Arm Length | Approximately 3 units |
| Leg Length | Approximately 4 units |
For more details on drawing proportions, check Clip Studio Paint’s guide on figure.
Major Muscle Groups
Major muscles greatly affect the body’s look and movement. Knowing these muscles helps artists show the body’s shape and movement. Key muscles include the deltoids, biceps, triceps, pectorals, and quadriceps.
Robert Beverly Hale, a famous artist and anatomist, said, “The study of anatomy is not just about the body’s structure. It’s also about its function and movement.” This shows how important it is to understand the body’s static form and how it moves.
“The study of anatomy is not merely a study of the body’s structure, but also of its function and movement.” – Robert Beverly Hale
Skeletal Structure
The skeletal structure is the body’s framework. Artists need to know the major bones and their connections to draw the body’s posture and movement well. Focus on the cranium, ribcage, spine, pelvis, and the long bones of the limbs.
By learning about proportions, muscles, and bones, artists can draw more realistic and engaging figures.You can learn about how to draw a face.
Tools and Materials for Drawing
As an artist, I’ve found that the tools you use greatly affect your drawings. The right drawing supplies can really help you draw people accurately.
Essential Drawing Supplies
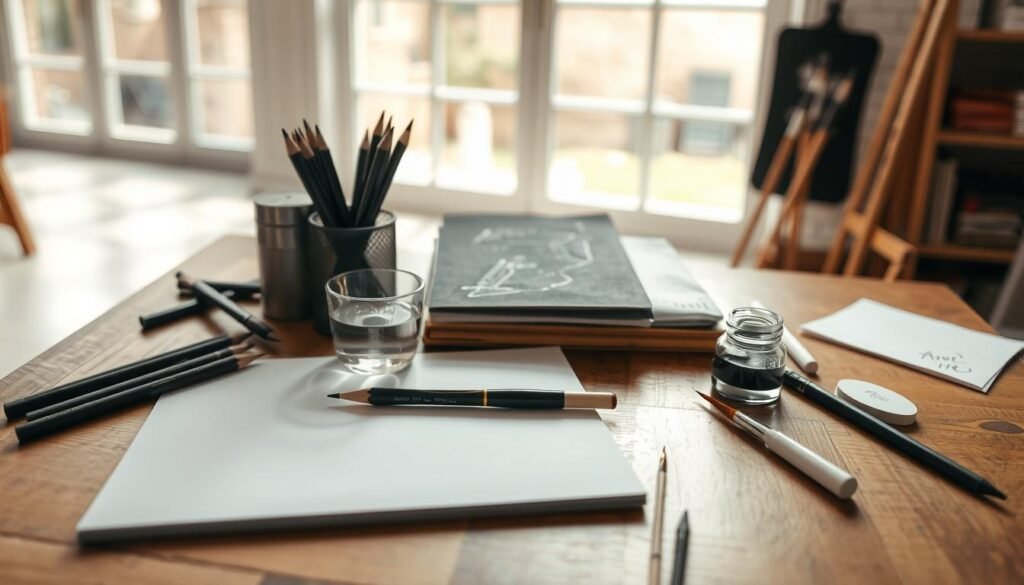
To start drawing people, you’ll need some basic supplies. You’ll need pencils (HB to 6B), a sketchbook with good paper, and erasers. A quality eraser is great for adding highlights and fixing mistakes.
Here are the main supplies you’ll need:
- Pencils (HB, 2B, 4B, 6B)
- Sketchbook with varied paper types
- Erasers (kneaded and white vinegar)
- Sharpener
- Blending stumps or tortillon
For detailed tips on using these supplies, check out this tutorial. It offers step-by-step advice.
Recommended Brands for Beginners
Choosing the right brands is important for beginners. For pencils, Faber-Castell and Derwent are top choices. They’re durable and offer a wide range of tones. For sketchbooks, Moleskine and Canson have great paper for different drawing styles.
Here are some brands to look at:
- Faber-Castell for pencils
- Moleskine for sketchbooks
- Canson for mixed media paper
- Tombow for erasers and blending tools
By choosing these essential supplies from top brands, you’ll be ready to create detailed drawings of people.
Starting with Basic Shapes
To draw a person, start with simple shapes. This method helps you get the overall look right before adding details. Breaking down the body into basic shapes makes your drawing more accurate and balanced.
Basic shapes make drawing easier and help keep proportions right. For example, the head is a sphere, the torso a cylinder, and limbs are elongated shapes. This foundation helps you create detailed drawings.You can learn about how to draw a flower.
Constructing the Head
The head is key when drawing a person. Start with a sphere for the cranium. This sphere is the base for adding facial features and details.
To refine the head, add guidelines for facial features. A vertical line down the sphere helps place the nose. A horizontal line guides the eyes and mouth.
Developing the Torso and Limbs
After the head, focus on the torso and limbs. The torso is a cylinder or box, depending on the pose. Limbs are elongated shapes, keeping proportions and natural curves in mind.
| Body Part | Basic Shape | Refinements |
|---|---|---|
| Head | Sphere | Add facial features, refine shape |
| Torso | Cylinder or Box | Define chest and waist, add muscle detail |
| Limbs | Elongated Cylinders or Rectangles | Refine joints, add muscle and bone detail |
Start with basic shapes and add details gradually. This method makes your drawings well-proportioned and realistic. It simplifies the process and improves your understanding of human anatomy.
Sketching the Figure in Motion
Sketching a figure in motion is about showing energy and movement. You need to know the basics of gesture drawing and how to draw dynamic poses.

Capturing Dynamic Poses
Capturing dynamic poses means watching how the body moves and twists. I start by finding the gesture line, an imaginary line through the body’s center. This line shows the figure’s movement and flow.
To draw dynamic poses, I look at the major joints and how they move together. I also notice the weight distribution and how it shapes the pose.You can learn about how to draw a dragon.
Understanding Gesture Drawing
Gesture drawing captures a figure’s essence and movement. It’s about quickly sketching the overall pose and gesture, not details. I use it to loosen my strokes and show the figure’s energy.
To practice, I set a timer and sketch the figure in short poses. This improves my observation and ability to capture movement and energy.
Mastering gesture drawing and dynamic poses makes my artwork more engaging and full of movement and energy.
Adding Facial Features
Drawing facial features well is key to making portraits look real. The face has many parts, and knowing them is important for artists.
Drawing Eyes, Nose, and Mouth
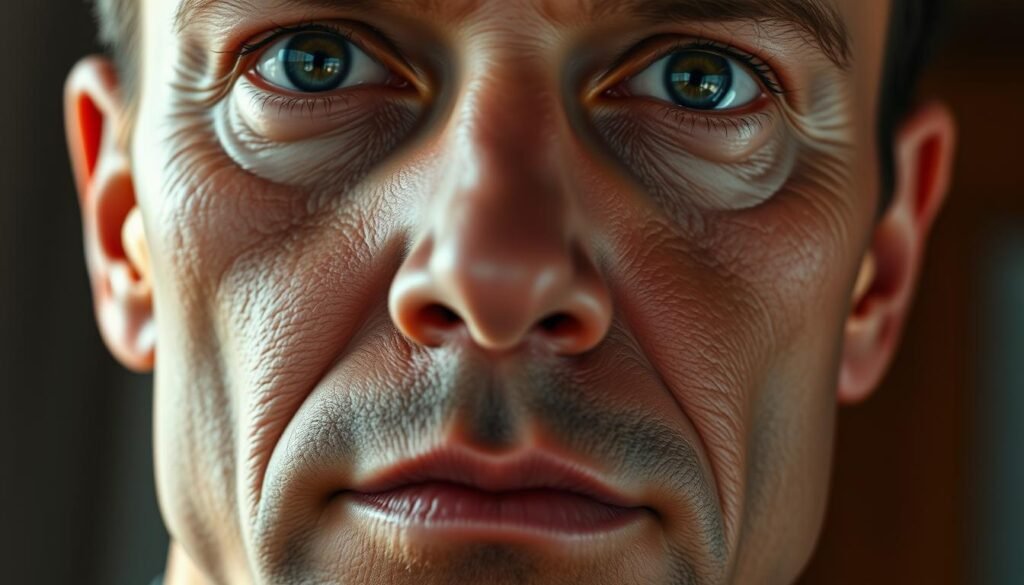
The eyes, nose, and mouth show the most emotions. Understanding their anatomy is crucial. Eyes, for example, have the iris, pupil, and eyelids, not just being simple shapes.
When drawing the nose, focus on its shape and size. The nose greatly changes how the face looks. The mouth also shows different emotions and needs careful drawing.
Proportions of the Face
Knowing the face’s proportions is essential for a realistic portrait. The face has key parts like the eyes, nose, and mouth. Divide the face into thirds both ways to place these features right.
Expressions and Emotions
Catching expressions and emotions is vital in drawing faces. The face shows many feelings with small changes. Watch how the eyes, eyebrows, and mouth change with emotions.
Mastering facial features makes portraits both real and touching. Practice and watching others are important to get better.
Clothing and Drapery
Understanding fabric’s interaction with the body is crucial for drawing clothes. Fabric drapes on the body, creating folds that can be subtle or pronounced. Mastering these folds can make your figure drawings more realistic.
How Fabric Falls on the Body
Fabric’s texture, weight, and wear affect how it drapes. A heavy coat drapes differently than a lightweight scarf. To draw clothes accurately, observe how fabrics fall on the body. You can learn more about drawing techniques to capture these details.
When drawing, think about the direction of folds and body movement. Fabric folds in the opposite direction of movement or tension. For example, a bending arm causes the sleeve fabric to fold at the elbow.
Techniques for Drawing Folds
To draw realistic folds, start with major folds that follow the body’s structure. Use simple lines to outline these folds, then add more detail. Practicing gesture drawing helps capture fabric’s dynamic movement.
Some key techniques include:
- Observing how fabric drapes on different body parts
- Using varying line weights for depth and dimension
- Noticing tension and movement’s impact on folds
By practicing these techniques and observing fabric, you can draw more convincing clothes and drapery. This will improve your artwork’s overall quality.
Shading and Texturing Techniques
Shading and texturing are crucial for turning a simple sketch into a detailed artwork. They add depth, dimension, and visual interest to your drawings.
Creating Depth and Dimension
To make your drawings convincing and engaging, it’s key to understand shading. Shading techniques play with light and shadow to make your drawings look three-dimensional.
- Use soft shading for smooth transitions between light and dark.
- Apply hatching and cross-hatching for detailed, textured shading.
- Try stippling for detailed, high-contrast images.
Highlighting Key Features
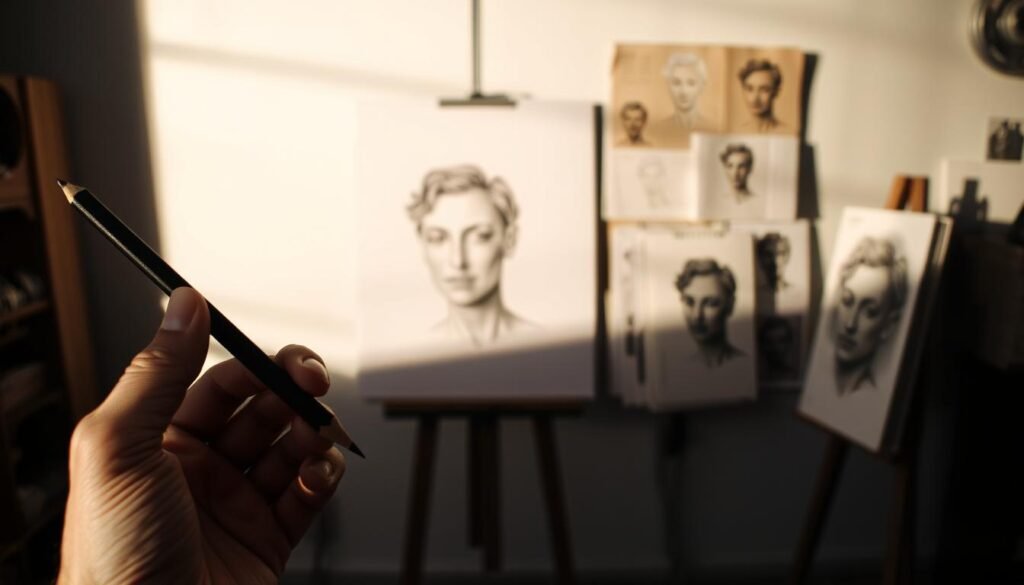
Texturing is also vital in drawing, as it defines the subject’s surface quality. Texturing techniques help guide the viewer’s eye to the drawing’s key features, making it more engaging.
- Observe and try to replicate your subject’s texture with different tools.
- Use various line weights and shading to show texture.
- Notice how light affects your subject’s texture for realistic shading.
By using effective shading and texturing, you can greatly improve your drawings. This brings your subjects to life.
Incorporating Background Elements
Adding background elements to your drawings can make them more interesting and meaningful. A good background can turn a simple drawing into a story-filled scene. It’s all about creating a setting that brings your figure to life.

Setting the Scene
When setting the scene, think about where your figure is. It could be indoors, like a room, or outdoors, like a park. Consider what’s naturally there and how it affects your figure.
For example, if your figure is in a café, include tables, chairs, and other people in the background. For tips on making your environments detailed, check out Clip Studio Tips. They have great advice on improving your drawings.
Grounding Your Figure
Grounding your figure means making it look like it’s really there. This means paying attention to how it touches the ground or other parts of the scene. It makes your drawing look more real and interesting.
Think about the perspective and how the background fits around your figure. This adds depth and makes your drawing more engaging. By focusing on background elements and grounding, you can make your drawings better and more meaningful.
Final Touches and Refinements
As you get close to finishing your drawing, it’s key to refine it. This means looking over your work, finding areas to improve, and making those changes. It’s all about getting that polished, professional look.
Reviewing Your Work
Step back and look at your drawing overall. Make sure the proportions are right, so the figure looks accurate. Check that the face, clothes, and background fit well together. This is vital for drawing a person right.
Tips for Overcoming Common Challenges
Problems like wrong proportions, awkward poses, or rough details are common. To fix these, go back to learning about human anatomy. Practice gesture drawing to get poses right. Focus on these details to make your drawing look real and interesting.
By carefully checking your work and tackling any issues, you’ll improve your drawing. This will make your art more engaging and captivating.


