

Globally, people check their phones an average of 58 times a day. This constant presence makes the device a perfect subject for artistic exploration.
This guide introduces you to the fundamental concepts of creating a realistic phone. Modern smartphones feature sleek, minimalist designs that are surprisingly straightforward to recreate on paper.
This makes them an ideal subject for beginners. While most people now use mobile phones, classic landline handsets remain culturally significant icons.
They offer a different set of artistic challenges. This tutorial builds upon basic drawing skills. It focuses on the specific proportions and features that make a phone instantly recognizable.
Mastering this subject improves your confidence in rendering other electronics. You can apply these skills to create digital art assets or enhance your ability to draw rectangular objects.
Taking the time to learn draw this piece of modern technology is a valuable exercise. For a detailed, step-by-step guide, explore this comprehensive phone drawing tutorial.
Key Takeaways
- Modern phone designs are accessible for artists of all skill levels.
- This skill helps you accurately capture contemporary technology in your art.
- Both smartphones and classic handsets offer unique artistic practice.
- The tutorial focuses on fundamental shapes and recognizable proportions.
- Mastering this subject builds confidence for drawing other electronics.
- The techniques learned have practical applications in digital art creation.
Materials and Initial Sketches
A successful artistic project begins with thoughtful preparation. Having the right tools and a solid setup makes the entire process more enjoyable and yields better results. For a deeper dive into artist supplies, explore this guide to essential drawing tools.
Gathering the Right Tools and Materials
I recommend starting with a few key items. Quality pencils, like HB and 2B, a good eraser, and smooth drawing paper are fundamental. A ruler helps achieve crisp, straight lines. Working on a graphics tablet is another excellent way to create your artwork.
This digital approach offers easy corrections. Having everything organized before you start prevents interruptions.how-to-draw-hands
Setting Up Your Paper with Guidelines
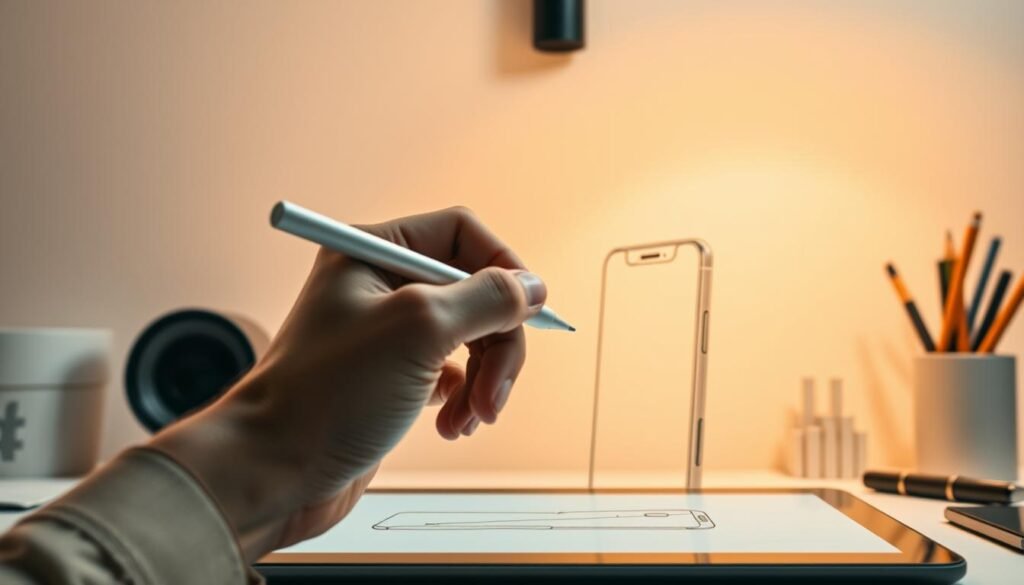
The first mark on your paper should be a light framework. Draw a single vertical line intersecting a horizontal one. This creates a simple crosshair.
This structure is crucial for placing your initial outline accurately. Taking a bit of time for this step prevents proportion errors later. These guide lines are meant to be erased after the main drawing is complete.
This method ensures a clean, professional-looking final piece on your paper.
Step-by-Step Guide: How to Draw a Phone

The construction phase starts with simple geometric shapes that define the device’s silhouette. I will guide you through each part of this process, building from a basic outline to a polished form.
Outlining the Basic Phone Shape and Screen
Begin your phone drawing with a clean rectangle. This shape is the foundation. Keep your lines light for easy adjustments later.how-to-draw-a-horse
The next step involves the screen. Draw a second rectangle inside the first. Make it slightly narrower and shorter to create a consistent border around the display.
This spacing from the previous step is crucial for accuracy. I always check that the borders look even on all sides.
Sketching Buttons, Volume Controls, and Other Features
Now, add the essential features. Place a small power button at the top of your outline. On the left side, sketch the volume buttons and the silent mode switcher.
At the bottom, draw a circular home button. A common mistake is making these elements too large. Keep them proportionate to the main body.
Smoothing Edges to Mimic Modern Smartphone Design
This is the key step that transforms a boxy shape into a sleek device. Carefully round off all four corners of your initial rectangle.
The curvature should be subtle. Removing the sharp corners completes the basic phone structure, making it look like a modern smartphone. For more detailed guidance on this style, a specific iPhone drawing tutorial can be very helpful.
Personal Tips and Tricks from My Experience
I recommend holding your drawing next to a real phone or reference image at each step. This ensures your proportions are correct.
Use references wisely. Focus on the essential features. You can simplify complex details without losing the recognizable appearance. Proper line weight is also important. Use a confident, steady pressure for a clean final outline.how-to-draw-a-pumpkin
Adding Details and Modern Tech Elements

This phase transforms your basic sketch into a convincing technological device through careful detailing. The small components make your artwork authentic and recognizable.
Drawing the Speaker, Microphone, and Home Button
Realistic audio components require precise dot patterns. Create speaker grilles using small, shaded dots arranged in neat rows.
The microphone opening needs similar treatment. Use the same dotting technique for consistency. This approach adds authentic texture to your work.how-to-draw-a-man
Refine the home button with subtle shadows. A light ring around this part creates three-dimensional appearance. These details make your device look tactile.
| Detailing Technique | Application Area | Recommended Tool | Visual Effect |
|---|---|---|---|
| Dot Pattern | Speaker & Microphone | Fine-tip Pen | Authentic Texture |
| Shadow Ring | Home Button | Soft Pencil | 3D Appearance |
| Edge Shading | Device Outline | Blending Stump | Depth Creation |
| Color Gradients | Body & Screen | Colored Pencils | Modern Finish |
Incorporating Contemporary Design Accents and Colors
Modern devices feature vibrant colors beyond traditional black. Your artwork can explore any palette you prefer. This creative freedom makes each piece unique.
Working on a tablet offers digital color flexibility. Traditional media like markers provide rich saturation. Both methods create eye-catching results.
Add camera lenses and brand logos for authenticity. Subtle screen reflections suggest glass surfaces. These finishing touches elevate your picture from good to exceptional.
Conclusion
This achievement represents more than just a completed sketch—it’s foundational skill building. The techniques practiced here apply to countless other subjects. You’ve gained valuable experience with proportions, clean lines, and modern design elements.
I encourage you to practice this exercise multiple times. Repetition builds muscle memory for confident work. Consider sharing your finished picture on social platforms for constructive feedback from other people. This interaction helps identify strengths and areas for growth.
For your next step, explore drawing the device from a side view or adding contextual elements. Our comprehensive phone drawing tutorial offers additional guidance. Continue building your portfolio with related electronics tutorials.


