

Did you know the eastern cottontail, North America’s most common rabbit species, has been the inspiration for beloved characters like Thumper from Bambi? This fact highlights the deep cultural connection people have with these gentle animals. Their unique charm makes them a favorite subject in the world of art.
Many aspiring artists believe creating a realistic bunny sketch requires advanced skills. This common misconception often holds people back from exploring their creative potential. In reality, the process is much more accessible than you might think.
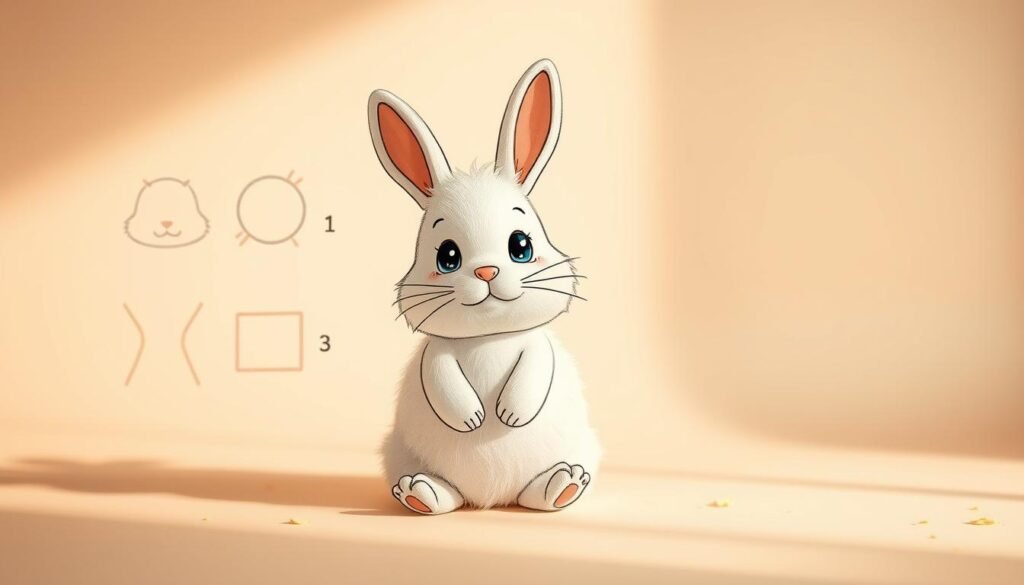
I will guide you through a simple, enjoyable approach to sketching these beautiful animals. We will focus on their distinctive features, such as big, round eyes and fluffy fur. Breaking the subject into basic shapes makes the entire process manageable for artists of any level.
This tutorial is designed to demystify animal drawing. You will learn that with the right techniques, creating a charming rabbit illustration is an achievable goal for everyone. Let’s begin this artistic journey together.how-to-draw-the-cake
Key Takeaways
- Rabbits are popular drawing subjects due to their gentle appearance and distinctive features.
- Creating a bunny sketch is an accessible activity for people at all skill levels.
- Breaking down complex animals into simple shapes is a fundamental art technique.
- This guide provides a step-by-step process to build confidence in your drawing abilities.
- Learning to sketch animals can be a fun and rewarding artistic experience.
Introduction to Rabbit Drawing
My journey into illustrating rabbits began not in a studio, but while observing their graceful movements in the Austrian countryside. This deep connection to nature fuels my passion for capturing their essence on paper.how-to-draw-a-bunny-easy
Inspiration and Creative Process
Inspiration is everywhere. I study live animals, photographs, and the work of other artists. This research is crucial for understanding rabbit anatomy and behavior.
Over time, my creative process has evolved. I learned from various tutorials and through constant practice. This helps me create authentic and engaging bunny artwork.
Different sources offer unique value for artists learning drawing. Here’s a comparison of common inspiration types:
| Source | Key Benefit | Best For |
|---|---|---|
| Live Observation | Understanding movement and posture | Dynamic sketches |
| Photographs | Studying fine details and lighting | Realistic rendering |
| Other Artwork | Learning different styles and techniques | Creative interpretation |
Overview of My Drawing Journey
Working with publishers on numerous projects has honed my skills. It also shaped my approach to teaching people the fundamentals.
I believe clear, step-by-step instructions make drawing accessible to all. My method breaks complex subjects into manageable steps. You can see this approach in my detailed tutorial on my blog.
This builds confidence and allows anyone to create a charming bunny sketch. My goal is to share this joyful process with fellow creatives.
Essential Materials and Tools for Rabbit Sketching

Before your pencil touches the page, selecting the proper supplies sets the stage for your drawing. The right tools empower your technique, making the process smoother and more enjoyable.
Choosing the Right Pencils and Paper
Your primary pencils are your most important decision. I recommend a range from hard H grades to soft 6B or 9B pencils. Brands like Koh-I-Noor or Faber-Castell offer excellent quality.
Hard pencils (H) are perfect for light guidelines. They keep a sharp point for fine lines like whiskers. Softer pencils (B) contain more graphite, creating rich darks for shading.
| Pencil Grade | Primary Use | Characteristic |
|---|---|---|
| H or HB | Initial sketching | Light, easy-to-erase lines |
| 2B – 4B | General shading | Versatile mid-range tones |
| 6B – 9B | Deep shadows | Very dark, soft application |
For paper, choose a sketchpad with a weight of at least 250 g/m². This heavy-duty paper can handle erasing and layered graphite without tearing.
Supplementary Tools for Precision and Detail
A black coloring pencil, like Faber-Castell Polychromos, provides a matte, opaque black. This is essential for the deepest shadows in your drawing of animals.
My top tip is to have a specialized eraser. The Tombow Mono Zero eraser pencil lets you erase individual lines and create tiny highlights.
Use a tissue or cotton bud to blend graphite smoothly across the page. Remember, while good tools help, your skill is what creates beautiful art. This tip is key for all artists.
Mastering the Basics: Sketching the Rabbit’s Outline

Every successful sketch begins with a strong, invisible foundation of construction lines and basic shapes. This initial step is the most critical for achieving accurate proportions in your animal artwork.
Mapping Out Guiding Lines and Shapes
I start this drawing by placing a long, vertical ellipse in the center of the page. This shape forms the core of the rabbit‘s face.
Next, I add two more ellipses for the ears. They begin in the upper third of the head ellipse and angle outward. A horizontal ellipse defines the fluffy cheeks.
These initial shapes create a three-dimensional guide. They make visualizing the final form much simpler.
For the body, I use a large oblong shape on one side. This technique of breaking down complex subjects is a fundamental skill for any artist.
Establishing Proportions and Facial Guides
The next step involves adding a cross within the head ellipse. This is a classic artist’s technique for ensuring symmetry.
The horizontal line of the cross marks the future position of the eyes. The vertical line acts as the center guide for the head.
Remember to use light pressure with your H or HB pencil for these construction lines. This allows for easy erasing later.how-to-draw-a-snowman
Refining the outline comes next. I connect the curved lines of the shapes smoothly. This creates a natural flow for the bunny‘s form.
| Construction Element | Primary Function | Final Feature |
|---|---|---|
| Vertical Ellipse | Core face structure | Head and muzzle |
| Ear Ellipses | Placement and angle | Long, upright ears |
| Facial Cross | Symmetry and placement | Eyes and nose alignment |
| Body Oblong | Mass and posture | Main torso shape |
This method of using simple shapes is a powerful tool. It works for sketching a rabbit or any other animal. For another perspective on starting your bunny sketch, this guide on animal drawing offers great insights.
how to draw a rabbit easy: Step-by-Step Techniques

The construction lines provide the perfect roadmap for creating a charming, expressive bunny face. This stage transforms basic shapes into recognizable features that capture the animal’s personality.
Sketching the Facial Features and Expression
Begin with the eyes, using the cross guidelines for perfect placement. Create large, round shapes that taper slightly at the corners for that characteristic bunny look.
Inside each eye, add a curved line and shade the pupil area. For the nose, draw a small boomerang shape that captures the wiggly appearance. Connect this to a rounded “W” shape below for the mouth area.
The lower jaw follows with gentle curved lines that define the soft chin. These elements work together to create an expressive face full of character.
Drawing the Ears, Body, and Limbs
Refine the ear shapes into tapered almonds rather than perfect ellipses. The body develops from your initial oblong guide, with vertical curves forming the forelegs.
For the thicker hind legs, use circles and oblongs as your foundation. Add a half circle at the rear for the short tail. Finally, use short curved lines to suggest toes on each foot.
Softening the contours creates natural flow between sections. Imagine the initial ellipses melting together for smooth transitions. This approach brings your sketch to life with organic form.
Enhancing Your Rabbit Drawing with Shading and Details

The difference between a flat sketch and a lifelike drawing lies in mastering light and shadow. This stage brings your artwork to life by creating depth and texture.
I begin by analyzing reference photos to identify medium and dark areas. Using an HB or 2B pencil, I lightly fill these zones first.how-to-draw-a-panda
Light Shading Methods for Depth
Layering is my key technique for building realistic shadows. I start with light pressure using harder pencils.
This approach prevents going too dark too quickly. I reserve the brightest areas, like around the eyes.
For the deepest shadows, I switch to softer 4B pencils. The eyes, nose, and ear interiors receive this treatment.
Blending creates smooth transitions between tones. I use a tissue or cotton swab to soften pencil strokes.
Techniques for Realistic Fur and Texture
Fur rendering requires understanding growth patterns and length variations. Each area of the body has distinct characteristics.
On the head and ears, I use short strokes with dark pencils. The body requires longer, curved lines to suggest fluffiness.
The nose area needs almost dot-like marks since fur is extremely short there. Direction matters greatly for natural appearance.
My final tip involves using an eraser pencil to create highlights. This tool pulls out individual light hairs from shaded areas.
Patience during this process yields the most convincing results. Building texture gradually creates dimension that brings your bunny to life.
Final Touches and Additional Tips for Cute Animal Sketches

Strategic contrast application separates amateur sketches from professional artwork. These final adjustments give your creation depth and personality.how-to-draw-a-cheetah
I focus on two key areas: enhancing visual impact and adding environmental context. Both elements work together to complete your artistic vision.
Incorporating Background Elements Creatively
A simple background makes your subject stand out dramatically. Consider adding an orange hue digitally or with light color washes.
This technique frames your bunny effectively. It creates separation between the animal and the blank background.
Environmental hints suggest habitat without distracting from the main subject. A soft gradient works beautifully for most rabbit portraits.
Adding Contrast and Finishing Details
Deepen shadows using a black coloring pencil for superior opacity. Graphite cannot achieve the same matte darkness.
Focus this intensity around key facial features. The eyes, nose, and mouth become powerful focal points.
The darkest values naturally attract viewer attention first, guiding them to the most expressive areas.
For whiskers, use a hard H pencil with swift, tapered strokes. Start with firm pressure and lift toward the line’s end.
This method creates realistic, flowing hairs. Apply these techniques to one side slightly differently for natural asymmetry.
| Finishing Tool | Primary Application | Visual Effect |
|---|---|---|
| Black Coloring Pencil | Deepest shadows | Increased contrast |
| Hard H Pencil | Whiskers and fine details | Realistic texture |
| Digital Background | Environmental context | Subject isolation |
These final steps transform your sketch into a complete artwork. They add the dimensionality that makes bunnies appear lifelike.how-to-draw-an-elephant
Practice these techniques with different animals to expand your skills. Each creature offers unique opportunities for creative expression.
Conclusion
Mastering animal illustration requires patience, and you’ve taken an important first step. Many artists feel intimidated by fur textures, but as this tutorial demonstrates, building layers makes the process manageable. Each attempt at drawing animals develops your skills further.
I encourage you to practice these steps regularly. Save this page for future reference when you want to create more bunny artwork. Share your finished rabbit drawings online to inspire others learning to draw.
Remember that artistic growth happens at individual paces. Your first rabbit sketch might not be perfect, but each effort teaches valuable lessons. With continued practice using these instructions, you’ll create beautiful bunnies and expand to other subjects.


