

Did you know that every rainbow you see is a unique, personal experience? The light forming the arc reaches your eyes at a specific angle, meaning the rainbow you admire is yours alone.
This magical interplay of light and water creates one of nature’s most captivating displays. I want to introduce you to the artistic side of this beautiful phenomenon. My guide makes the process of creating your own vibrant arc accessible for everyone.
Creating this colorful spectacle on paper combines artistic beauty with fascinating science. You’ll learn why the colors always appear in the famous ROY G. BIV order. Understanding this principle adds depth to your artistic creation.
This comprehensive tutorial breaks a seemingly complex subject into manageable, easy-to-follow stages. I’ll walk you through each part of the process. You will master the basic structure with professional guidance.
This artistic exercise is more than just a fun project. It’s a fantastic opportunity to explore color theory and natural symmetry. Whether you prefer precise lines or expressive strokes, this method accommodates all skill levels.
By following this step-by-step drawing guide, you’ll confidently create a beautiful piece of art. You will showcase the full spectrum in its proper, brilliant order.
Key Takeaways
- Rainbows are a unique meteorological phenomenon caused by light refraction in water droplets.
- The color order, remembered as ROY G. BIV, is based on scientific principles of light bending.
- This guide simplifies the process into easy, manageable steps suitable for all skill levels.
- Creating a rainbow drawing helps artists explore color theory and natural symmetry.
- The tutorial accommodates both technical precision and creative, expressive styles.
- You will learn to accurately represent the full color spectrum in your artwork.
Overview of Rainbows and Their Artistic Value
Rainbows bridge the gap between scientific wonder and profound human storytelling. This captivating natural phenomenon has inspired awe across cultures for centuries. Understanding its dual nature adds rich layers of meaning to any artistic representation.
Understanding the Science and Mythology Behind Rainbows
Scientifically, rainbows are a meteorological phenomenon. They occur when sunlight refracts through water droplets in the sky. This process splits light into the vibrant spectrum of colors we admire.
Mythology offers equally fascinating perspectives. In the Bible’s Book of Genesis, the rainbow symbolized a divine promise. Greek philosophers like Aristotle spent time theorizing about their cause.
Irish folklore tells of leprechauns hiding their pots of gold at the end rainbow. This treasure remains elusive, as the arc appears to move when approached.
Inspiration from Historical and Cultural Perspectives
Throughout history, rainbows have held powerful symbolic value. They appear in religious art and European family crests. In one case, Italy adopted the rainbow as a symbol of peace.
This phenomenon deeply influences our culture. The song “Somewhere Over the Rainbow” from The Wizard of Oz is a timeless example. Artists captivated by light’s magic often feature these arcs in their work.
Appreciating this blend of science and story empowers your art. It connects your creation to a timeless wonder of nature.
Materials, Techniques, and Preparation for Drawing

Before putting pencil to paper, thoughtful organization of your workspace ensures a smooth creative process. The right combination of tools affects your artwork’s final appearance significantly.
Selecting the Right Tools and Mediums
Start with a quality pencil for your initial sketch. This foundation determines your entire drawing‘s structure. I recommend using a drawing compass for perfect curved lines.
For coloring, consider various options. Markers produce vibrant colors with precision. Colored pencil alternatives offer different effects. Choose the ones that match your vision.
You might trace over pencil lines with pens for bold outlines. Alternatively, erase guidelines after coloring for pure color bands. Both approaches yield beautiful results.how-to-draw-a-hat
Setting Up Your Workspace and Sketching Essentials
Organize your materials within easy reach. Good lighting helps you see true colors accurately. Test your markers or other mediums on spare pages first.
These preparation ideas create an efficient workflow. The right way to set up depends on your preferences. If you would like specific effects, adjust your tools accordingly.
Comfort with your materials translates to better artistic results. Experiment with different combinations to discover which ones work best for your style. These practical ideas ensure your drawing process remains enjoyable and productive.
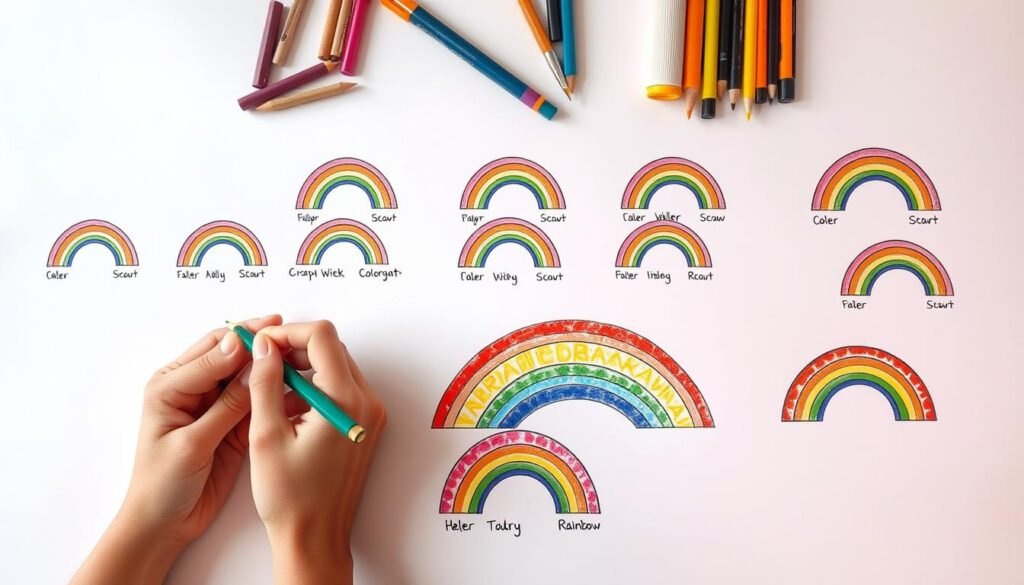
Step-by-Step Guide: How to Draw a Rainbow

Creating the perfect arc begins with precise structural lines that form the foundation of your artwork. This systematic approach ensures professional results regardless of your experience level.
Establishing the Basic Curved Lines and Shapes
Start with your drawing compass to create the outermost curved line. Make it so rounded it resembles a half-circle. This establishes the rainbow’s graceful arc.how-to-draw-a-cowboy-hat
Draw another curved line directly beneath the first, maintaining parallel spacing. Add two more lines using the same technique. Position the final lines slightly closer together for visual interest.
Adding Clouds and Architectural Details
Create fluffy cloud shapes at both ends using short, curved, overlapping lines. This technique builds natural texture. Erase any rainbow lines extending into the cloud areas.
You can trace pencil lines with pen for bold outlines or leave them for later erasure. The choice depends on your preferred final appearance.
Incorporating Color: Following ROY G. BIV and Beyond
Apply colors in the traditional ROY G. BIV order: red on top, followed by orange, yellow, green, blue, indigo, and violet. This sequence reflects natural light behavior.
Red appears at the top because its wavelength bends less than violet light. Use even coloring within each band for maximum impact. Consider adding creative elements like pots of gold for personalization.how-to-draw-a-castle
Conclusion
Mastering the colorful arc on paper marks a significant milestone in any artist’s journey. This comprehensive guide has transformed a complex subject into an achievable creative experience. You now possess the skills to create beautiful spectrum artwork with confidence.
I encourage regular practice with these techniques. Repetition will refine your curved lines and color application. Each new attempt will yield better results. The fundamental skills you’ve learned—precise curves, parallel layering, and proper color order—apply to many other art projects.
Experiment with the creative variations suggested throughout these guides. Add imaginative backgrounds or mythological elements. Share your finished artwork to inspire others. Return to this page whenever you need a refresher on the methods.
Learning to create this natural wonder connects you to both scientific principles and artistic expression. I trust you’ve gained valuable confidence for future creative challenges. Continue exploring new drawing guides for ongoing artistic development.


