

Did you know there are over 100,000 known species of mollusks, each creating a unique shell? This incredible diversity offers a stunning array of shapes, textures, and colors for any artist to explore. Capturing the delicate beauty of these ocean treasures on paper is a wonderfully rewarding experience.
I find immense joy in collecting shells during seaside visits. This passion for beachcombing naturally translates into my artistic expression. My favorite inspirations are often pink and orange shells, but with hundreds of natural color combinations available, the possibilities are truly endless.
While the intricate details of a shell might seem challenging at first, I have developed a systematic approach. This guide breaks down the complexity into clear, manageable steps. My method is designed for creators of all skill levels, from absolute beginners to those refining their technique with natural subjects.
This comprehensive tutorial will walk you through the entire creative process. You will learn about essential supplies, follow step-by-step instructions, and discover professional techniques for achieving realistic results. For additional inspiration on creating beautiful coastal art, explore this resource for easy seashell drawing.
By the end of this guide, you will gain both the technical skills and artistic confidence to create a beautiful seashell drawing you can be proud of. Let’s begin this creative journey together.
Key Takeaways
- Seashell drawing is an accessible art form that captures the beauty of natural beach treasures.
- The guide provides a systematic approach, breaking down complex shapes into simple steps.
- This tutorial is suitable for artists at any skill level, from beginner to advanced.
- You will learn about necessary supplies, step-by-step instructions, and professional techniques.
- Seashells offer endless inspiration with their vast variety of shapes and hundreds of color patterns.
- The process is designed to build both your technical skills and creative confidence.
Overview and Preparation
Before my pencil ever touches the paper, I find my greatest inspiration along the shoreline. Observing a shell in its natural environment provides invaluable insight into its true character and form.
Personal Inspiration from the Beach
I always begin by studying the shell’s unique contours. This connection to the beach is the foundation of an authentic illustration. Notice the subtle curves and the way light plays across its surface.
This careful observation makes translating the object into a two-dimensional image much more intuitive.
Gathering Essential Art Supplies
The required materials are wonderfully simple. You likely have everything you need at home. This accessibility makes creating a seashell drawing an ideal project for anyone.
Start with a standard sheet of drawing paper. A medium or smooth finish works beautifully for both initial sketching and adding color later. For your initial lines, a standard No. 2 pencil is perfectly adequate.
Quality erasers are crucial. I recommend a kneaded eraser for lifting highlights and a stick eraser for precise corrections. Colored pencils or crayons allow you to capture the vibrant hues many shells possess.
For your workspace, place the actual shell directly on your paper pad. This simple trick helps you accurately gauge proportions and complex shapes. Remember, creativity matters more than having the absolute perfect tools.
How to Draw a Seashell: Step-by-Step Process

With the basic outline complete, we now move into the most rewarding phase of the artistic process. This stage transforms a simple shape into a convincing representation of nature’s intricate design.
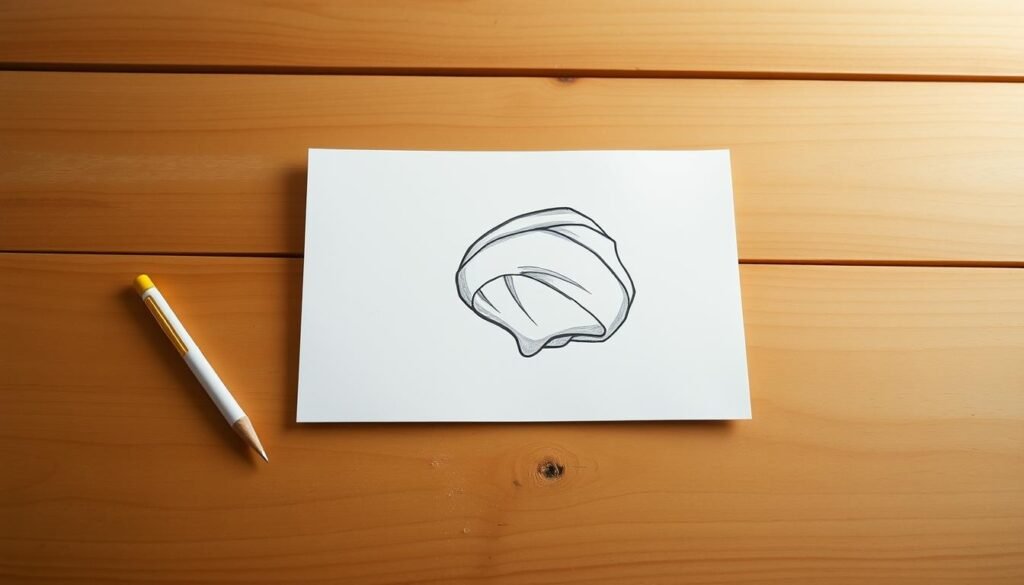
Creating the Basic Shapes and Lines
I begin by establishing 2-3 curved lines spaced evenly across the shell surface. These initial marks suggest the natural growth patterns without overwhelming the composition.
Next, I gently tap the pencil work with a kneaded eraser. This technique lightens the foundation, creating a subtle base that won’t compete with subsequent details.how-to-draw-a-chook
Building Texture and Detailing
For the base value layer, I use hatching strokes radiating outward from the bottom center. The pencil marks follow the direction of the shell’s natural ridges.
Establishing highlights comes next. Using a stick eraser, I carefully lift pigment from the raised ridge areas. These highlights appear wider near the upper edge and taper thinner toward the center bottom.
Shadow lines placed beside each ridge create essential dimension. The sharp pencil point adds contrast that makes the illustration appear three-dimensional rather than flat.
Texture varies significantly across different shell areas. Some sections remain smooth while others show pronounced ridges. Maintaining consistent direction and spacing creates a cohesive, believable representation.
Techniques and Tips for Realistic Seashell Art

Achieving realism in shell illustration involves precise techniques that bring two-dimensional forms to life. These advanced methods build upon the foundational work completed in previous steps.
Accurate Measurements and Proportions
I always verify spatial relationships before adding fine details. Comparing the shell’s width to height ensures proper scale. This attention to proportion creates believable shells.how-to-draw-a-spider
Enhancing Depth with Shading
Strategic shading transforms flat shapes into dimensional objects. I build shadow gradually, focusing on areas where ridges meet valleys. This technique emphasizes the shell’s natural texture.
Customizing Colors and Patterns
Natural shells display incredible color variation. I prefer pink and orange combinations, but encourage personal choices. Selecting colors from the same family creates harmonious results.
Layering colored pencils builds rich, complex hues. There’s no need for perfect patterns—nature itself embraces variation. This creative freedom makes each artwork unique.
Studying real shells reveals diverse patterns like stripes and gradients. These observations inform authentic color applications for different types of seashells.
Conclusion
Now that you’ve mastered the fundamental techniques, your creative possibilities expand dramatically. Each completed artwork builds confidence for tackling more complex natural subjects.
I encourage you to share your finished seashell illustration with others. Photographing your work creates a lasting record of your progress. Your achievement might inspire fellow artists to explore coastal themes.how-to-how-to-draw-a-unicorn
Consider expanding your skills by drawing different shell varieties on the same sheet of paper. You could also place your seashell within a complete beach scene. Adding sand textures and ocean elements creates compelling compositions.
Remember that practice develops your unique artistic voice. Every new project improves your observation skills and hand control. Continue experimenting with colors and textures to capture nature’s beautiful diversity.


