

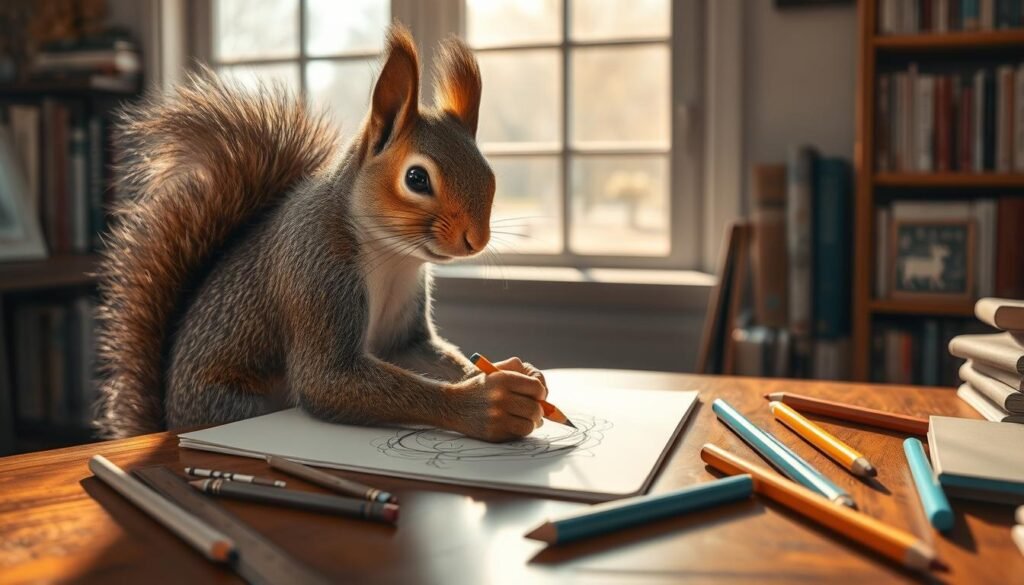
Did you know that a squirrel’s brain is roughly the size of a walnut? This fascinating creature, often seen darting through parks and backyards, possesses a unique charm that captivates artists. I’m excited to guide you into the world of capturing this charm on paper.
Mastering the form of a squirrel is an excellent skill for creators at any level. These animals offer a perfect mix of simple shapes and engaging details. Their fluffy tails and expressive faces make them ideal subjects for artistic exploration.
This comprehensive guide is designed for complete accessibility. You will find multiple methods and clear, step-by-step instructions. My goal is to transform your basic sketches into impressive artwork, whether you prefer realistic depictions or cute cartoon versions.
I have structured this tutorial to be easy to follow, regardless of your current skill level. With consistent practice and the professional tips I provide, you’ll be creating delightful squirrel drawings in no time.
Key Takeaways
- Squirrels are engaging subjects for artists due to their distinct features like fluffy tails.
- This guide is suitable for both beginners and experienced artists looking to refine their skills.
- You will learn multiple drawing methods, from realistic to cartoon styles.
- Step-by-step instructions make the learning process straightforward and manageable.
- The tutorial focuses on breaking down complex shapes into simple, easy-to-draw steps.
- With practice, you can quickly progress from basic outlines to detailed artwork.
- This skill opens doors to illustrating various other animals with similar techniques.
Introduction to Drawing Squirrels
Before your pencil touches paper, preparing both your mindset and materials sets the stage for artistic success. This section ensures you have everything needed for a smooth creative experience.
Overview of the Drawing Process
The method I teach transforms complex animal forms into manageable stages. We begin with basic geometric shapes that form the squirrel’s core structure.
Gradually, these simple forms evolve into detailed features. This approach builds confidence at each stage of the drawing.how-to-draw-lips
Following this logical progression makes the entire process intuitive. You’ll develop skills that apply to many other animals beyond just squirrels.
Tools and Materials Needed
Gathering the right supplies beforehand eliminates distractions during creation. You’ll need standard drawing paper and a reliable pencil.
Essential tools include a pencil sharpener and eraser gum for clean adjustments. For coloring, choose from colored pencils, crayons, markers, or watercolors.
Each material serves a specific purpose in the creation process. This comprehensive tutorial works with whatever supplies you have available.
The right preparation ensures you can focus entirely on bringing your squirrel illustration to life.
How to Draw a Squirrel: Step-by-Step Instructions

Let’s dive into the core process of building your squirrel illustration from the ground up. I will guide you through each phase, transforming basic lines into a complete character. Remember to use light pencil strokes for easy adjustments.how-to-draw-a-nose
Starting with Basic Shapes and Lines
Every great sketch begins with simple foundations. We start with a “J” shape angled on your paper. This form becomes the core structure for the head. A small bump at the bottom indicates the nose area.
Alternatively, you can use an oval for the body and an egg shape on top for the head. Choose the method that feels most intuitive for you.
Sketching the Squirrel’s Head, Ears, and Body
Next, add a round eye near the top inside the “J.” Place a rounded ear at the very top of the head. Add a second, smaller ear tip just behind the first one.
From behind the ears, draw a short line back. Continue this line, then make a sharp bend downward. This defines the back of the body.
Right under the jaw, sketch a small front leg with tiny fingers. Curve the arm back and upward. The back leg begins at the front leg, curving around to meet the back line. Add a long foot with three toes at the bottom.how-to-draw-goku
Creating the Fluffy Tail and Paws
The tail is a signature feature. Start one line at the bottom of the back leg, curving it to mirror the back’s angle. The other line begins near the ears. Make these lines pointy and shaggy for a fluffy look.
Finish the tail by curving it back over itself. Finally, add the top of the other front leg and the second back foot, ensuring you include the toes.
| Step | Focus Area | Key Action |
|---|---|---|
| 1 | Head | Draw angled “J” shape with nose bump. |
| 2-3 | Head & Body | Add eye, ears, and define the back line. |
| 4-5 | Legs & Paws | Sketch front and back legs with feet. |
| 6-7 | Tail | Create shaggy, curved tail lines. |
| 8 | Finalize | Add remaining limbs and details. |
Exploring Different Drawing Methods

Mastering various drawing methods expands your creative toolkit significantly. I present two distinct approaches that cater to different artistic preferences.how-to-draw-a-baby
Drawing with a Pencil Sketch
This technique builds realistic proportions through geometric shapes. Begin with a circle for the head and pear-shaped figure for the body.
Add tall pointed arcs at the top for ears. Create a horizontal oval at the bottom for the jaw area. The tail forms from a large “S” shape.
Establish limb structure with circles for joints. Use long ovals for paws. Finalize your work by tracing with pen and adding facial details.
Simplified Cartoon Techniques
This approach emphasizes charm over realism. Start with a big circle and tear-shaped figure for head and body.
Add curved shapes for ears and circles for joints. Use trapezoids for legs and a flipped “S” for the tail. Small triangles create adorable paws.elephant-drawing-how-to
Simple circles form expressive eyes and nose. The final step involves pen tracing and erasing pencil lines.
| Feature | Pencil Sketch Method | Cartoon Technique |
|---|---|---|
| Primary Focus | Realistic proportions | Stylized charm |
| Starting Shapes | Circle and pear shape | Circle and tear shape |
| Tail Formation | Large “S” shape | Flipped “S” shape |
| Facial Features | Detailed elements | Simple circles |
| Best For | Realistic artwork | Character creation |
Tips and Tricks for Enhancing Your Squirrel Drawing

Transforming your initial outline into a vibrant, textured character involves mastering key enhancement techniques. These professional methods elevate basic sketches into impressive artwork with depth and personality.how-to-draw-a-boat
Adding Details and Texture Effectively
Strategic line work creates realistic fur texture. Use short, overlapping strokes around the tail and body to suggest fluffiness. Vary line density from sparse on the ears to dense on the main torso.
Focus on anatomical accuracy for maximum impact. Capture the strong claws that make these animals excellent climbers. Refine facial features like the eye and nose with careful precision.
Coloring Techniques for a Vibrant Look
These creatures display diverse color ranges from orange to brown or gray. Layer colored pencils for subtle shading or use markers for bold effects. Consider your desired style when selecting media.
Video resources with narrated steps complement written guides beautifully. They demonstrate the entire process from start to finish. This step-by-step tutorial shows real-time application of these techniques.
| Technique | Detail & Texture Focus | Coloring Emphasis |
|---|---|---|
| Primary Goal | Realistic surface quality | Vibrant visual appeal |
| Key Tools | Pencil for fine lines | Colored media selection |
| Area of Impact | Tail fluffiness, fur texture | Overall color harmony |
| Skill Level | Intermediate precision | Color theory application |
Conclusion
Your artistic journey into capturing the lively spirit of squirrels is now complete. You have mastered the essential steps, from forming the basic shapes for the squirrel head and body to crafting its signature fluffy tail.how-to-draw-waves
Remember, consistent practice is the key to mastery. Experiment with different poses. The skills you’ve learned here easily transfer to illustrating other animals.
Whether you preferred the realistic or cartoon method, you now possess the knowledge to create charming squirrel artwork. Consider sharing your creations with art communities for feedback.
Always be mindful of your online privacy settings when posting. For further practice, this side-view squirrel tutorial offers another excellent perspective.
Thank you for following this guide. I am confident in your ability to create beautiful drawing projects. Your dedication will lead to fantastic results.


