

Did you know that a sunset is one of the most searched-for subjects in the world of art? This timeless scene captivates both beginners and seasoned artists with its blend of simplicity and complex color play.
In this comprehensive guide, I will walk you through the process of creating a stunning drawing. I have broken down what might seem like a complex subject into simple, achievable steps. This method is perfect for anyone wanting to capture the natural beauty of the evening sky.
The process involves establishing a basic composition. You will learn to sketch the horizon and add elements like hills and clouds. Mastering the color transition from warm yellows to cool purples is a key part of this tutorial. For more detailed insights, you can explore this sunset art guide.
By the end of this guide, you will have the skills to create a beautiful piece. This exercise is also fantastic for improving your understanding of light and atmosphere. Another excellent resource for creative ideas is this step-by-step sunset tutorial.
Key Takeaways
- Sunsets are a highly popular and rewarding subject for artists of all skill levels.
- The process is broken down into simple, manageable steps for easy learning.
- Understanding color transitions is crucial for creating a realistic sunset scene.
- Proper composition, including horizon and element placement, forms the foundation.
- This exercise significantly improves skills in depicting light, depth, and color relationships.
- Following the tutorial will result in a beautiful, finished piece of art.
Essential Materials and Setup for a Sunset Drawing
Proper preparation with quality tools makes all the difference in sunset artwork. The right components ensure smooth color blending and realistic atmospheric effects.
Choosing Your Tools and Paper
I recommend specific materials for optimal results. For marker work, Ohuhu Honolulu markers excel with colors like Primrose, Moccasin, and Dark Violet.
A white Derwent Chromaflow pencil adds essential highlights. Canson Illustration Manga paper handles markers beautifully without excessive bleeding.
Colored pencils require warm and cool tones for proper transitions. You’ll need yellows, oranges, and reds alongside blues and purples.
| Medium | Best For | Key Colors Needed | Recommended Paper |
|---|---|---|---|
| Markers | Smooth gradients | Yellows, reds, purples | Canson Illustration Manga |
| Colored Pencils | Detailed blending | Warm & cool spectrum | Heavyweight drawing paper |
| Watercolor | Atmospheric effects | Transparent pigments | Watercolor paper |
Organizing Your Workspace
Arrange your colors logically from warm to cool tones. This organization streamlines the creative process.
The brush nib on markers creates realistic streaky cloud effects. Keep tools accessible for efficient workflow.
For comprehensive guidance on material selection, explore this detailed sunset art tutorial.
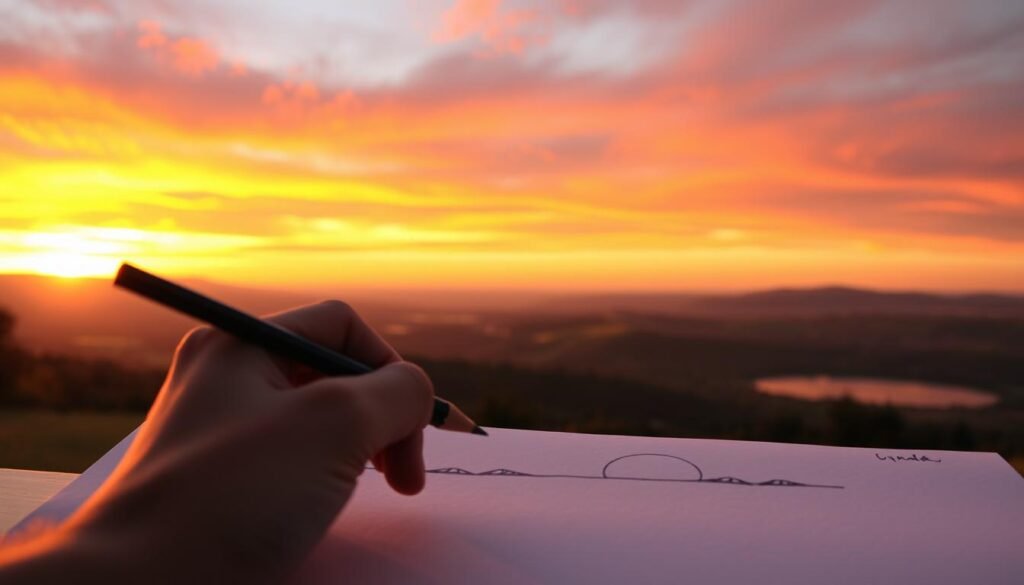
Sketching the Landscape: Horizon, Hills, and Sun

The initial sketch phase establishes the entire visual structure of your sunset scene. This foundation determines how realistic your final artwork will appear.
Begin by placing your horizon line about one-third from the bottom. This placement creates balanced space for both sky and land elements. Natural shorelines are rarely perfectly straight, so allow some irregularity.
Establishing the Horizon and Basic Shapes
Add two rows of hills above your horizon to create immediate depth. Position the front row lower than the back row. This simple technique establishes dimension in your landscape.
These basic shapes form the skeleton of your composition. Keep your pencil strokes light during this first step. You can refine them later.
Drafting the Sun and Cloud Outlines
Position your sun approximately in the center with only the top half visible. This placement maximizes visual impact while maintaining realism.
When you draw clouds, maintain soft, irregular outlines. Avoid rigid shapes that appear cartoonish. Create one small streak on the left and a larger cloud on the right.
Use zig-zag motions for horizontal cloud formations. Make clouds smaller toward the bottom to suggest distance. Those at the top can extend beyond the frame for foreground emphasis.
This sketching approach creates natural-looking atmospheric elements. For additional pencil techniques, explore this landscape sketching guide.
How to Draw a Sunset: Mastering Color Transitions and Techniques

Color transitions form the heart of any compelling sunset artwork, creating atmospheric depth and realism. This step transforms your basic sketch into a vibrant scene with authentic sunset colors.
Blending Warm and Cool Colors for a Lifelike Sky
Begin with the hills closest to the sun using fluorescent red. Color the remainder with dark violet, blending by overlapping the edges. Apply dark lavender to the front hills and water area.
For the sky, start with primrose yellow at the sun’s center. Surround it with moccasin using the brush nib for streaky cloud effects. The bottom half gets fluorescent red, blended into light orange.
Add strawberry pink to the lower sky, blending with fluorescent red. Use dark violet for the remaining area and cloud shadows. These techniques create natural gradients between warm and cool colors.
Creating Depth with Layering and Shadows
Work in multiple layers to build richness and dimension. Start with lighter base colors and progressively add darker tones. This approach gives your sunset drawing three-dimensional quality.
Within individual clouds, shift from dark to light values. Add darker tones at the base to suggest shadows. This simple step makes clouds appear weighty and realistic rather than flat.
For additional color blending techniques, explore this comprehensive sunset painting tutorial. The systematic approach ensures beautiful results in your drawing painting project.
Adding Details: Highlights and Foreground Elements

Detail work separates amateur artwork from professional-looking sunset scenes. This final step adds the luminous quality that makes your drawing appear three-dimensional.
I use a white Derwent Chromaflow pencil to add highlights with light pressure. Create just 2-3 wave lines on the water surface. Immediately add dark lavender streaks beneath them to make the water look like it has movement.
Enhancing the Sky with Highlights and Texture
Apply white highlights to the orange clouds above the sun. Focus on the top edges to create a silver lining effect. This mimics how light interacts with cloud formations.
Add fine white lines throughout the sky to represent distant, bright clouds. These small details add atmospheric perspective to the upper part of your composition.
Incorporating Foreground Elements for Realism
Create a darker foreground to establish depth. I draw urban elements like power lines or natural features like tree silhouettes. Keep these elements significantly darker than the bright background.
The contrast between the dark foreground and luminous sky creates distinct tonal differences. This technique makes your sunset scene more realistic and visually compelling.
Conclusion
Creating a convincing sunset is a rewarding achievement that strengthens your understanding of light and color. This guide has provided the essential techniques, from initial sketch to final highlights.
Remember the importance of blending warm and cool colors to build depth. Working in layers and paying attention to cloud formations and shadows brings your scene to life.
These skills are not just for one drawing. They form a foundation you can apply to any landscape project. I encourage you to practice these techniques and experiment with different mediums.
Every piece you create will make you a more skilled and confident artist.


