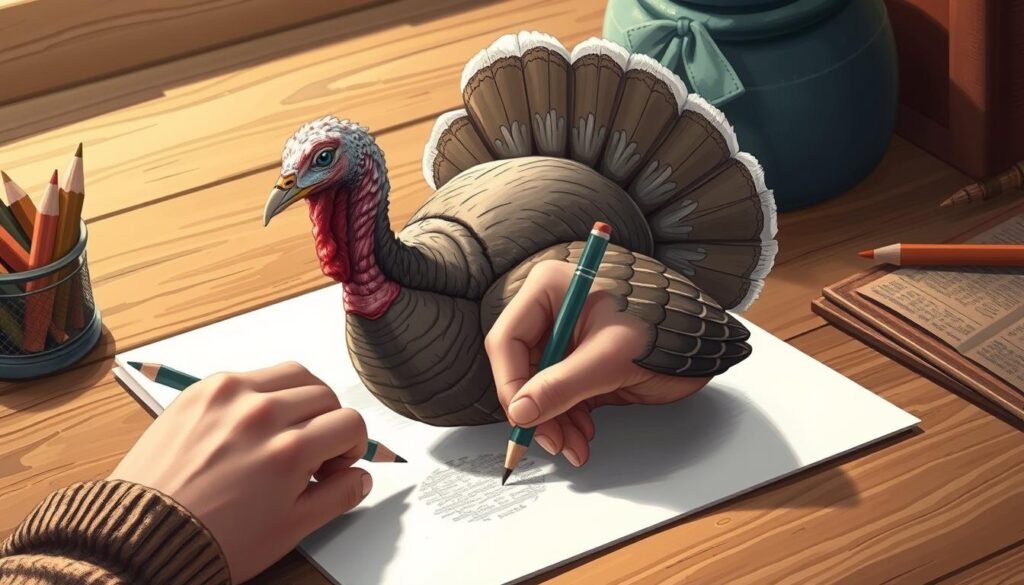
Creating art is fun and rewarding. Drawing a turkey is a great way to start. With the right help, anyone can draw a beautiful turkey.
I’ll teach you the basics of drawing. I’ll give you step-by-step instructions to draw your own turkey. With practice and patience, you’ll make a stunning piece of art.
Key Takeaways
- Learn the basics of drawing a turkey
- Understand the importance of practice and patience
- Follow step-by-step instructions to create a beautiful turkey drawing
- Improve your drawing skills with each attempt
- Create a stunning piece of art with simple techniques
Introduction to Drawing a Turkey
Whether you’re an experienced artist or just starting out, drawing a turkey can be fun and rewarding. You’ll find joy in creating something beautiful and improve your artistic skills.
The Importance of Drawing Skills
Developing your drawing skills can greatly improve your mind and creativity. Drawing enhances your observation skills, helping you see details you might miss. It also boosts your fine motor skills and hand-eye coordination. Plus, creating art can be calming, offering a break from daily stress.
| Benefits of Drawing | Description |
|---|---|
| Improves Observation Skills | Enhances your ability to notice and replicate details. |
| Boosts Creativity | Fosters imagination and innovation. |
| Relaxation and Stress Relief | Provides a calming and meditative experience. |
Why Draw a Turkey?
Drawing a turkey is more than just creating a festive image for Thanksgiving. It’s about capturing the unique features of this bird. Turkeys have distinctive feathers, shapes, and postures that make them a great subject for artists. Drawing a turkey helps you practice textures, patterns, and anatomy.
Tips for a Fun Drawing Experience
To make your drawing experience enjoyable and stress-free, follow a few tips. First, choose a comfortable and well-lit workspace. Have your materials, like pencils and paper, ready and within reach. Having reference images of turkeys can also help. Lastly, remember to have fun and not worry too much about perfection.
- Select a comfortable workspace.
- Gather necessary drawing materials.
- Use reference images for guidance.
- Practice without self-criticism.
Gathering Your Materials
To start drawing a turkey, you need some basic tools. The right supplies can greatly improve your artwork and drawing experience.
Essential Drawing Tools
For drawing a turkey, you’ll need a few simple tools. A good quality pencil, like a graphite pencil (HB or 2B), is key for sketching. You’ll also need an eraser, like a kneaded eraser or a white vinegar eraser, for fixing mistakes and adding highlights. Don’t forget a sharpener to keep your pencils sharp.
Choose a smooth paper for your drawing surface. It should handle different drawing techniques well.
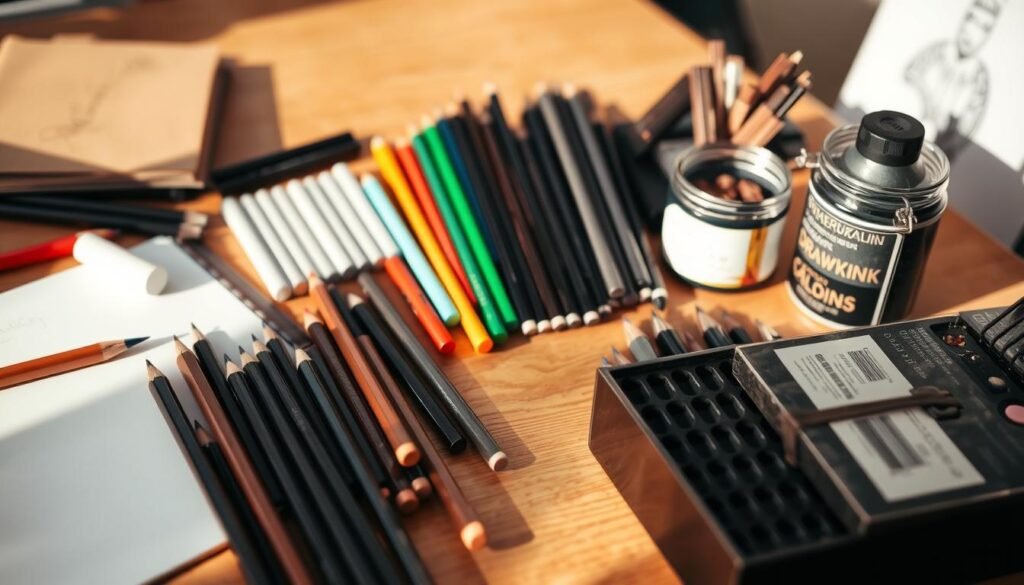
Optional Supplies for Enhanced Art
While the basics are enough to start, there are extra supplies to make your turkey drawing better. Colored pencils or markers can add bright colors. Blending stumps or tortillon help with smooth transitions between shades.
For detailed work, a fine-tip pen or a set of drawing pens is handy. Trying different shading techniques with pencils or charcoal can also add depth.
Setting Up Your Workspace
A good workspace is as important as the right tools. Make sure your drawing area is well-lit, preferably with natural light. This helps you see your drawing clearly.
Invest in a comfy chair and a sturdy table to avoid getting tired. Keep your supplies organized and within reach. For tips, check out step-by-step tutorials at Archer & Olive.
Understanding Basic Turkey Shapes
The secret to drawing a turkey is knowing its simple shapes. Breaking it down into basic forms helps you draw more accurately and in detail.
Recognizing Basic Forms
First, find the main shapes of a turkey’s body. These are ovals, circles, and triangles. The turkey’s body is a big oval, and its head is a small circle. Use triangles for the wings and tail.
Sketching a Rough Outline
After spotting the basic shapes, start a rough turkey outline. Begin with the body, then add the head, wings, and tail. Don’t focus on exact sizes yet. Just place the shapes correctly. You can make it better later. For a detailed guide, check out a step-by-step tutorial.
Using Simple Geometry
Simple geometry makes your turkey drawing balanced and right-sized. Seeing the turkey as a mix of basic shapes helps it look symmetrical. For example, use curved shapes to show the turkey’s feathers, adding texture and movement.
Learning these basic shapes and geometry will help you draw a stunning turkey.
Step-by-Step Guide to Drawing a Turkey
In this section, we’ll explore how to draw a turkey. We’ll cover the body, head, and feathers. Drawing a turkey is fun and easy when you break it down into simple steps.
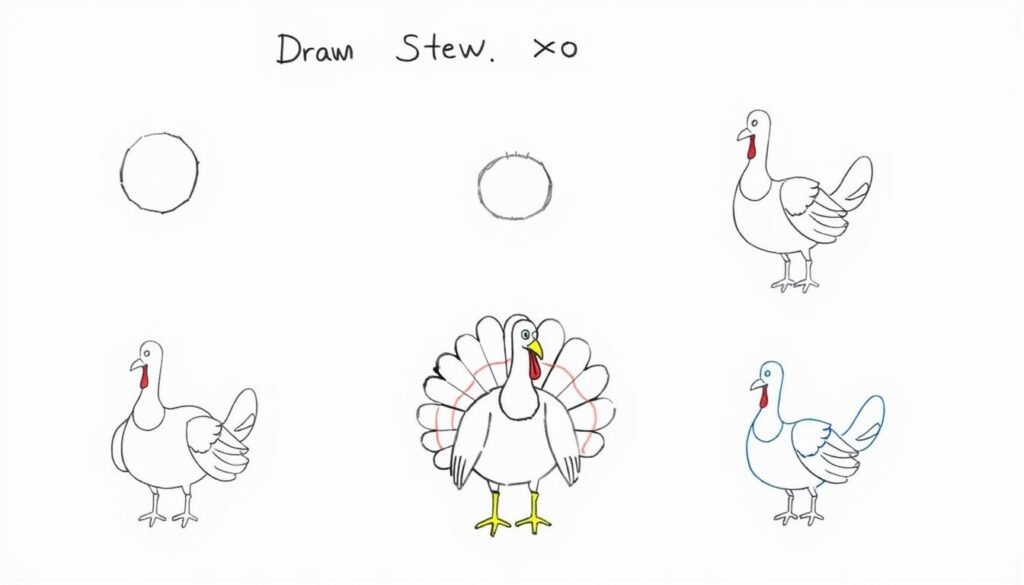
Creating the Turkey’s Body
To begin, sketch the turkey’s body shape. Start with a big oval for the body and a smaller oval for the tail. Make sure the ovals are the right size for a realistic turkey look.
- Draw a large oval for the body.
- Add a smaller oval for the tail, making sure it’s connected to the body.
- Use simple shapes to help you get the proportions right.
Adding the Head and Neck
Now, add the head and neck to your turkey drawing. The head is small compared to the body, so focus on the proportions. Use a small circle for the head and a gentle curve for the neck.
- Draw a small circle for the head, ensuring it’s in proportion to the body.
- Sketch a gentle curve for the neck, connecting the head to the body.
- Refine the shape of the head and neck as needed.
Detailing the Feathers
Feathers are key to a turkey’s look. To draw realistic feathers, focus on their shape and texture. Start by sketching the feathers around the body, using soft, curved lines.
For more detailed instructions and examples, you can visit this step-by-step guide on drawing a turkey.
Coloring Your Turkey
Coloring our turkey drawing is where the magic happens. It turns a simple sketch into a stunning work of art. With the right colors and techniques, we can bring our turkey to life.
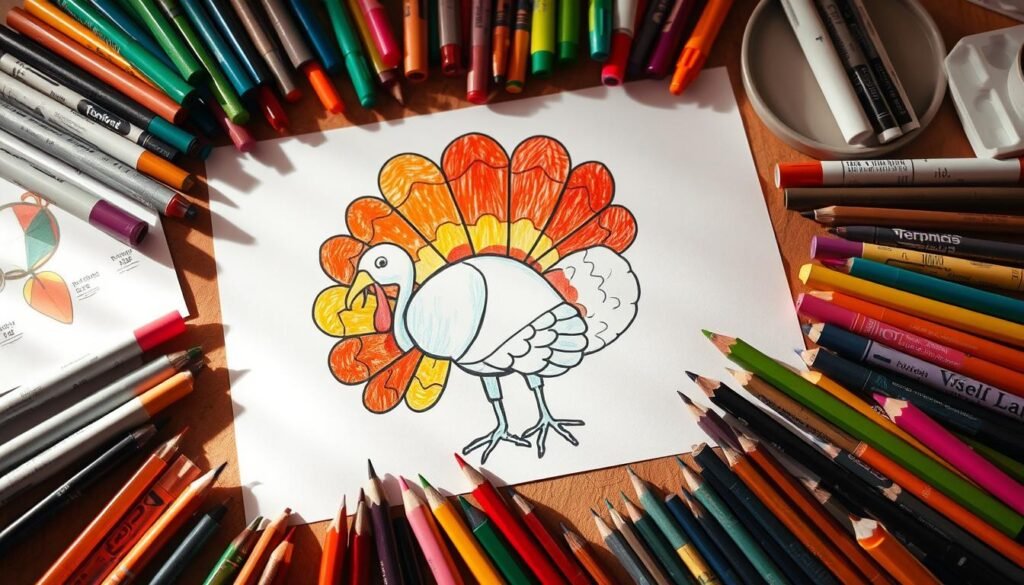
Choosing the Right Colors
Choosing the perfect colors for our turkey is crucial. We can pick traditional colors like browns, tans, and reds. Or, we can get creative with a variety of hues. The key is to choose colors that complement each other and reflect the natural beauty of a turkey.
Tips for Color Selection:
- Consider the natural colors of a turkey’s feathers.
- Experiment with different shades to add depth.
- Use a color wheel to find harmonious color combinations.
Techniques for Blending
Blending colors is an essential technique for creating a smooth, natural look. By layering colors and blending them together, we can achieve a realistic and visually appealing effect.
Blending Techniques:
- Start with a base color and gradually add layers.
- Use a blending stump or tortillon to smooth out colors.
- Experiment with different blending tools to achieve unique effects.
Adding Patterns and Textures
Adding patterns and textures to our turkey drawing can enhance its visual interest. We can use various techniques to create patterns and textures that mimic the natural appearance of a turkey’s feathers.
Pattern and Texture Ideas:
- Use hatching and cross-hatching to create texture.
- Experiment with stippling for detailed patterns.
- Incorporate natural patterns observed in turkey feathers.
Incorporating Seasonal Elements
As Thanksgiving gets closer, adding seasonal touches to your turkey drawing can make it more festive. You can create a holiday-themed setting, add decorations, and use Thanksgiving colors and themes.
Drawing a Thanksgiving Setting
Imagine the scene you want to draw. It could be a family dinner table, a fall landscape, or a cozy room with Thanksgiving decorations. Use warm colors and inviting textures to make it welcoming. Think about adding a tablecloth, dinnerware, or a fireplace for more depth.You can learn more about how-to-draw-a-pumpkin.
For ideas, check out this tutorial on drawing a turkey. It also has tips for creating a seasonal setting.
Adding Decorative Backgrounds
Decorative backgrounds can really make your turkey drawing pop. You can pick a simple fall color gradient or a detailed landscape. Try out different textures and colors to match your turkey perfectly.

Seasonal Colors and Themes
Thanksgiving colors include oranges, reds, yellows, and browns. Using these in your drawing can tie it to the season. Also, think about themes like harvest, family, and gratitude to add meaning.
As
“The way to get started is to quit talking and begin doing.” – Walt Disney
, start adding seasonal elements to your turkey drawing. This will make it more engaging and relevant to Thanksgiving.
Common Mistakes to Avoid
Many artists, no matter their skill, make similar mistakes when drawing a turkey. Knowing these can help improve your drawing.
You can learn more about how-to-draw-a-face.
When drawing a turkey, watch out for common mistakes that can lower your artwork’s quality. Here are some to avoid:
Overcomplicating Your Drawing
One big mistake is adding too many details. It’s tempting to include intricate feathers and patterns. But, this can make your turkey look messy.
- Start with simple shapes and add details gradually.
- Focus on the turkey’s main features like the body, head, and wings.
- Use reference images to guide your drawing and ensure accuracy.
Neglecting Proportions
Another mistake is ignoring the turkey’s proportions. If the body is too big or the head too small, it messes up the whole drawing.
- Check your drawing’s proportions regularly.
- Use a grid method for accurate proportions.
- Compare your drawing to real-life turkey images for accuracy.
Skipping the Sketching Phase
Skipping the sketching phase is a big mistake. It can lead to a poorly planned drawing. The sketching phase is key for planning your turkey’s composition and proportions.
- Take your time in the sketching phase for a well-planned drawing.
- Use a pencil for a rough turkey outline.
- Keep refining your sketch until you’re happy with it.
By knowing these common mistakes and avoiding them, you can make a beautiful turkey drawing.
Inspiration for Your Turkey Drawing
To spark your creativity in drawing a turkey, let’s explore famous artistic depictions and seasonal artwork ideas.
Famous Artistic Depictions
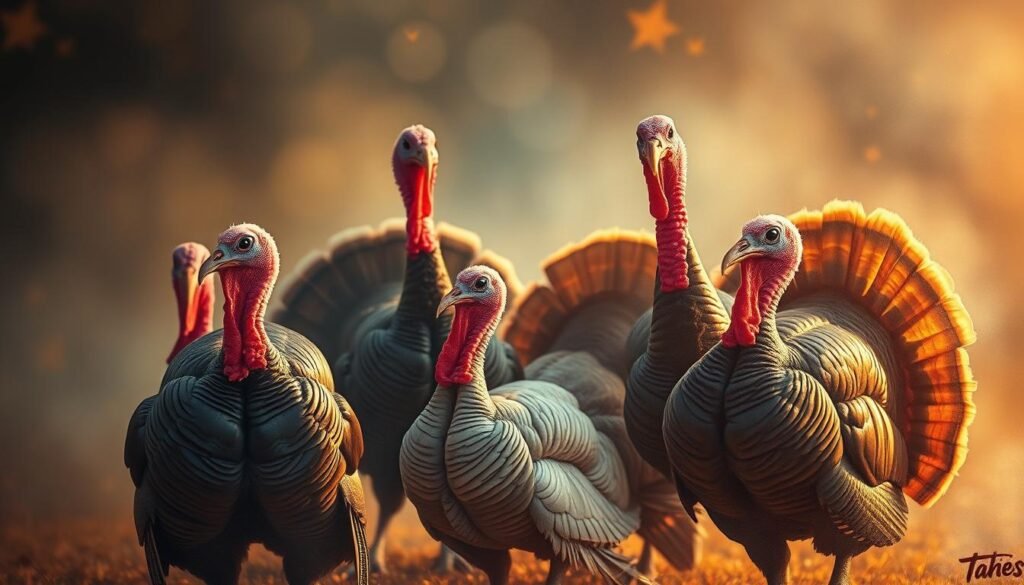
Turkeys have caught the eye of many artists throughout history. For example, John James Audubon, a famous ornithologist and painter, has detailed turkey illustrations. These can be great references for your drawing.
Looking at the styles of famous artists can also inspire you. Imagine drawing a turkey in the style of Van Gogh’s post-impressionism or Picasso’s cubism. It could lead to a truly unique piece of art.
Seasonal Artwork Ideas
Turkeys are often linked with Thanksgiving, making them a great subject for seasonal artwork. You can draw a turkey in a warm, inviting Thanksgiving scene.
- Draw a turkey surrounded by fall leaves and harvest elements.
- Incorporate your turkey into a traditional Thanksgiving dinner scene.
- Use seasonal colors like orange, red, and yellow to give your turkey a warm, autumnal feel.
Exploring Different Styles
Don’t be afraid to try different styles when drawing a turkey. Whether it’s realistic, cartoonish, or abstract, the most important thing is to have fun and be creative.
- Try drawing a turkey in a minimalist style, focusing on simple shapes and lines.
- Experiment with different textures and patterns to add depth to your turkey drawing.
- Consider drawing a turkey from unique perspectives, such as from above or below.
By exploring these different sources of inspiration and experimenting with various styles, you can create a unique turkey drawing. It will reflect your artistic personality.You can learn more about how-to-draw-eyes.
Sharing Your Turkey Artwork
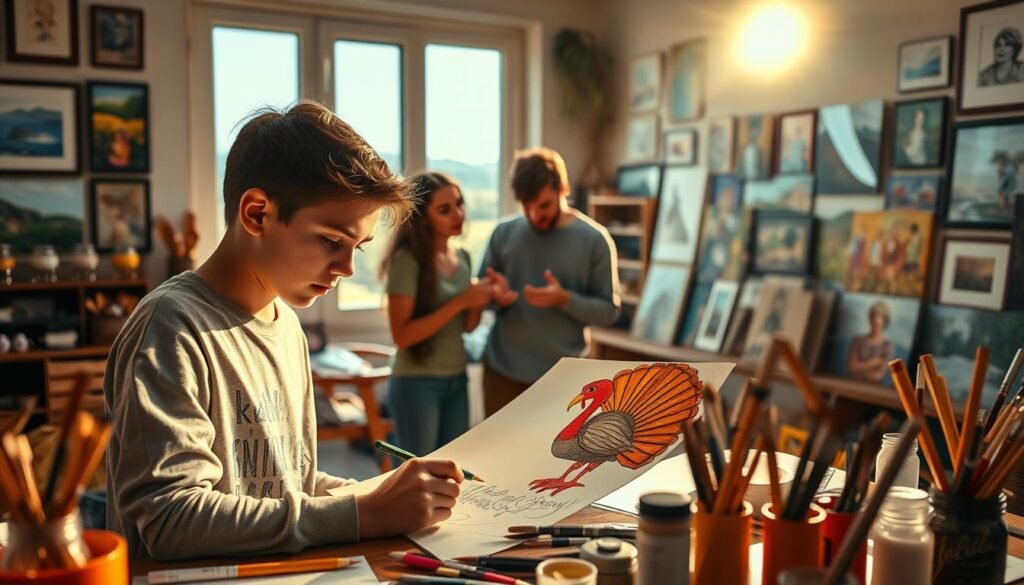
After you’ve drawn a turkey, it’s time to share your work. This can be a fun and rewarding experience. It lets you connect with other artists and fans.
Ways to Showcase Your Drawing
There are many ways to show off your turkey drawing. You can hang it at home, share it with loved ones, or enter local art shows. Digital displays are also an option, like using digital frames or sharing online.
- Print and frame your drawing for a classic look.
- Share digital copies on your website or blog.
- Enter local art competitions or shows.
Joining Online Art Communities
Online art communities are great for sharing your turkey drawing. Websites and forums for art offer feedback, learning, and art news.
“The art of sharing is as important as the art of creating.” This quote shows how sharing your work matters. Online communities offer helpful feedback, support, and inspiration.
- Explore online forums like Reddit’s r/Art.
- Join Facebook groups for artists.
- Get involved in DeviantArt communities.
Engaging on Social Media
Social media is a powerful tool for sharing your turkey artwork. Post your drawing on Instagram, Twitter, or Pinterest to reach many people. Use hashtags to get noticed, and talk back to your followers.
“Social media is not just a spoke on the wheel of marketing. It’s becoming the way entire industries are being restructured.”
To get the most out of social media:
- Share high-quality images of your artwork.
- Use popular hashtags for art and drawing.
- Interact with your followers by replying to comments.
By following these tips, you can share your turkey artwork, connect with others, and grow as an artist.
Advanced Techniques for Turkey Drawing
For artists wanting to improve, advanced techniques can help a lot. They open up new ways to draw turkeys. These methods can make your drawings look better and more appealing.
Shading and Shadowing
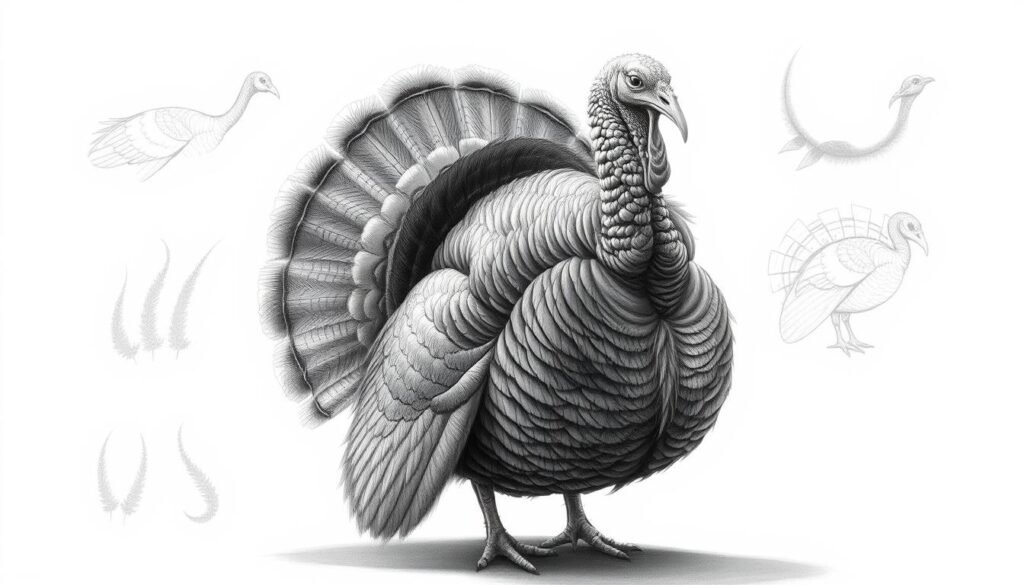
Mastering shading and shadowing is crucial for realistic turkey drawings. It’s about how light affects the subject, creating highlights and shadows. This adds depth and dimension.
Start by figuring out the light source in your drawing. This tells you where shadows will be. Use soft (B) pencils for dark shadows and hard (H) for light areas.
Begin with the lightest parts first. Use gentle strokes to build up shading. For darker shadows, press harder or layer strokes.
Adding Depth and Dimension
To make your turkey drawing look three-dimensional, focus on adding depth and dimension. Layer different parts of the drawing, like feathers and background. This creates distance.
Use atmospheric perspective to soften background objects. This makes them seem farther away. Also, vary line thickness. Use thicker lines for the front and thinner for the back.
Experimenting with Styles
Don’t hesitate to experiment with different styles in your turkey drawings. Try realism, abstract, or stylized. Exploring various techniques can reveal new creative ways.
Think about mixing media in your drawings. Use traditional tools with watercolor, ink, or collage. This adds texture and interest, making your artwork unique.
Creating a Turkey Drawing Tutorial
If you love drawing turkeys, sharing your skills with others can be very rewarding. By making a step-by-step guide, you can help beginners learn to draw a turkey.
Structuring Your Own Tutorial
When making a tutorial, break down the drawing into simple steps. Start with the basic shapes of the turkey’s body. Then, focus on details like feathers, beak, and legs. Use clear and concise language for each step.
Adding diagrams or images can help a lot. They make understanding easier and keep people interested. Your goal is to make learning as easy as possible.
Tips for Teaching Others
Teaching needs patience and understanding. Imagine how your learners feel. Anticipate mistakes and offer tips to avoid them. Use encouraging language to motivate your students.
Adding interactive parts, like exercises or challenges, can help a lot. This could be a downloadable worksheet or a challenge to draw a turkey differently.
Promoting Your Tutorial Online
After you’ve made your tutorial, it’s important to share it online. Use social media to post parts of your tutorial. Talk to people who are interested by answering comments and messages.
Use hashtags and keywords like “turkey drawing tutorial” to get found more easily. Working with other artists or influencers can also help you reach more people.
By following these tips, you can make a great turkey drawing tutorial. It will not only teach others but also help you grow in the art world.
Conclusion and Next Steps
Let’s review the main steps for drawing a turkey. We covered everything from getting your materials ready to adding the final details. This guide helped you create a stunning turkey drawing.
Recap of the Drawing Process
Remember, the first step is to understand turkey shapes. Then, follow a step-by-step guide to draw it. Don’t forget to add seasonal elements. This way, you’ve made a unique piece that shows your creativity.
Continuing Your Artistic Journey
Keep practicing and trying new techniques to improve your drawing skills. Look for drawing books, online tutorials, and art communities for inspiration and guidance.
Exploring Further Resources
If you want to learn more, check out art websites like Proko or New Masters Academy. They have detailed tutorials and expert advice. Keep learning and growing, and you’ll become a skilled artist, creating amazing artwork.


