

The heart of a blue whale is so massive that a human could swim through its arteries. These gentle giants of the sea are the largest animals on our planet, a fact that makes capturing their essence on paper a thrilling artistic challenge.
I am introducing you to the fascinating world of whale drawing. In this guide, I will help you create realistic representations of these magnificent creatures. Their massive size and graceful movements offer endless creative possibilities for any artist.
From the acrobatic orca to the singing humpback, each species presents a unique subject. You can explore detailed guidance on various species at this resource for drawing whales. This process connects us deeply to marine life and helps us appreciate these incredible whales.
This comprehensive tutorial is designed for all skill levels. I will break down the complex form of a whale into simple, manageable steps. Proper technique is key to capturing the majesty of these sea creatures, and you can find additional foundational steps in this beginner’s whale drawing guide. No prior experience is necessary to start this rewarding artistic journey.
Key Takeaways
- Whales are the largest animals on Earth, making them a compelling and grand subject for artwork.
- This tutorial is designed to be accessible for artists of all skill levels, including complete beginners.
- You will learn to break down the complex shape of a whale into simple, easy-to-follow steps.
- Mastering the techniques in this guide will help you capture the grace and majesty of these sea creatures.
- Drawing whales can foster a deeper appreciation and connection to marine life.
Getting Started: Understanding Whale Anatomy and Materials
Before your pencil touches paper, mastering the whale’s structural components ensures accurate proportions. I break down the anatomy into three primary elements: the massive body, powerful tail, and distinctive flippers.
Breaking Down the Whale’s Structure: Body, Tail, and Flippers
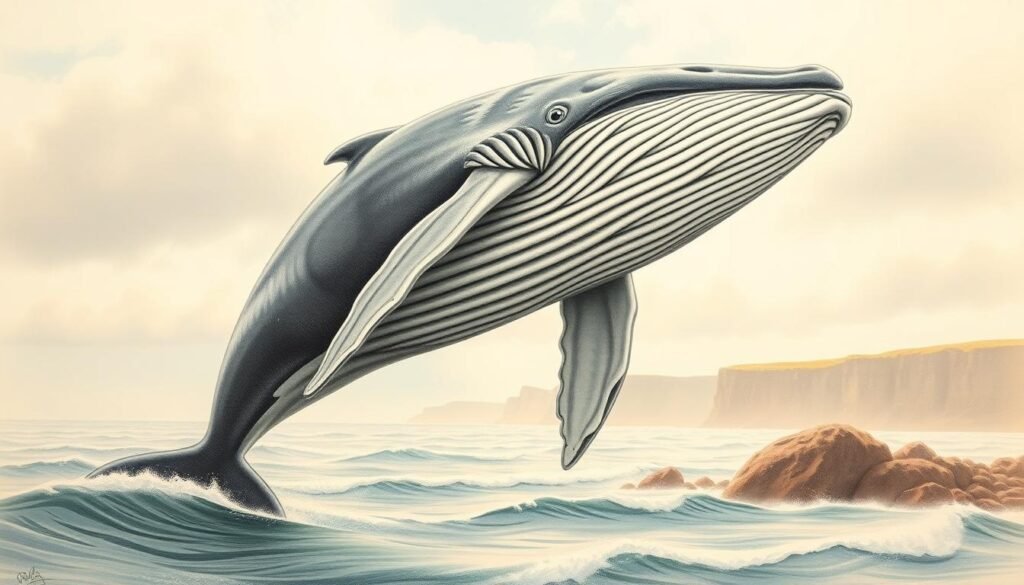
The whale body forms the foundation as a large oval shape. Each species has unique proportions, especially the humpback whale with its characteristic form.
The tail structure features a triangular base expanding into forked fins. You must pay attention to perspective since it appears smaller from certain angles.
Each side has two flippers, with the visible flipper overlapping the main body. The dorsal fin sits toward the rear, varying by species.
Gathering Supplies and Setting Up My Workspace
Essential materials include sketching pencils, erasers, and various brushes. I recommend paints in teal, navy, black, gray, and white shades for realistic coloring.
Proper workspace setup is crucial. Ensure adequate lighting and a comfortable surface with all materials within reach. This foundation supports the creative process outlined in this comprehensive whale drawing guide.
How to Draw a Whale: A Step-by-Step Guide

Building upon our anatomical foundation, the drawing process starts with geometric guides. I begin this systematic approach by establishing basic construction shapes that serve as our framework.
Sketching Basic Shapes and Construction Lines
I start with a wide oval near the paper’s left side for the main body. Using light pencil strokes, I add a second, larger circle to the right for the back portion. The distance between these circles determines the creature’s length.
Connecting these shapes with top and bottom lines creates the torso guide. I then add a sharp triangle for the tail base and narrow ovals for flippers. One flipper overlaps the body while another appears partially behind it for depth.
Outlining Details and Correcting Proportions
This phase transforms geometric shapes into organic forms. I follow the construction lines to outline realistic contours, constantly checking proportions against reference images.
Facial features emerge with a curved head line, separation marks, and a small circle for the eye. I add the dorsal fin toward the rear and refine the tail’s forked appearance.
Integrating the Main Features for a Realistic Look
The final integration step blends all elements into a cohesive whole. I carefully erase construction lines once satisfied with the outlines. Adding ventral pleats and texture lines enhances realism.
Patience is crucial throughout this process. Each step builds upon the previous one, creating accurate representations like the humpback whale.
| Construction Phase | Key Elements | Purpose |
|---|---|---|
| Initial Shapes | Circles, ovals, triangles | Establish basic proportions |
| Guideline Integration | Connecting lines, arcs | Create fluid body structure |
| Feature Development | Fins, flippers, facial details | Add species characteristics |
Adding Life: Color, Texture, and Fine Details

Now we enter the most exciting phase where your artwork gains depth and personality through strategic color application. This transformation turns your outline into a vibrant marine masterpiece.
The careful layering of paint colors creates the illusion of three-dimensional form. Strategic placement of highlights and shadows captures how light interacts with wet skin.
Applying Base Colors and Layering Techniques
I begin with a fine, sharp brush and dark teal paint to evenly coat the entire body. This establishes our foundation color. Next, I apply navy-blue to both flippers and the dorsal fin.
For the belly area, I use light teal on a thin brush for the bottom half. A gray separation line adds definition between color zones. This layering technique builds visual interest.
Enhancing with Shadows, Highlights, and Texture
Black paint enhances side grooves along the body, adding dimensional details. I use a soft brush for shadowing along edges, ensuring the base coat remains visible.
Highlights along the top area and tail capture light reflection. I add spots and texture patterns using multiple colors. The eye receives special attention with careful outlining.
Various art mediums work beautifully for this stage. Watercolors create soft blends, while markers offer bold color. Choose realistic species colors or creative personal choices.
Conclusion
Your completed whale drawing stands as a testament to your artistic growth and attention to detail. The journey through this comprehensive drawing tutorial has equipped you with professional techniques for creating drawing that captures marine majesty.
Consider enhancing your masterpiece by adding marine life or ocean elements. These creative ways expand your scene and demonstrate scale. Share your artwork on social platforms to connect with fellow artists.
The skills mastered in this guide draw process apply beyond marine subjects. Continue practicing with different species, each offering unique challenges. This tutorial represents just one step in your ongoing artistic development.
I look forward to seeing the unique ways you interpret these techniques in future projects. Your dedication to the craft shines through every stroke.


