

Did you know the silhouette of this famous cartoon character is recognized by over 95% of people in the United States? That’s the power of Mickey Mouse. Since his creation in the 1920s by Walt Disney and Ub Iwerks, this beloved icon has starred in more than 100 films.
His enduring appeal lies in a brilliantly simple design. This makes him a perfect subject for anyone wanting to learn draw a classic figure. I believe his friendly face, built from basic shapes, provides an excellent foundation for all aspiring artists.
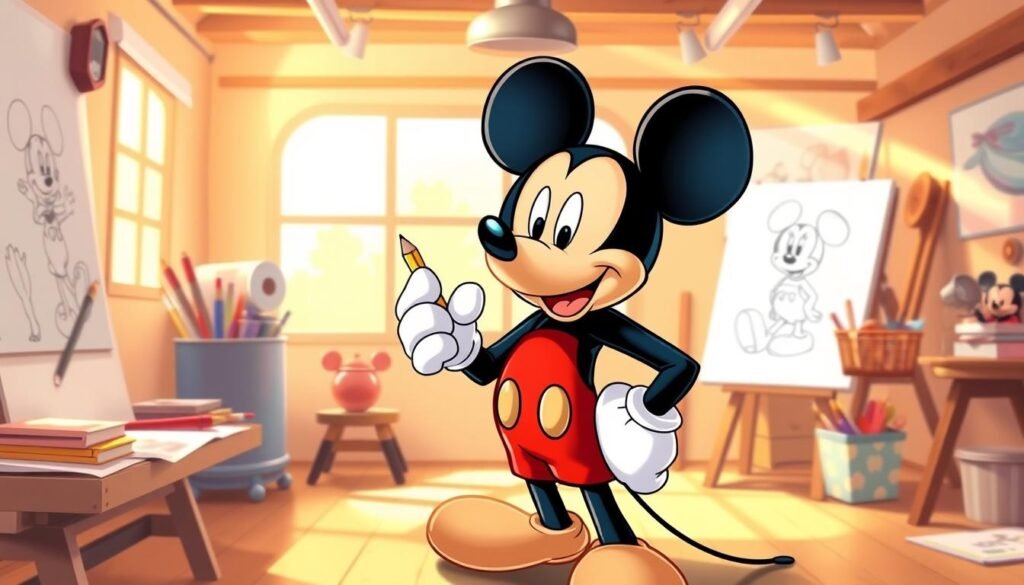
On this page, I will guide you through a simple tutorial. We will break down the process of creating your own version of this global sensation. My goal is to build your confidence with clear, manageable steps.
Key Takeaways
- Mickey Mouse is one of the world’s most recognizable characters, making him an ideal subject for artistic practice.
- His design is intentionally simple, utilizing fundamental geometric shapes common in animation.
- This guide provides a structured approach suitable for both beginners and experienced artists.
- Mastering this character can help develop fine motor skills and a foundational understanding of cartooning.
- The process is broken down into easy-to-follow steps to ensure a successful and enjoyable drawing experience.
Getting Started: Essential Tools and Basic Shapes
Successful character illustration starts with mastering fundamental tools and geometric principles. I believe proper preparation sets the stage for artistic achievement.
Choosing the Right Pencil and Paper
I recommend beginning with a standard pencil and clean sheets of paper. These basic supplies form your foundation. During the initial sketch phase, apply light pressure with smooth strokes.
This technique prevents heavy marks on your page and allows for easy corrections. Many excellent drawing tutorials emphasize this approach.
Understanding Circles, Ovals, and Curves
The iconic design relies entirely on simple geometric shapes. You’ll work primarily with circles, ovals, and flowing curve forms. Understanding these elements is crucial for character creation.
I suggest practicing perfect circles and smooth curve lines separately first. This warm-up improves hand control. Construction lines serve as guides for accurate feature placement.
Mastering basic ovals and other shapes provides skills applicable to all future drawing tutorials. These fundamental ovals combine to create recognizable silhouettes.
Step-by-Step Tutorial: How to Draw Mickey Mouse

We will now assemble the iconic features using the fundamental shapes we practiced. This sequential guide builds the face from the ground up.
Sketching the Head and Ears
Begin with a large circle positioned slightly left of center on your page. This foundational head shape leaves ample space at the top for the large ears.
Next, add two intersecting lines across this circle. Bend them to follow the contour of a sphere. Place the vertical one near the left edge and the horizontal one in the middle.
Adding the Eyes, Nose, and Mouth
For the snout, start a small circle where the guide lines cross. Let it extend outside the main head circle. On top of this, place an oval for the nose.
Create two ovals above for the eyes. Add smaller ovals inside and fill them in. Under the nose, sketch a semi-circle for the mouth.
Outline the smile with a loop and a parallel line below. Add short dashes on either side. Inside, draw two small hills for the tongue.
Refining the Features with Construction Lines
Use gentle curves on each side of the face to define the cheeks. The final step involves the distinctive ears.how-to-draw-a-rose-step-by-step
Think of the head as a quarter and each ear as a dime. Place one circle where the horizontal guide ends on the right. Position the other higher up on the top of the head.
Following these instructions carefully will yield a recognizable result. For clarity, consider using a video tutorial alongside this drawing tutorial.
Advanced Techniques and Creative Details

Elevating your illustration skills requires learning professional techniques for shading, coloring, and composition. These advanced methods transform basic sketches into polished artwork that captures the classic cartoon aesthetic.how-to-draw-a-crown
Enhancing Your Drawing with Shading and Color
I recommend outlining your completed character with thick black lines. This technique captures the authentic cartoon style that makes your artwork stand out.
For coloring, use tan for the face and black for the ears and nose. Apply pink for the tongue to achieve the classic appearance. Many video tutorials demonstrate this approach effectively.
Experiment with shading to add dimension to your flat cartoon drawing. Add shadows beneath the ears and around the snout. This creates depth and professional polish.
Incorporating Additional Characters for Creative Variations
This drawing technique adapts well to other beloved characters. Once you master the basic mouse, challenge yourself with Minnie Mouse. She features similar construction but includes distinctive elements.
Consider incorporating multiple characters into single compositions. Create dynamic scenes with Mickey’s friends like Goofy and Donald Duck. This expands your creative possibilities.
For comprehensive guidance, explore this complete drawing guide. It provides additional techniques for character development. Practice different expressions to enhance your artistic versatility.
Conclusion
Mastering this timeless character provides more than just artistic skill—it unlocks fundamental cartoon design principles. I believe this comprehensive guide demonstrates that anyone can create the iconic Mickey Mouse with proper instruction. The geometric approach forms a solid foundation for all character creation.
Regular practice of these steps builds essential creative confidence. Each completed drawing improves your understanding of proportions and distinctive features. Many students experience tremendous satisfaction when they successfully finish their first version of this beloved character.
Remember that professional artists often begin with simple characters before advancing to complex designs. The skills learned here apply throughout your artistic development. I encourage exploring additional drawing tutorials that build on these foundational techniques.
Feel free to revisit this page for technique refreshers. Learning to draw Mickey Mouse establishes principles you’ll use for years to come. I’m confident your continued practice will yield excellent results.how-to-draw-a-strawberry


