

Did you know that deer are among the most frequently depicted animals in art history, appearing in ancient cave paintings and modern masterpieces alike? Their timeless appeal speaks to a deep human connection with nature’s elegance.
I find capturing these majestic creatures on paper to be an incredibly rewarding practice. Their elegant proportions and distinctive features, like antlers, create a compelling subject. This guide is designed to make the process accessible for artists at any skill level.
We will walk through a clear, step-by-step process. You will discover everything from essential materials to understanding deer anatomy. This approach breaks down a complex subject into manageable parts, making your first deer drawing an achievable goal.
Patience and practice are your greatest tools. By following each step carefully, you will develop the skills to create a beautiful piece of wildlife art. This is a hands-on tutorial aimed at helping you learn draw deer from start to finish.
For those looking to dive deeper into wildlife painting, my guide on mastering majestic deer offers further advanced techniques. Let’s begin this artistic journey together.how-to-draw-a-rose-easy-step
Key Takeaways
- Deer are a classic and rewarding subject for artists of all levels.
- A structured, step-by-step approach simplifies the drawing process.
- Understanding basic deer anatomy is crucial for a realistic result.
- Patience and consistent practice are key to mastering wildlife art.
- This tutorial provides a foundation for creating your own complete deer drawing.
Essential Materials and Tools for Deer Drawing
Before your pencil touches the paper, selecting appropriate tools sets the stage for a successful artwork. While I recommend specific items, remember that any supplies you have are perfectly suitable for learning.
Sketching Tools Overview
I start every project with an H pencil. Its hard lead creates light, easily erasable lines, ideal for initial outlines. This tool helps establish proportions without committing to dark marks.
An HB pencil is my go-to for adding soft shading. The medium-hard lead builds up light grey tones that give the sketch dimension. For deep shadows, a 4B pencil delivers rich, dark strokes.
A kneaded eraser is invaluable. You can shape this malleable tool for precise corrections. It lifts graphite cleanly without damaging your paper.
Choosing the Right Paper and Eraser
Lightly textured sketch paper offers a smooth surface. Pencils glide effortlessly, yet the surface has enough tooth to hold graphite. This makes it an excellent choice for beginners.
Professional artist Goncalo Lopes, known for work on major projects, uses these same tools in his tutorial videos. His expertise validates these selections. The most important tool, however, is your willingness to practice each step.how-to-draw-a-rose-easy-step
Understanding Deer Anatomy and Proportions

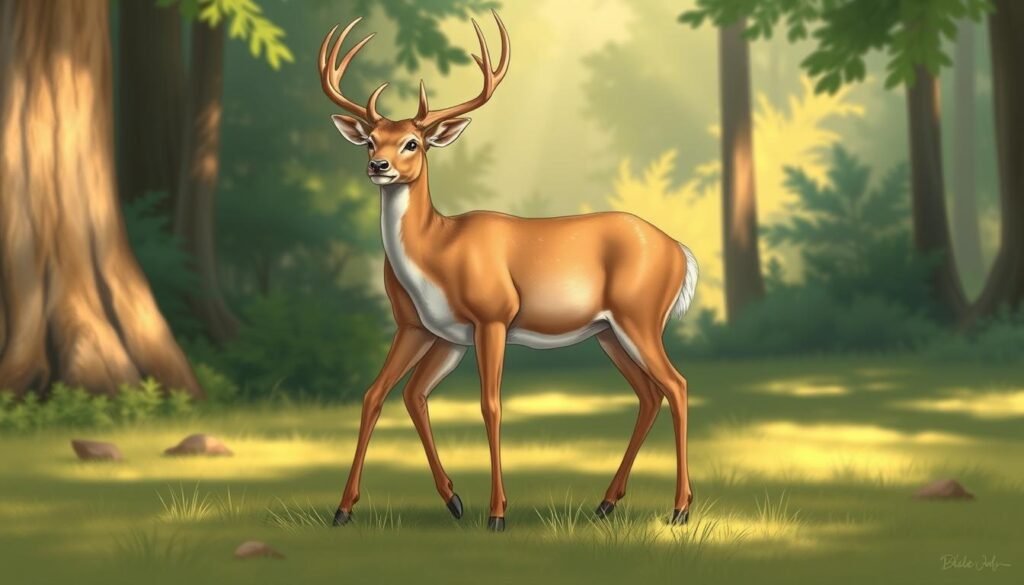
The key to capturing the elegant silhouette of these animals lies in understanding their distinctive physical proportions. I find that studying deer anatomy before sketching creates a solid foundation for realistic artwork.
Observing Head, Neck, and Body Structure
Begin by examining how the head connects to the neck with flowing, graceful lines. This relationship defines the creature’s characteristic posture and movement.
The chest area is noticeably wider than the backside, creating a tapered body shape. Observing this proportion is critical for achieving believable results in your artwork.
Exploring Deer Vision and Unique Features
Deer possess an incredible 310-degree field of vision due to their eyes being placed on the sides of their head. This anatomical feature significantly impacts how we represent the deer head in drawings.
The table below highlights key differences between deer and human vision:
| Feature | Deer | Human |
|---|---|---|
| Field of Vision | 310 degrees | 180 degrees |
| Eye Placement | Side of head | Front of face |
| Peripheral Awareness | Exceptional | Limited |
Taking time to study these anatomical features makes each step in the drawing process more intuitive. This observational step significantly improves your final artwork’s accuracy.
Step-by-Step: How to Draw the Deer

This stage marks the transition from observation to creation, where circles and lines become the building blocks of our deer. I find this approach simplifies the complex form into manageable components.how-to-draw-a-nose-easy
Laying Out Basic Shapes and Circles
Let’s start with a medium-sized circle for the head. Position it to leave ample space on the right for the body and above for antlers. This initial placement sets the composition’s foundation.
Add two more circles below the head. The middle circle should be larger for the chest area. The back circle remains smaller, reflecting natural proportions.
Connecting Shapes to Form a Cohesive Outline
Extend the top circle leftward with a curved line to define the head shape. Connect it to the middle circle using two thin lines for the neck. This step establishes graceful contours.
Link the middle and back circles with flowing lines that outline the belly and back. For legs, place small circles to mark joint positions and length. Connect these to complete the basic structure.
Your sketch may appear rough initially. That’s normal. Taking time with this foundation makes subsequent detailing easier. For additional guidance on this process, explore this comprehensive deer drawing tutorial.
Adding Details: Antlers, Eyes, and Finishing Touches

This phase of the process is where your sketch truly comes to life, transforming basic shapes into a recognizable animal. We will now add details that define the creature’s character.
Detailing Facial Features and Antlers
Begin with the deer head. Place a tiny circle for the eyes inside the head outline. Its position is vital for expression. Add the alert, pointed ears just above.
For the iconic antlers, sketch two small bases at the top of the head. Create a branch-like structure on one side, connecting parts with stems. Repeat this step for the other side to achieve a balanced, natural look.how-to-draw-boobs
Next, carefully draw the nose and mouth. Keep the tail short, marking its white underside. These details solidify the animal’s form.
Enhancing with Shading and Pencil Techniques
Switch to an HB pencil to darken your final lines. Start with the ears and head. Apply light grey to the body for base tones.
Use a 4B pencil to darken the tip of the nose significantly. Add shade under the chin and on the legs to create depth. This contrast makes the drawing pop.
Identify and preserve white areas: the belly, tail underside, and around the nose and mouth. This attention to light patches is crucial for realism.
Refining Your Sketch with Fine Details
Color the center of the eye in a soft grey. This small detail adds life. Finally, use your eraser to gently remove all initial guidelines.
Your deer drawing is now complete. For more advanced techniques on rendering fur and texture, this comprehensive guide offers excellent next steps.
| Feature | Pencil Grade | Pressure |
|---|---|---|
| Final Outlines | HB | Medium |
| Body Shading | HB | Light |
| Nose Tip / Deep Shadows | 4B | Firm |
| Eye Center | HB | Very Light |
Troubleshooting Common Drawing Challenges

Many artists encounter similar hurdles when first attempting to capture wildlife subjects on paper. I find that identifying these common issues early helps prevent frustration. Understanding that mistakes are natural allows for more productive practice sessions.
Professional artist Goncalo Lopes emphasizes in his video tutorials that perfection isn’t the immediate goal. Even experienced illustrators focus on capturing essence rather than perfectly shaped body parts during initial stages.
Correcting Proportions and Anatomical Missteps
Proportion issues frequently arise in wildlife artwork. The head may appear too large or small relative to the body. The relationship between chest width and hindquarter size often needs adjustment.
Strategic use of your eraser allows for targeted corrections without starting over. Redraw specific sections rather than abandoning the entire piece. This approach saves time and builds confidence.
Tips for Overcoming Common Mistakes
For head features, adjust eye, ear, and antler placement if they seem unbalanced. Legs present another top challenge—focus on length, angle, and joint positions for natural results.
Take regular breaks during your practice sessions. Fresh eyes often reveal proportion issues that weren’t immediately apparent. Each tutorial and practice session builds essential skills over time.
Learning from multiple video demonstrations shows different artistic approaches. This variety helps develop your personal style while mastering fundamental techniques. Consistent practice remains the most reliable path to improvement.how-to-draw-in-hair
Conclusion
Mastering wildlife art begins with building confidence through structured practice. This comprehensive guide has walked you through each essential step, from understanding deer anatomy to adding final details.
With consistent practice, any artist can develop the skills needed for beautiful wildlife drawing. The techniques learned here provide a solid foundation for capturing these graceful creatures.
I encourage you to revisit this tutorial during your practice sessions. Each review will reveal new insights into animal proportions and shading techniques. For those seeking to advance their skills further, explore this detailed realistic deer drawing guide.
The methods covered transfer well to other wildlife subjects. Continue exploring different tutorials to expand your artistic repertoire. Your journey in animal drawing has just begun.


