

Since its debut in 2002, the Naruto anime series has generated over $10 billion in worldwide revenue, proving its massive and enduring fanbase. This iconic character continues to inspire creativity across the globe.
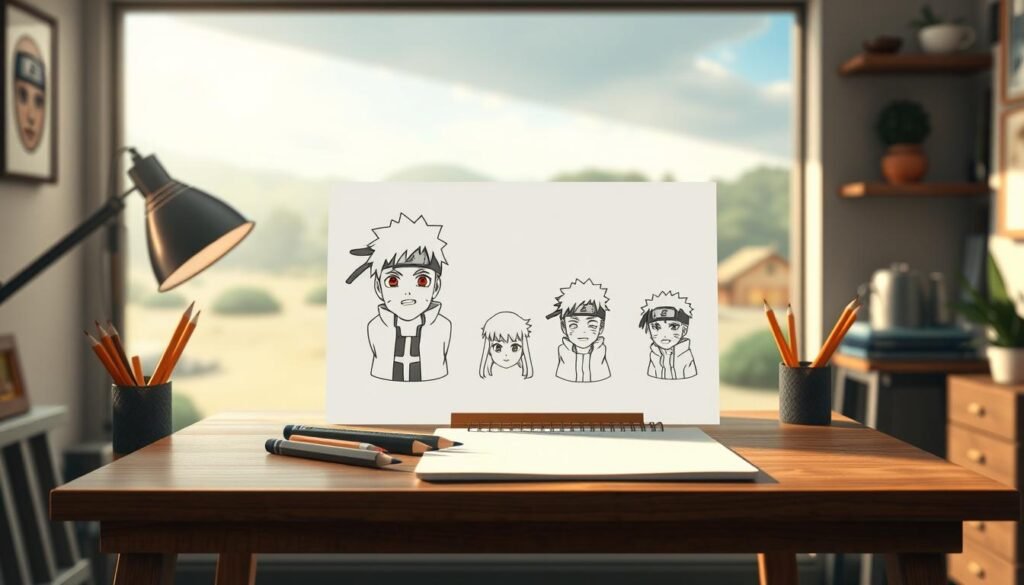
I want to introduce you to the world of illustrating Naruto Uzumaki. This young ninja, striving to become his village’s leader, is a fantastic subject for artists. His dynamic design and expressive nature make him perfect for practice.
This guide offers a unique, accessible path for beginners. I break down the process into simple, manageable stages. Anyone can achieve great results with clear, step-by-step instructions.
From my experience, mastering an anime character like this builds foundational skills. These abilities easily transfer to other artistic projects. You learn proportion, expression, and style.
By the end of this tutorial, you will create a complete sketch of this beloved hero. We will progress from basic shapes to a full illustration. The universal coming-of-age themes in the series make this a meaningful artistic endeavor.how-to-draw-a-hat
I encourage every aspiring artist to begin this journey. Your current skill level does not matter. This approach simplifies complex forms into easy-to-follow components.
Key Takeaways
- Naruto Uzumaki is an ideal character for artists to practice due to his recognizable and expressive design.
- This guide provides a beginner-friendly, step-by-step method to simplify the illustration process.
- Learning to draw anime characters helps develop core artistic skills applicable to other subjects.
- The tutorial focuses on building your confidence from a basic sketch to a finished piece.
- The Naruto series’ widespread appeal makes recreating the character a rewarding experience for fans.
- Anyone can get started and see significant improvement by following the structured lessons.
Getting Started on My Naruto Drawing Journey
Every great illustration begins with proper preparation. Gathering the right tools and understanding core concepts sets the stage for success. This initial phase is crucial for a smooth creative process.
Gathering Supplies and Tools
For my artwork, I relied on a specific set of Ohuhu Honolulu markers. Key colors included Blue Grey 06, Acid Yellow, and various Neutral Greys. These alcohol-based markers offer smooth blending and rich color payoff.
They are a fantastic, budget-friendly alternative to premium brands. Beyond markers, you will need a graphite pencil, a black fineliner, a good eraser, and quality paper like Canson Illustration. This paper prevents ink bleeding.
Do not worry if you lack these exact items. The techniques in this guide work with colored pencils or digital tools. The fundamental principles remain the same.
Understanding Basic Shapes and Proportions
Breaking down complex forms into simple shapes is the first step. I always start with a circle for the head. This approach is a cornerstone of many manga basics tutorials.
Anime characters have distinct proportions. The eyes are typically large, and the head size is a key measurement for the body. Grasping these relationships early on makes the entire drawing tutorial easier.how-to-draw-a-flamingo
Organize your workspace before you begin. Having a clean, well-lit area makes following these simple steps more enjoyable. This preparation builds confidence for the sketching process ahead.
Step-by-Step Sketching Process

Proper skeletal construction serves as the blueprint for bringing animated characters to life on paper. This initial phase establishes the entire composition’s foundation. I approach this methodically to ensure accuracy from the start.
Sketching the Head, Chin, and Shoulder Lines
I begin with a large circle positioned at the top center of the page. This forms the basic structure for the character’s head. Beneath this circle, I add a curved line to define the chin shape.
The shoulder line follows below the chin with a gentle downward curve. This creates a relaxed posture rather than stiff tension. Each line placement builds toward the final form.
For the right ear, I sketch a mirrored C-shape. The headband sits about one-third down the circle’s height. These initial marks establish proper facial proportions.
Building the Basic Body Outline
Next, I extend two straight lines downward from the face to form the neck. These connect smoothly to the shoulder framework. Proper alignment here ensures natural anatomy.
From both shoulders, I draw lines curving slightly leftward. This creates the torso foundation. The left arm requires a single diagonal line from the shoulder.
The right arm needs a preliminary curve before the diagonal line. This adds depth and dimension to the pose. Light pencil pressure allows for easy adjustments throughout this tutorial.
I frequently step back to assess proportions between different elements. This habit ensures balanced composition before adding finer details. Each step builds confidence in the drawing process.
Essential Techniques for How to Draw Naruto

Mastering Naruto’s most recognizable traits is the key to a successful illustration. This part of the process brings the character to life. We focus on his iconic headband and dynamic hair.
Capturing the Iconic Headband and Spiky Hair
Position the headband about one-third down the head circle. Angle it slightly, with the left edge a bit lower. This creates a natural, worn look.how-to-draw-a-boy
Inside the band, draw a rounded rectangle for the Leaf Village symbol. The symbol combines a spiral with a straight line and a small triangle. Add three tiny circles on each end for detail.
For the hair, use sharp, triangular shapes. These spikes radiate from the top half of the head circle. Vary their size and direction for a wild, energetic appearance.
Frame the headband with a few spikes falling on either side. This adds depth. Finally, add three curved whisker marks on each cheek.
Refining Your Line Work
Go over your initial sketch with confident, clean lines. Use a black fineliner for this step. Define the character’s features clearly.
Employ thicker lines for the main outlines. Use thinner lines for interior details like the headband symbol. This technique gives your artwork a professional anime style.
Studying reference images is crucial for this complete guide. It helps you understand how the hair behaves. This knowledge improves flexibility in your character drawings.
Adding Detail: Features and Clothing

The true personality of an anime character emerges through careful detailing of facial features and clothing. This phase of our tutorial focuses on transforming your basic outline into a recognizable character. We will work systematically through each element.
Defining Facial Features and Expression
I begin with the eyes, using two curved lines that meet at a point. This creates the characteristic almond shape. Inside, I add a circle with two smaller circles, shading the center one for depth.
The nose requires just two simple dots positioned centrally. For the mouth, I use one straight horizontal line with upturned ends. This conveys determination.
Three curved marks on each cheek complete the naruto face. These whiskers follow the face’s contour. Proper spacing is key for authenticity.how-to-draw-a-simple-dog
Incorporating Clothing Details and Accessories
The jacket collar starts as two tall rounded rectangles below the neck. Connected curved lines extend outward from each. A zigzag line between them forms the zipper.
I add fabric wrinkles where clothing naturally bunches. These curved lines of varying lengths create realistic texture. A wavy line encloses the collar.
This step-by-step approach makes the drawing process accessible. Focus on essential details first. This method helps you learn to draw complex outfits with confidence.
Mastering Shading and Coloring

Color selection and shading methods transform a basic sketch into a vibrant, dimensional artwork. This phase brings your character to life with depth and personality. I approach this coloring stage with careful planning.
Selecting the Right Markers and Fineliners
For my artwork, I used Ohuhu Honolulu markers with brush and chisel tips. These provide excellent control for both large areas and fine details. They serve as a budget-friendly alternative to premium brands.
The complete palette included Acid Yellow (Y070) for hair and Blue Grey (MG060) for eyes. Various orange and grey tones completed the ninja outfit. This systematic approach makes the tutorial accessible for beginners.
Artists using colored pencils can achieve similar results through layering techniques. The fundamental principles remain the same across different mediums.
Techniques for Realistic Shading and Blending
I always apply base colors first before adding shadows. This layered method prevents muddy colors and ensures better control. Each element receives its appropriate base tone.
For shadows, I use slightly darker versions of the base colors. Shadows naturally fall on the neck, under hair spikes, and where clothing folds. Consistent light source placement creates believable dimension.
Alcohol markers require quick blending while the ink is wet. This creates smooth transitions between colors. Leaving some areas uncolored represents highlights for added realism.
These simple steps help anyone learn draw with professional results. The step step process builds confidence throughout this drawing tutorial.how-to-draw-a-spongebob-squarepants
Enhancing Your Drawing with Final Touches

Final touches elevate your illustration from a practice sketch to a finished character portrait. This phase focuses on clarity and refinement. It prepares your work for presentation or further artistic exploration.
I approach this stage with patience. The goal is to create a clean, professional-looking result.
Cleaning Up the Sketch and Outlines
I begin by carefully tracing over my final pencil lines with a black fineliner. Maintaining steady hand pressure is key for smooth, confident strokes. I wait for the ink to dry completely before the next step.
Erasing all underlying pencil marks is crucial. This action reveals a crisp outline, ready for coloring. It instantly makes the drawing look more polished and intentional.
I often thicken the outer contours of the character. This technique adds weight and helps the figure stand out. It’s a simple step with a significant visual impact.
Tips for Adding Depth and Texture
Subtle details create realism. For fabric, I add short, curved lines to suggest folds. For hair, fine lines can indicate shine and individual strands.
Evaluating your work with a critical eye is part of the process. Look for areas that need darker shadows or brighter highlights. This final assessment ensures maximum impact.
Many artists find video tutorials helpful for seeing this process in action. They show the complete journey from sketch to final art.how-to-draw-a-simple-rose
| Character | Series | Skill Focus |
|---|---|---|
| Sasuke Uchiha | Naruto | Complex outfits and serious expressions |
| Deku | My Hero Academia | Youthful proportions and dynamic poses |
| Goku | Dragon Ball Z | Exaggerated muscles and spiky hair |
| L | Death Note | Unique posture and simplified features |
Documenting your progress through photos builds a portfolio. It allows you to track improvement over time. This is an excellent way to learn draw more complex characters.
Exploring different characters from various series expands your skills. Each new subject presents unique challenges. These drawing tutorials provide a strong foundation for your continued growth in anime drawing.
Conclusion
This comprehensive guide has walked you through the entire artistic process. You started with basic shapes and progressed to a finished portrait of Naruto Uzumaki. Each step built upon the last, making a complex task feel achievable.
Your completed artwork is a significant accomplishment. The skills you practiced—proportion, line work, and coloring—are foundational. They apply directly to illustrating other characters from this beloved series.
Consider challenging yourself with Sasuke Uchiha next. His design offers new lessons in detail and expression. Exploring different anime series further expands your artistic range.
Remember, every artist begins with simple steps. Consistent practice is the true path to mastery. Keep creating, and your drawing skills will continue to grow remarkably.learn-to-draw-dogs-easy-tutorial-for-beginners


