Drawing Hello Kitty is a fun and creative activity. I will guide you through the steps to bring this iconic character to life.
With simple steps and clear instructions, you can create your own Hello Kitty. My aim is to make this process enjoyable and easy, even for beginners.
Key Takeaways
- Learn the basics of drawing Hello Kitty
- Follow a step-by-step guide to create your own Hello Kitty
- Understand the key features of Hello Kitty’s design
- Practice drawing with simple and clear instructions
- Create your own unique version of Hello Kitty
Introduction to Hello Kitty
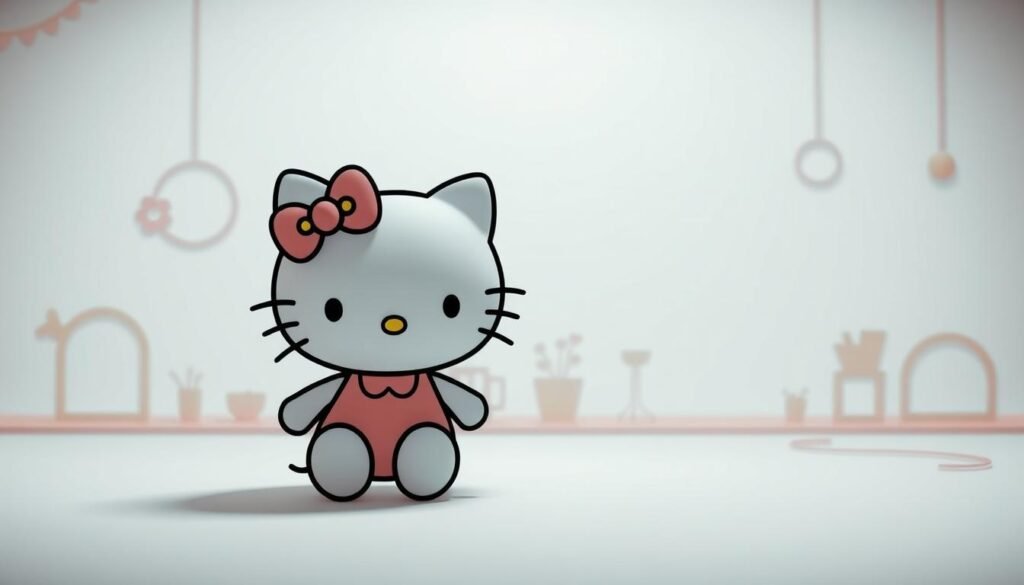
Hello Kitty’s lasting appeal comes from her simple yet charming design. She is one of the most famous characters globally. Her charm has won many hearts, making her a favorite in popular culture.
To grasp why Hello Kitty is so loved, we must look at her iconic qualities. Her cute look and deep history have made her a cultural icon.
What Makes Hello Kitty Iconic?
Several reasons explain Hello Kitty’s iconic status. Yuko Yano, a Sanrio representative, says, “Hello Kitty’s design is simple yet unique. This makes her instantly recognizable and loved by all ages.”
“The key to Hello Kitty’s success lies in her universal appeal and the emotional connection she makes with her fans.”
| Characteristics | Description |
|---|---|
| Simplicity | Simple design makes her easily recognizable |
| Cuteness | Adorable appearance appeals to a wide audience |
| Versatility | Appears in various merchandise and contexts |
Tools You’ll Need for Drawing
To begin drawing Hello Kitty, you’ll need basic tools. You’ll need a pencil, eraser, and paper. For color, markers or colored pencils are good choices.
Basic Drawing Tools:
- Pencil
- Eraser
- Paper
- Markers or colored pencils (optional)
Having the right tools is the first step in creating your own Hello Kitty drawing. Next, we’ll dive into the step-by-step guide to drawing this beloved character.
Step1: Start with the Basic Shapes
Starting with basic shapes is key to drawing Hello Kitty. This step makes sure your drawing looks right and is easy to recognize.
Drawing the Head
To draw Hello Kitty’s head, start with a large circle. This circle helps place the facial features correctly. You can use a compass or trace a circular object for a perfect circle.
![]()
Creating the Body
For the body, draw a smaller oval at the bottom of the circle. The oval should tilt slightly for Hello Kitty’s cute pose. Make sure the head and body connect smoothly.
| Shape | Description | Purpose |
|---|---|---|
| Circle | Large circle for the head | Guides the placement of facial features |
| Oval | Smaller oval for the body | Forms the base of Hello Kitty’s body |
For more detailed guides and tutorials on drawing Hello Kitty, visit https://www.doofydoodles.com/goodies/how-to-draw-hello-kitty. There, you’ll find more resources and tips.
Step2: Adding Facial Features
Now we have the basic shapes, it’s time to add Hello Kitty’s facial features. This step is key to capturing her iconic cute look.
Positioning the Eyes
Hello Kitty’s eyes are very distinctive. Start by drawing two large oval shapes on the upper head. Make sure they are fairly close together. The eyes should be about one-third of the way down from the top of the head.
It’s important to leave enough space between them for a balanced look.
Crafting the Nose
The nose is small but important. Place a small oval or a rounded triangle in the center of the face, below the eyes. The nose should be relatively small compared to the eyes.
Adding the Mouth
Hello Kitty’s sweet expression is all about her mouth. Draw a simple curved line below the nose to create the mouth. You can choose a more pronounced curve for a happier look or a straighter line for a more subtle smile.
By carefully placing the eyes, crafting the nose, and adding the mouth, you’ll capture Hello Kitty’s signature look. Remember, facial features are what make your drawing come alive. So, take your time to get them just right.
Step3: Drawing Hello Kitty’s Bow
Now that we’ve outlined Hello Kitty’s face, it’s time to add her iconic bow. The bow is key to her charm and character.
Placement of the Bow
Imagine a line across Hello Kitty’s head, just above her eyes. The bow’s center should line up with this line, usually on the left side. You can adjust it to your liking. Proper placement is key for a balanced look.
Detailing the Bow
To detail the bow, start with two loops on either side of the center. Make sure they’re symmetrical and rounded. Then, add a smaller bow or a knot in the center.
You can also add gentle folds to the loops for a more realistic look. For a detailed guide on drawing Hello Kitty, including the bow, visit this helpful resource.
| Bow Detailing Steps | Description |
|---|---|
| 1. Draw Loops | Create two rounded loops on either side of the bow’s center. |
| 2. Add Center Knot | Include a smaller bow or knot where the loops meet. |
| 3. Add Folds | Gently add folds to the loops for a realistic look. |
By following these steps, you’ll be able to draw Hello Kitty’s bow with ease. It will add a touch of charm to your drawing.
Step4: Outlining the Character
Now that you’ve sketched the basic features, it’s time to refine your Hello Kitty drawing with a clear outline. Outlining is a critical step that requires the right tools and techniques to achieve a clean and precise finish.
![]()
Choosing the Right Pen
The type of pen you choose can significantly impact the quality of your outline. For a traditional drawing, a fine-tip pen or a marker with a small tip is ideal. Look for pens that are known for their archival quality and lightfastness to ensure your artwork remains vibrant over time. For those interested in digital drawing, a graphics tablet or a high-quality stylus can offer the precision needed for clean lines.You can learn more about how to draw a girl.
Techniques for Clean Lines
To achieve clean lines, it’s essential to have a steady hand and a comfortable drawing position. If you’re using a traditional pen, you can improve your line quality by practicing hatching and contour drawing exercises. For digital drawing, adjusting the sensitivity of your stylus can help you achieve the desired line quality. Using a ruler or a straightedge can also assist in drawing straight lines and precise edges.
For more detailed instructions and visual guidance on drawing Hello Kitty, you can visit Emily Drawing’s guide, which offers a comprehensive step-by-step tutorial.
Step5: Coloring Your Drawing
Now that your outline is done, it’s time to add color and depth. Coloring makes your artwork more engaging and visually appealing.
Selecting Your Colors
Choosing the right colors for Hello Kitty is key. Traditionally, Hello Kitty is in bright, pastel colors. You can use colored pencils, markers, or digital tools to color your drawing.
For a classic look, consider using:
- Bright red or pink for the bow
- White for the face and body
- Yellow or light orange for additional details
Shading Techniques
Shading adds depth and dimension to your Hello Kitty drawing. To create a simple shading effect, use a slightly darker shade of the base color. For example, use light gray for shadows if you’re using white for the body.You can learn more about how to draw a person.
Here are some basic shading techniques:
| Technique | Description | Effect |
|---|---|---|
| Hatching | Creating parallel lines | Creates texture and shading |
| Cross-Hatching | Layering hatching lines at different angles | Adds depth and dimension |
| Stippling | Creating patterns with small dots | Produces detailed shading |
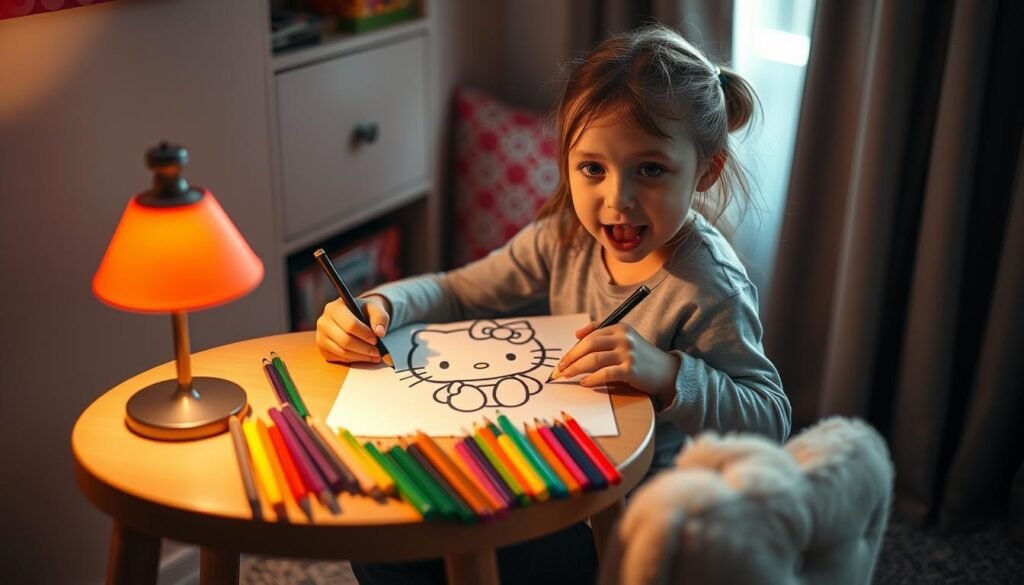
By using these shading techniques, you can make your Hello Kitty drawing more visually appealing.
Tips for Beginners
Starting your Hello Kitty drawing journey can be both exciting and intimidating. But don’t worry, I’ve got you covered. As a beginner, it’s essential to understand the basics and practice effectively to improve your drawing skills.
Common Mistakes to Avoid
When drawing Hello Kitty, there are a few common mistakes that beginners should be aware of. One of the most common errors is incorrect proportions. Make sure to measure your drawing carefully to ensure that the head, body, and bow are in proportion.
Another mistake is not paying attention to details. Hello Kitty’s facial features and bow are iconic, so it’s crucial to get them right. Take your time when drawing these elements, and don’t be afraid to erase and start again if needed.
| Common Mistakes | Corrections |
|---|---|
| Incorrect proportions | Measure carefully to ensure proportions are correct |
| Not paying attention to details | Take your time when drawing facial features and bow |
How to Practice Effectively
Practice is key to improving your drawing skills, and there are several ways to practice effectively. One method is to draw Hello Kitty regularly. Set aside a few minutes each day to practice drawing different parts of the character.
Another effective way to practice is to use reference images. Look at official Hello Kitty images or other drawings of the character to get a sense of the proportions, facial features, and other details.
“The only way to do great work is to love what you do.” – Steve Jobs
For more practice, you can visit this tutorial on how to draw Hello Kitty, which provides step-by-step guidance.
![]()
Advanced Techniques for Enthusiasts
Once you get the basics down, it’s time to explore more advanced Hello Kitty techniques. Trying out different styles and backgrounds can really make your artwork pop.
Experimenting with Styles
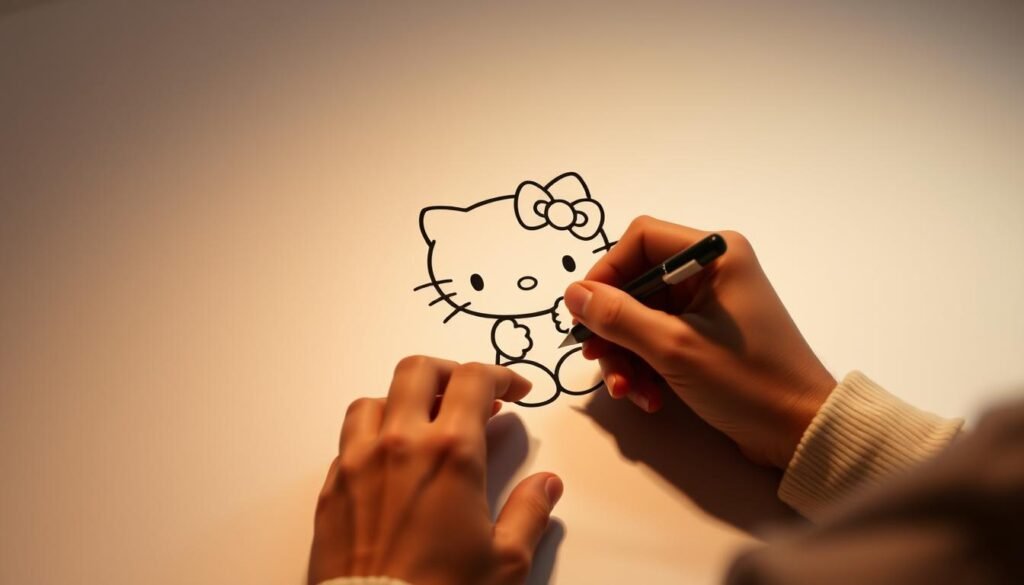
Trying out various styles can make your Hello Kitty drawings really stand out. You can play with styles like minimalist, abstract, or pop art. Each style gives Hello Kitty a unique look.
For example, a minimalist style might mean simplifying the face or using fewer colors. An abstract style could mean breaking free from traditional looks and exploring new ways to draw.
Incorporating Backgrounds
Adding backgrounds to your Hello Kitty drawings can make them more interesting. You can pick backgrounds that match Hello Kitty’s personality, like a floral garden or a cityscape. Just make sure the background doesn’t take over the main character.
| Background Type | Description | Tips for Incorporation |
|---|---|---|
| Floral | A garden filled with flowers | Use soft colors and gentle lines to create a serene atmosphere. |
| Cityscape | An urban setting with buildings | Contrast Hello Kitty’s simplicity with the complexity of city elements. |
| Abstract | Non-representational shapes and colors | Experiment with different textures and patterns to add visual interest. |
By learning these advanced techniques, you can make Hello Kitty drawings that are both cute and unique. Whether you’re drawing for fun or to show off your skills, these tips will help you improve your Hello Kitty artwork.
Personalizing Your Hello Kitty Drawing
Make your Hello Kitty drawing truly yours by adding custom accessories and scenarios. This personal touch makes your artwork stand out. It also adds a story to your drawing.
Adding Accessories
Accessories can be simple like bows or more complex like jewelry. Think about what fits Hello Kitty’s character and your style. For example, a miniature crown can make Hello Kitty look royal. A vintage-style purse adds elegance.
To add accessories, start by sketching them lightly around Hello Kitty. Make sure they fit right and match the character. Try different textures and patterns to make your drawing more interesting.
Creating Unique Scenarios
Put Hello Kitty in unique scenarios to make your drawing more than just a character sketch. Think of scenarios like a picnic or enjoying a cup of tea. The scenario should show Hello Kitty’s friendly and playful side.
To create a scenario, first decide on the setting. It could be a garden, a café, or a fantastical world. Then, add elements that fit the scenario, like furniture or other characters. Remember, Hello Kitty should be the main focus of your drawing.
Resources for Further Learning
If you want to get better at drawing Hello Kitty, there are many resources to help. Keep learning and practicing with different tools and techniques. This will help you grow as an artist.
To improve your skills, check out these resources:
Recommended Books
There are books that teach you to draw Hello Kitty and other favorite characters. They have step-by-step guides and tips from experts. Some top picks are “Hello Kitty Drawing Book” and “Sanrio Characters: A Step-by-Step Drawing Guide.”
Robert Henri said, “The moment you doubt whether you can fly, you cease forever to be able to do it.” This shows how important it is to keep learning and trying.
Online Tutorials
Online tutorials are also great for learning. Sites like YouTube and Skillshare have lots of tutorials. You can find ones just for drawing Hello Kitty, so you can learn at your own speed.
Some top online resources are:
- Tutorial videos on YouTube
- Online courses on Skillshare
- Drawing communities on social media platforms
Using these resources, you can keep getting better at drawing Hello Kitty. You can also develop your own style.
Conclusion
As we wrap up this guide on how to draw Hello Kitty, think about your artistic journey. You’ve learned the basics of drawing this beloved character. You’ve also picked up skills for other artistic projects.
Recap of the Drawing Process
In this guide, we covered the key steps to draw Hello Kitty. You learned about basic shapes and adding details. You also found out how to make the iconic bow and color your drawing.
For a detailed refresher, check the previous sections or visit our comprehensive guide on drawing Hello Kitty.
Encouragement to Share Your Work
Now that you’ve finished your Hello Kitty drawing, share it with friends and family. Your artwork shows your creativity and skill. Sharing it can inspire others.
Whether you’re new or experienced, your Hello Kitty drawing will make someone smile. Remember, the fun of drawing is in the journey, not just the end result. Keep practicing and trying new things. Your artistic journey is just starting, and I’m excited to see where it goes.Learn more about how to draw a cat.
Frequently Asked Questions
Starting to draw Hello Kitty can bring up many questions. I’ll cover some common ones to make things clearer.
How Long Does It Take to Draw Hello Kitty?
The time it takes to draw Hello Kitty varies. It depends on your skill level and how detailed you want it. Beginners might need 30 minutes to an hour for a simple drawing.
As you get better, you’ll draw faster. Here’s a rough guide for different skill levels:
- Beginner: 30 minutes to 1 hour
- Intermediate: 15 to 30 minutes
- Advanced: Less than 15 minutes
Can I Use Digital Tools?
Yes, you can use digital tools to draw Hello Kitty. Many artists like digital drawing because it’s flexible and lets you fix mistakes easily. You can use graphic tablets or drawing apps on tablets or smartphones.
Using digital tools has some benefits:
- You can undo and redo strokes easily
- You have a wide range of brushes and effects
- It’s convenient with less mess and easier storage
Whether you use traditional or digital tools, practice is key. Try different methods to see what works best for you.
Final Thoughts
As we wrap up this guide on drawing Hello Kitty, remember that creativity grows with practice and patience. Drawing Hello Kitty is more than just copying a character. It’s about exploring your artistic side and enjoying the process.
Unlocking Your Creative Potential
Being creative means trying new things and styles. Now that you know how to draw Hello Kitty, you can make it your own. Try changing its look or adding it to different scenes.
The Simple Joy of Creation
Drawing Hello Kitty brings happiness to many fans. By following this guide, you’ve not only learned a new skill but also joined a community that loves art and creativity. Keep exploring and enjoying the art-making journey.


