

Imagine sketching the world’s tallest land animal, a creature whose head can graze the leaves 18 feet above the ground. Capturing this gentle giant on paper is an artistic adventure I am excited to guide you through.
These majestic animals are more than just their incredible height. Their name, originating from the Arabic word “zarafah” meaning “fast walker,” hints at their surprising speed of 37 miles per hour. This unique blend of grace and power makes them a fantastic subject for artists.
From the beloved Geoffrey of Toys ‘R’ Us to animated stars in films, giraffes hold a special place in our culture. Their distinctive spotted coats and long, prehensile tongues are features we will learn to illustrate with confidence.
This guide is designed for animal lovers of all skill levels. I will break down the process into clear, manageable steps. You will discover that rendering these magnificent creatures is an achievable and deeply rewarding artistic project.how-to-draw-a-rose-easy-step
Key Takeaways
- Giraffes are the tallest land animals, making their proportions a unique drawing challenge.
- The animal’s name comes from the Arabic for “fast walker,” reflecting its agility.
- Their distinctive features, like long necks and spotted patterns, are fun to capture.
- This project is suitable for artists at any level of experience.
- Giraffes are popular in culture, making them a recognizable and beloved subject.
- Following a structured approach simplifies the illustration process.
- Creating a realistic giraffe drawing is an achievable goal with proper guidance.
Drawing Materials and Preparation
The foundation of any successful artistic endeavor lies in proper material selection and workspace organization. Having the right tools within reach eliminates frustration and allows complete focus on the creative process.how-to-draw-a-square-with-3-lines
What I Need for a Successful Drawing
Quality drawing paper, a range of pencils, and a good eraser form the essential toolkit. These basic supplies provide the flexibility needed for sketching and refining your work. Having multiple pencil grades helps create depth and texture in your artwork.
Setting Up My Workspace
Creating an optimal environment is crucial for productive artistic sessions. Good lighting, a stable surface, and organized materials prevent distractions. This setup allows me to work at my own draw pace without interruptions.
I recommend opening the video tutorial in a separate tab while following written instructions. This dual approach caters to different learning styles. Many online tutorials offer both formats, making the lessons accessible for all types of artists.how-to-draw-a-rabbit-easy
Setting aside dedicated time ensures I can fully concentrate on the step-by-step process. This comprehensive guide provides the structure needed for successful results.
Step-by-Step Process: How do i draw a giraffe

Moving from preparation to execution, the construction phase transforms basic shapes into the animal’s distinctive silhouette. This systematic approach ensures proper proportions from the beginning.
Outlining the Head, Neck, and Body
Establishing the core structure begins with the head and neck alignment. I focus on creating smooth, flowing contours that capture the elegant curvature.
The body follows as an extension of the neck’s base. Maintaining consistent proportions throughout these initial steps creates a solid foundation.how-to-draw-a-tornado
Sketching the Legs, Ears, and Facial Features
Leg construction requires careful attention to positioning and angles. I extend pairs of curved lines downward from the body, creating the forelegs first.
The rear legs follow, positioned to create natural stance and depth. Each leg receives a small band at the bottom to indicate hooves.
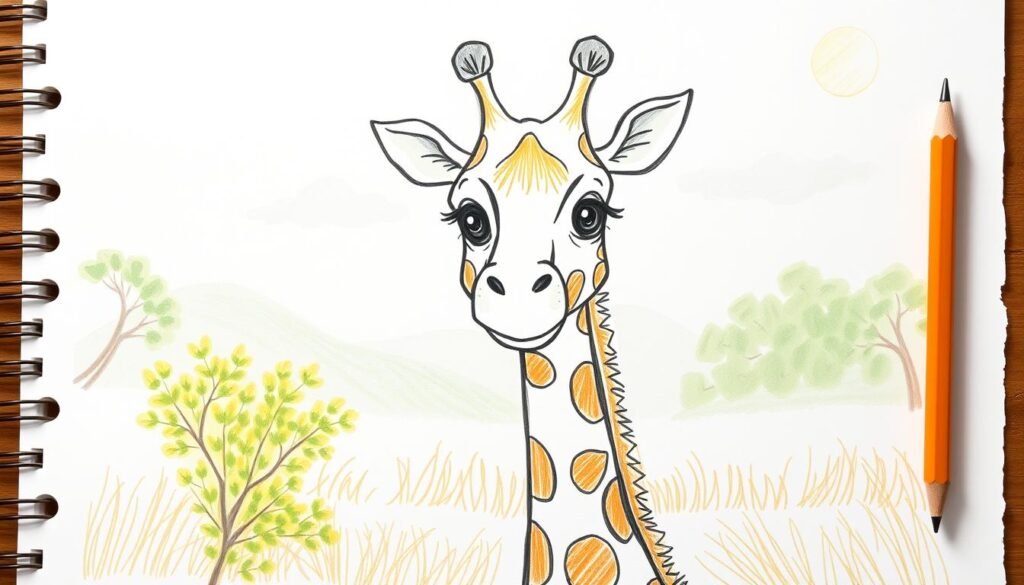
Facial details bring personality to the illustration. The eyes feature an oval within an oval, with small circles on each side for highlights.
Ears use “U” shaped lines for both outer and inner contours. These tutorials demonstrate how subtle curves create dimension.
Final touches include eyebrows, snout, and nostrils. This comprehensive approach to drawing ensures recognizable results. For additional guidance, consult this detailed construction resource.
Mastering the Details: Tips, Shapes, and Techniques

Adding distinctive features like the tufted mane and ossicones brings personality to your artwork. This stage transforms basic construction into a recognizable animal.how-to-draw-a-seashell
Using Curved Lines and Simple Shapes Effectively
Create the head tuft using curved lines meeting at jagged points. This technique produces natural-looking hair texture.
Extend parallel lines from each side for the ossicones. Enclose them with small circles for accurate horn representation.
Form the mane with a jagged line from neck to back. This adds movement to your illustration.
The tail requires “S” shaped lines with a teardrop tip. Add curved lines down its length for fur texture.
Refining Details with Personal Artistic Touches
Apply irregular shapes across the body for spotting patterns. Vary their size and distribution for natural appearance.
Watercolors and oil pastels create vibrant finishes. Non-water-soluble materials yield the best yellow and brown combinations.
Erase all guide lines carefully for a polished result. This cleanup step reveals your clean, finished work.
Take time with these final touches. They elevate your creation from simple outline to expressive animal.
Consider privacy policy aspects when sharing artwork online. Understand your rights within drawing communities.how-to-draw-a-zebra
Conclusion
The techniques you’ve mastered here—proportions, curved lines, detailing—are your passport to illustrating the entire savannah. You have successfully transformed basic shapes into a recognizable and graceful animal.
This process proves that even complex subjects become manageable through simple steps. Consistent practice will further refine your understanding of animal anatomy.
Consider this giraffe drawing a foundation. The same principles apply to lions, zebras, and other creatures. Explore more drawing tutorials to expand your skills.
Experiment with different styles and coloring methods to find your unique voice. Continue your journey by exploring our guide on mastering the art of giraffe drawing for deeper insights.
Share your creations and keep learning. Every new drawing lesson builds greater confidence and artistic ability.


