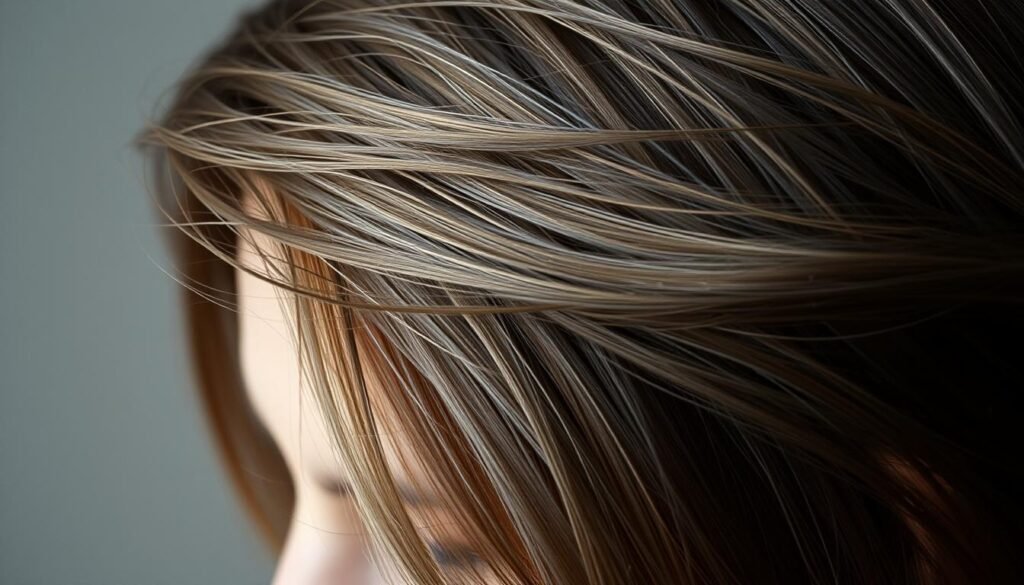
Drawing realistic hair can seem hard at first. But, with the right techniques, it gets easier. As an artist, I’ve learned that knowing how hair flows and feels is key to drawing it well.
To start, you need to learn the basics of drawing realistic hair. This means understanding the different types of hair and using the right tools and methods. By breaking it down into smaller steps, artists can get better and draw more realistic hair.
Key Takeaways
- Understand the basics of hair texture and flow.
- Use the right tools and techniques for drawing hair.
- Break down the drawing process into manageable steps.
- Practice drawing different hair types and styles.
- Refine your skills by layering and blending colors or shading.
Understanding Hair Types
Learning to draw hair starts with knowing its different types. Hair has many textures and styles. It’s important to understand these differences to draw realistic hair.
Straight Hair
Straight hair lies flat on the head, looking sleek and smooth. When drawing straight hair, focus on its flatness and how it sticks to the scalp. Pay attention to the subtle variations in texture to make your drawing more realistic.You can learn more about how-to-draw-a-flower.
Wavy Hair
Wavy hair has a gentle ‘S’ shape, giving it a soft, flowing look. To draw wavy hair well, notice how the waves move across the head. Use soft, flowing lines to show the hair’s movement.
Curly Hair
Curly hair has a more defined ‘S’ shape than wavy hair, with curls that can be loose or tight. When drawing curly hair, focus on its volume and bounce. Also, capture the texture that makes curls unique.
Coiled Hair
Coiled hair is tightly curled, forming a zig-zag pattern. Drawing coiled hair needs attention to its dense texture and how it bounces away from the scalp. Capturing the tightness and resilience of coiled hair is key for a realistic look.
Understanding and accurately drawing these hair types can greatly improve your skills. Practicing with different hair types helps you learn to capture each one’s unique features.
Essential Drawing Tools
To draw hair well, you need the right tools. The quality of your drawings will improve with the right tools.You can learn more about how-to-draw-a-face.
Pencils and Erasers
Pencils are key for sketching hair. They come in different hardness levels. This affects the lightness or darkness of your marks. For hair drawing, use pencils from HB to 6B. Erasers help fix mistakes and add highlights.
- HB Pencils are good for starting sketches.
- 2B-6B Pencils are best for shading and depth.
- Kneaded Erasers are great for soft highlights.
Brushes and Pen Techniques
Brushes and pens add variety and texture to your drawings. Different sizes and techniques can create smooth or textured effects.
- Use fine-tip pens for detailed work and strands.
- Brush pens can make fine lines and broad strokes.
- Try different brush techniques for various textures.
Paper Types
The paper you choose affects your drawings. Smooth paper is best for detailed work. Textured paper adds a unique touch.
- Smooth paper is ideal for detailed, realistic drawings.
- Textured paper adds a special texture to your work.
Digital Drawing Tools
Digital tools offer many possibilities for your artwork. They let you create and edit in various styles, from realistic to abstract.
Some popular digital tools include:
- Graphic Tablets for drawing on a digital surface.
- Drawing Software like Adobe Photoshop or Clip Studio Paint.
Observing Hair References
Learning to draw hair well starts with observing it closely. You need to know its texture, how it moves, and how it looks in light. This knowledge comes from looking at hair in different ways.
Photography is a great way to see hair up close. It lets artists study hair’s texture and how light affects it. Looking at photos helps artists understand how hair acts in different situations.You can learn more about how-to-draw-a-person.
Using Photography
Photography is key for seeing hair’s details and lighting. When looking at photos, notice how light makes hair look. This helps artists see hair’s three-dimensional shape.
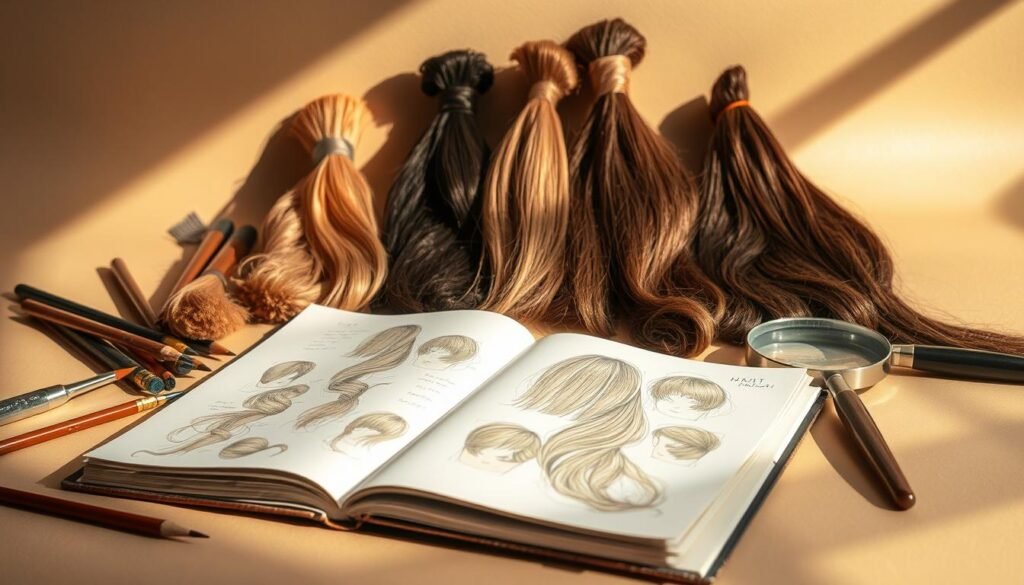
Studying Hair in Real Life
But, seeing hair in real life is even better. Watching how hair moves and reacts to its surroundings is very helpful. Real-life study adds depth that photos can’t always show.
Analyzing Fashion Magazines
Fashion magazines are also great for learning about hair. They show many hairstyles, textures, and colors. By looking at these images, artists can learn about different hair types and styles.
In short, to draw hair well, observe it through photos, real-life study, and fashion magazines. Using all these methods helps artists understand hair’s structure and look. This way, they can draw hair more realistically.
Basic Hair Structure
Understanding the basic hair structure is key for artists who want to draw hair well. Knowing its anatomy is the first step to drawing realistic hair.
Hair Follicles and Growth
Hair comes from follicles, tiny spots in the skin. The way hair grows shapes its appearance on the head. For example, scalp hair follows the skull’s shape, which is important for realistic drawings.
According to Stan Prokopenko, studying hair growth is crucial for its natural look.
Understanding Hair Flow
The flow of hair is how it falls and moves. It’s essential for a natural-looking hair drawing. Watching how hair moves, like around the face, makes drawings more realistic.
Different Hair Parts
Hair has different parts: roots, lengths, and ends. Each part has its own look and feel. For instance, roots are thicker and may be a different color than the ends, which are finer and can split easily.
Learning about these basic hair structure basics helps artists draw better hair. It’s a key step to mastering hair drawing.
Drawing the Outline
The first step in drawing hair is to sketch its outline. This includes the overall shape and volume. This initial step is key as it sets the foundation for the rest of the drawing.You can learn more about how-to-draw-stitch.
Basic Shape and Silhouette
The basic shape and silhouette of hair are key to its look. Start by observing the hair’s form and how it relates to the head and face. This helps capture its overall appearance.
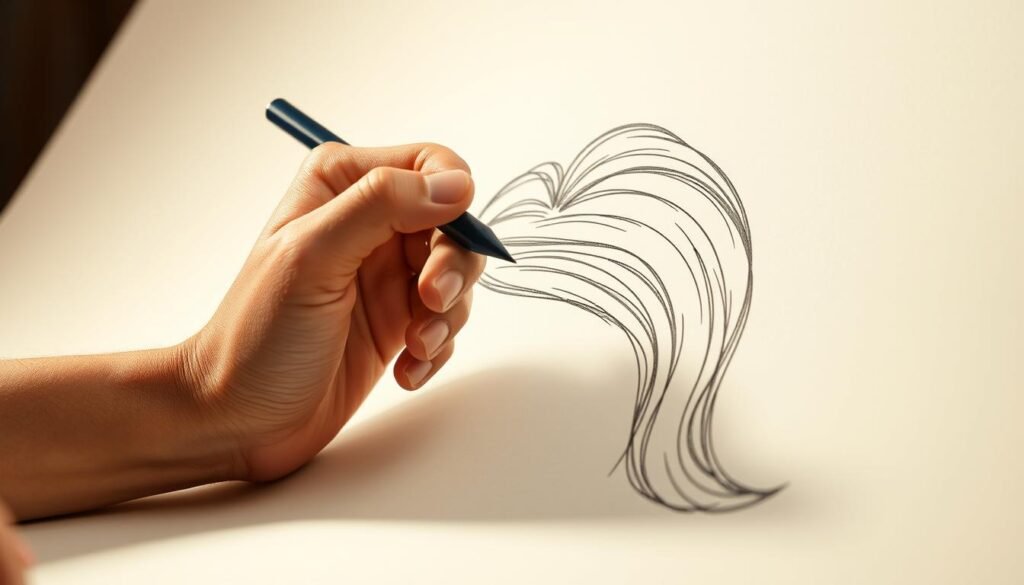
Creating Volume
To add volume, suggest the hair’s three-dimensional quality. This can be done by curving lines that follow the hair’s growth direction. These lines help show the layers and texture of the hair.
Adding Guidelines
Guidelines are useful for placing the hair correctly on the head. They ensure the hair looks right in relation to other facial features. These can be simple lines that show the hair’s flow and direction.
| Technique | Description | Effect |
|---|---|---|
| Basic Shape | Sketching the overall silhouette | Defines proportions |
| Creating Volume | Curving lines following hair growth | Suggests 3D quality |
| Adding Guidelines | Simple lines for hair placement | Ensures proportion and correct placement |
Mastering the outline of hair is crucial for a realistic and detailed drawing. It’s important to balance the outline with the subject’s overall proportions and features.
Texturing Hair
To draw hair that looks real, mastering texture is key. Texturing hair adds depth and dimension to your artwork. It’s crucial for creating realistic portraits.
There are several techniques to achieve realistic hair texture. Learning these methods can make your drawings more believable and engaging.
Techniques for Realistic Texture
Cross-hatching is a top technique for realistic hair texture. It involves layering lines at different angles. This suggests the direction and flow of the hair.
Varying the density and thickness of these lines creates a range of textures. These textures add realism to your drawings.
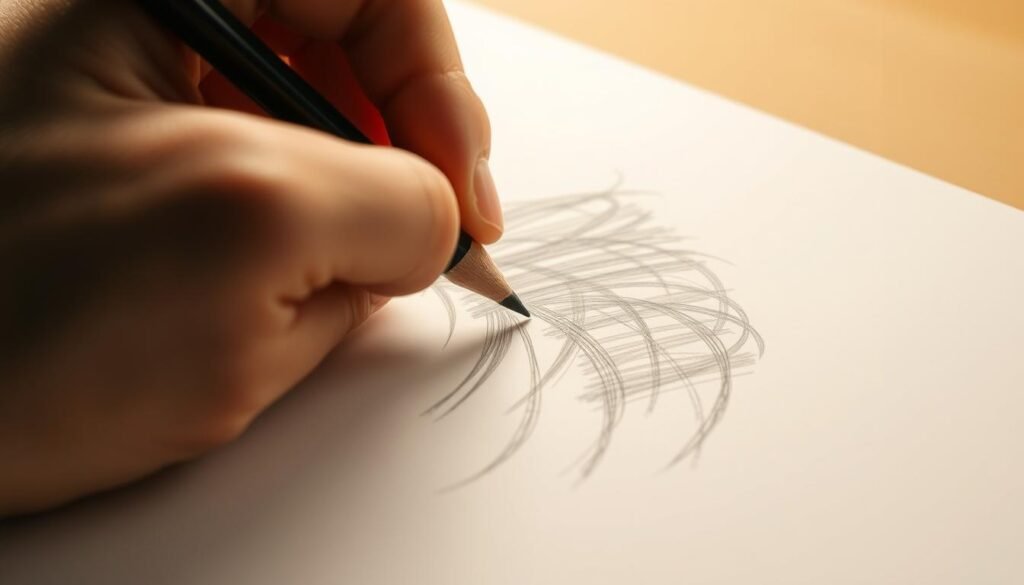
Using Cross-Hatching
Cross-hatching is versatile for creating various textures. To master it, observe the hair’s growth direction. Then, layer lines following this direction with your drawing tool.
For more on cross-hatching and other techniques, visit Clip Studio’s guide on drawing.
- Begin with light, gentle strokes to outline the basic flow of the hair.
- Gradually build up layers of cross-hatching to add depth and texture.
- Vary the pressure and angle of your strokes to achieve different textures.
Blending Methods
Blending is key for realistic hair texture. It softens edges and merges strands for a natural look. You can use blending stumps or digital brushes for this.
To blend effectively, identify where hair overlaps or merges. Then, use your tool to gently soften these areas. This creates a seamless transition between strands.
“The key to realistic hair texture is understanding how to balance detail with subtlety. Too much detail can make the hair look unnatural, while too little can make it look flat.”
Mastering cross-hatching and blending can enhance your portraits. Try different methods and tools to find what suits your style best.
Adding Detail to Hair
The secret to drawing hair that grabs your attention lies in the details. This includes everything from individual strands to how light and shadow play. By capturing these elements, your artwork can leap from simple to stunningly lifelike.
Individual Strands
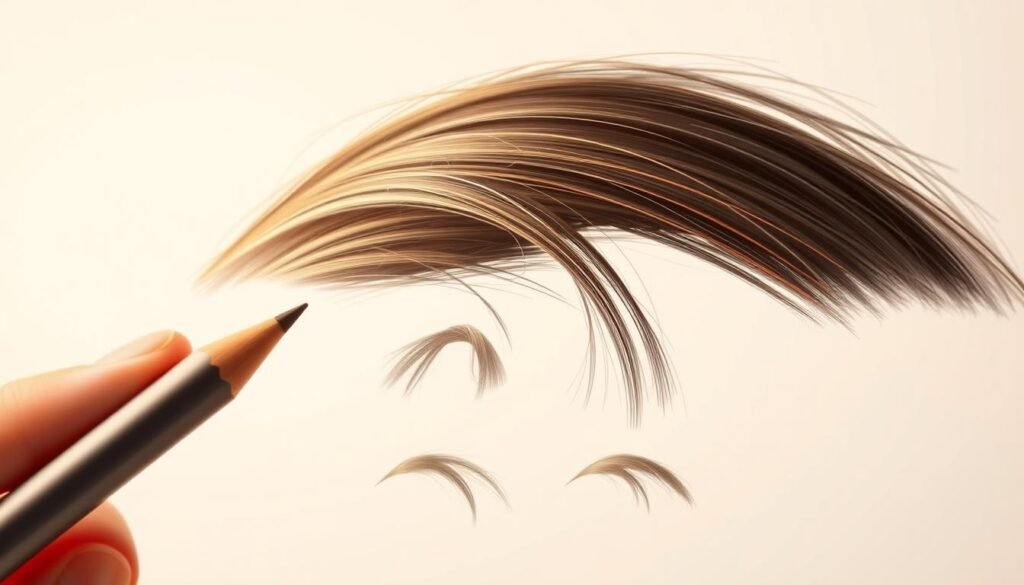
To draw hair strands that feel real, focus on texture and movement. I use a fine-tip pencil to draw out each strand. I vary their thickness and direction to match hair’s natural flow. This makes my art more realistic and engaging.
Highlights and Shadows
Highlights and shadows are key to making hair look three-dimensional. I study how light affects the hair to spot where to add highlights or shadows. With different shading techniques, I bring out the light and shadow dance on the hair.
Fine Lines for Realism
Fine lines are vital for adding realism to your hair drawings. By adding lines that follow the hair’s direction, I improve its texture and flow. This technique also adds depth, making the hair look more real and interesting.
By paying attention to these details and using the right techniques, you can greatly improve your hair drawings. Whether it’s a portrait or a character, the hair’s detail can significantly enhance your artwork’s impact.
Coloring Hair
Coloring hair is key to making drawings look real. It adds depth and makes the hair look lifelike. When I color hair, I pick colors that match the subject’s look.
Choosing a Color Palette
Choosing the right colors is important. I think about the subject’s skin, eyes, and clothes. Warm skin looks good with golden hair, while cool skin suits ash shades.
Key Considerations for Color Palette:
- Natural hair color variations
- Skin tone and eye color
- Clothing and surroundings
Layering Colors
Layering colors makes hair look more real. I start with a base color and add shading and highlights. This creates depth and texture.
Tips for Effective Layering:
- Start with a base color that matches the hair’s natural shade
- Add layers of shading to create depth and dimension
- Use highlighting to capture the hair’s texture and movement
Blending for Depth
Blending colors makes transitions smooth. I use digital tools or traditional media like pencils or pastels. This creates a natural look.
| Blending Technique | Effect |
|---|---|
| Digital Blending | Smooth, seamless transitions |
| Layering Colored Pencils | Builds up color gradually, creating depth |
| Pastel Blending | Soft, subtle transitions between colors |
Artist and instructor say, “The key to realistic hair coloring is understanding how light interacts with the hair’s texture and structure.”
“To capture the subtleties of hair color, one must observe how light falls on the subject’s hair, noting the areas of highlight and shadow.”
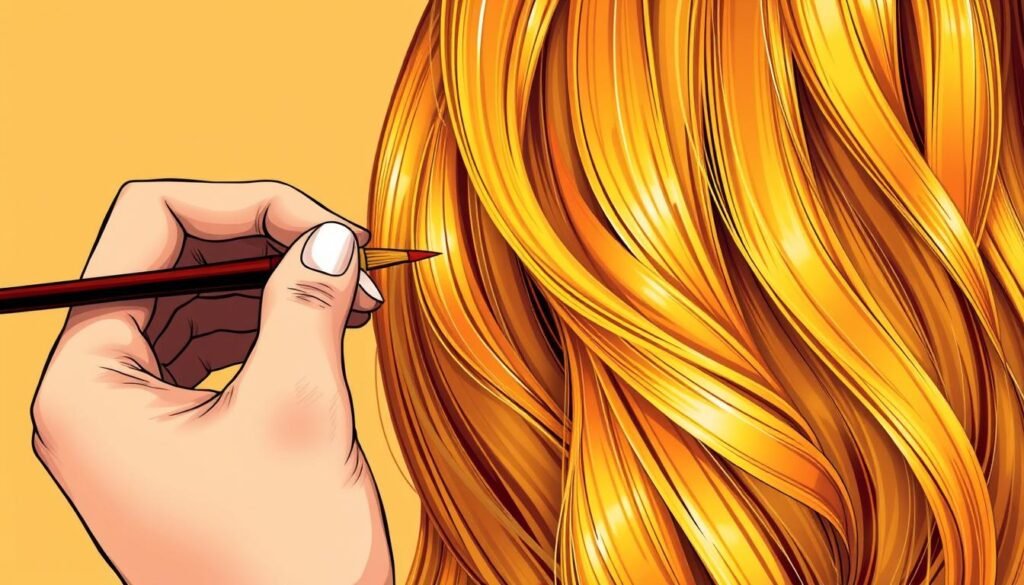
Mastering hair coloring can make your drawings pop. Remember, practice is key to getting realistic and captivating hair colors.
Drawing Hair in Different Styles
Learning to draw hair in various styles is key for artists. It boosts their creativity and versatility. By mastering different hairstyles, artists can truly capture their subjects’ essence and personality.
Long Hair
Long hair flows beautifully, falling down the back or over the shoulders. Begin by sketching the hair’s overall flow and movement. Use soft, flowing lines to show its texture and feel.
Notice how the hair interacts with clothes and the environment. For more tips, check out this tutorial on drawing hair in different styles.
Short Hair
Short hair is more compact and needs focus on texture and layering. When drawing short hair, aim to capture its shape and volume. Use short, sharp strokes to show its texture and layering.
Also, observe how light affects the hair, creating highlights and shadows. This adds depth to your drawing.
Updos and Braids
Updos and braids require a deep understanding of hair structure and styling. Start by sketching the overall shape, then add details like individual strands and texture. Focus on how the hair is styled or braided for a realistic look.
Practicing different hairstyles can improve your artistic skills. Whether it’s long hair or intricate braids, mastering hair drawing is essential for any artist.
Common Mistakes to Avoid
Knowing what mistakes to avoid is key to drawing realistic hair. Many common errors can make your work look less real or interesting.
Overcomplicating the Texture
Artists often make the mistake of overdoing the hair texture. Too much detail can make the hair look fake. Simplifying the texture while keeping its essence is key. Instead of drawing every strand, focus on the overall flow and movement.
Neglecting Volume
Ignoring hair volume can make it look flat and unrealistic. Hair has a three-dimensional structure that you need to capture. Layering and shading can help create the illusion of volume.
| Technique | Description | Effect |
|---|---|---|
| Layering | Building up layers of hair | Creates depth |
| Shading | Using shadows to define shape | Enhances volume |
Skipping References
Skipping references is a big mistake that can lead to inaccuracies. References help make your drawing realistic and in proportion. As artist
John Smith, “References are the backbone of any realistic drawing.”
Using references, whether photos or real-life observations, can greatly improve your work.
By avoiding these common mistakes—overcomplicating texture, neglecting volume, and skipping references—you can make your hair drawings more realistic and engaging.
Practicing Hair Techniques
As an artist, practicing hair techniques can really boost your drawing skills. To draw hair well, you need to spend time improving your skills every day.
Start by setting up a daily sketching routine. This routine sharpens your observation skills and helps you capture hair details. Regular practice makes your techniques better and your drawings more realistic.
Daily Sketching Routines
Daily sketching means watching and drawing different hair types. It helps you grasp the textures, flows, and styles you see. Here are some tips for your daily sketching:
- Observe different hair types and styles.
- Practice drawing various textures and flows.
- Use different mediums, such as pencils or digital tools.
Experimenting with Styles
Trying out different hair styles and techniques is key to growing your skills. Draw hair in many styles, from simple to complex. This will challenge you and make you more versatile.
Taking Feedback
Getting feedback from others is very helpful. Joining a community of artists or sharing your work can give you insights. It helps you know what to work on and improve your techniques.
By practicing every day, trying new things, and listening to feedback, you can get better at drawing hair. You’ll become more confident and skilled.
Finalizing Your Hair Drawing
As I finish my hair drawing, I see how key this stage is. It’s where the drawing goes from good to amazing, thanks to the details.
Adding Final Touches
The final touches are key to bringing your hair drawing to life. This means fine-tuning the texture, adjusting the shading, and making sure every strand is right. It’s about those small changes that turn your drawing into a piece of art.
Artist and instructor, “The final details are what separate a good drawing from a great one.” – John Smith, Artist.
Reviewing and Adjusting
After adding the final touches, reviewing your work is crucial. Step back and look at the drawing as a whole. Check for any mistakes or areas that need work. Make changes as needed, so the hair looks natural and the composition is balanced.
“A good drawing is not just about technical skill, but also about capturing the essence of the subject.”
Exporting Digital Art
If you’re working digitally, the last step is to export your art. You might need a high-resolution JPEG for printing or a PNG for the web. Make sure to pick the right settings for your use, whether it’s online sharing or a professional portfolio.
- Choose the correct file format based on your needs.
- Adjust the resolution to suit your intended use.
- Save a copy of your original work before exporting.
Resources for Improvement
To get better at drawing hair, it’s key to use many resources. These can guide and support you. Looking at different learning materials can improve your skills and grow your art.
Online Learning Platforms
Websites like Proko, New Masters Academy, and Skillshare have lots of hair drawing tutorials. They offer step-by-step lessons and detailed instructions. This helps you learn the techniques well.
Educational Materials
Books like “The Natural Way to Draw” by Kimon Nicolaides and “Drawing on the Artist Within” by Frederick Franck are great. They give valuable lessons. You can also find online courses on Craftsy and Udemy.
Artistic Communities
Being part of online groups like DeviantArt, ArtStation, or local art clubs is helpful. These places let you meet artists who love drawing hair. You can get feedback, find inspiration, and grow your skills together.


