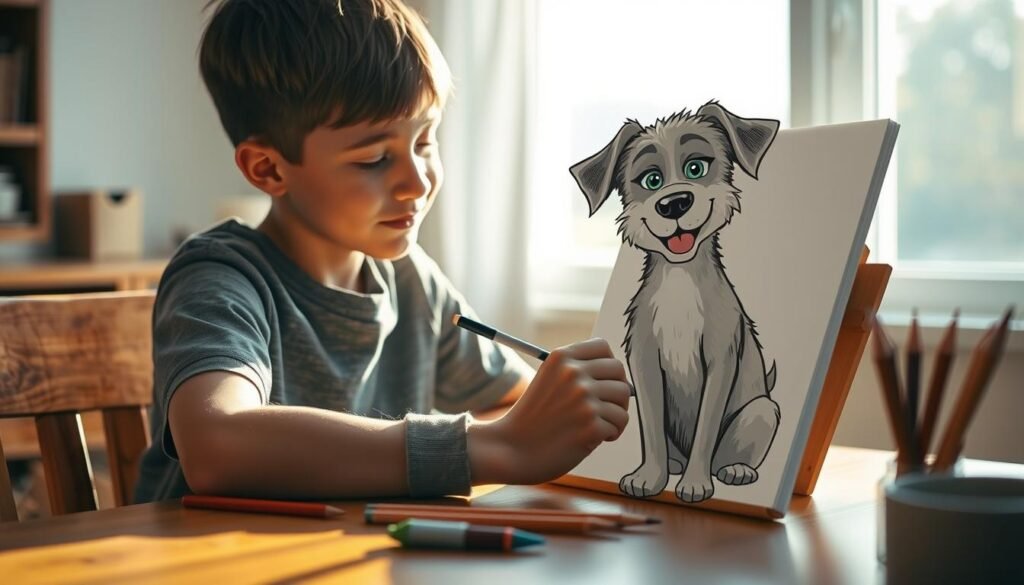
Did you know drawing can help reduce stress? I’ve found it to be a great way to relax. So, I’m excited to share an easy guide on drawing dogs with you.
Drawing dogs is fun and rewarding, even if you’re new to art. We’ll go over the basic steps to make a simple yet charming dog drawing.
With a few simple techniques and practice, you can make your own dog art. I’ll walk you through it, making it easy to follow and learn.
Key Takeaways
- Basic shapes are used to create a dog’s form
- Simple lines and curves help define the dog’s features
- Shading and texture add depth to your dog drawing
- Practice is key to improving your drawing skills
- Our tutorial is designed for beginners, making it easy to follow
Understanding Dog Anatomy for Drawing
Learning about dog anatomy is key to making realistic dog drawings. To draw a dog well, you need to know its structure.
Dog anatomy covers the body structure, breed traits, and key features that make a dog look like one.
Basic Dog Body Structure
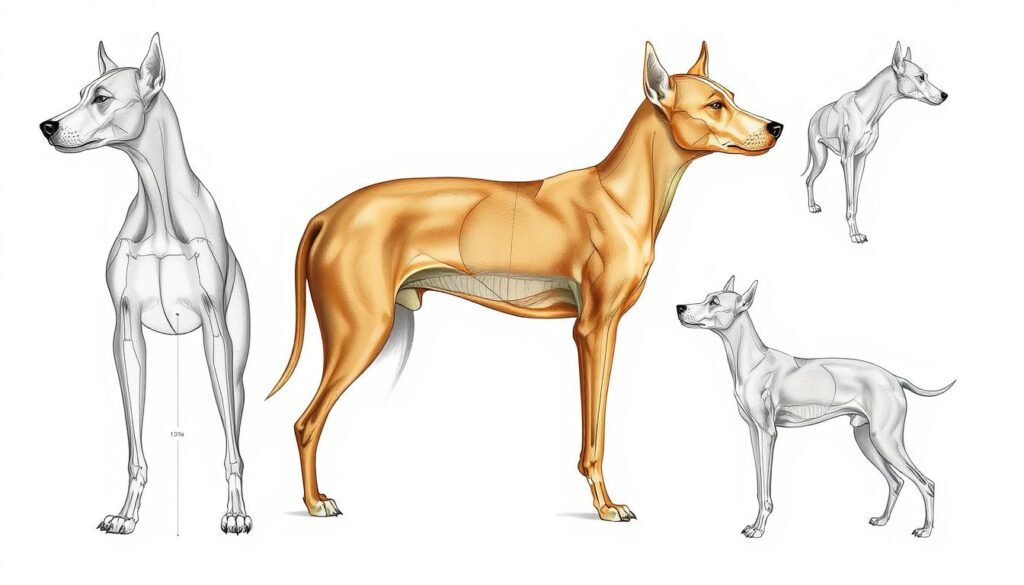
A dog’s body has bones, muscles, and proportions. Dogs can move in many ways thanks to their bones. Knowing a dog’s body proportions is important for drawing.
- The average dog’s body is shaped so its length from neck to tail is about the same as its height at the shoulder.
- The head is usually one-third the body’s height at the shoulder.
- The limbs and torso are shaped for good movement.
Understanding Dog Breeds
There are over 340 dog breeds, each with its own look, like coat type and size. For example, a Greyhound is long and lean, while a Bulldog is sturdy and compact.learn-to-draw-dogs-easy-tutorial-for-beginners
To draw different breeds right, studying their special features is key. For more tips on drawing various breeds, check out this tutorial on drawing dogs.
Essential Features to Focus On
When drawing dogs, some features are very important to get their look and character right. These include:
- The shape and look of the eyes.
- The shape and placement of the ears.
- The type of coat and how it falls on the body.
- The posture and how it shows the dog’s mood or attitude.
By paying attention to these key features and understanding the anatomy, you can make more lifelike and interesting dog drawings.
Gathering Your Drawing Materials
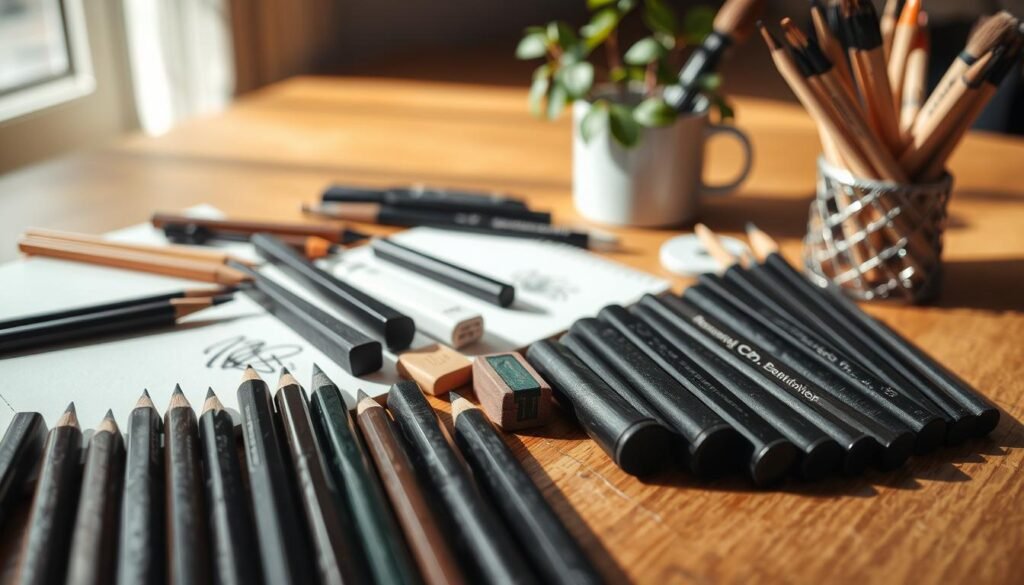
Before you start drawing dogs, make sure you have the right materials. The quality of your art depends on the tools you choose.
To draw a compelling dog, you’ll need different materials. Let’s look at the basics first.
Recommended Pencils and Papers
The basics are a pencil and paper. For dog drawings, use HB for basic sketches and 2B or 4B for shading.
Choose sketching paper or cartridge paper that’s smooth and strong. A paper weight of 80-100 gsm works best for pencil drawings.
| Pencil Type | Use |
|---|---|
| HB | General Sketching |
| 2B, 4B | Shading |
| 6B | Deep Shading |
Tools for Shading and Coloring
For shading, use tortillon or blending stumps to blend colors. For coloring, colored pencils or markers are good choices. They should be light-fast and blend well.
“The right tool can elevate your artwork from good to great.” –
Here’s a quick list of tools you might need:
- Pencils (HB, 2B, 4B, 6B)
- Sketching paper (80-100 gsm)
- Eraser
- Tortillon or blending stumps
- Colored pencils or markers
Getting Started with Simple Shapes
Simple shapes are the foundation for drawing a dog accurately. By breaking down a dog into basic shapes, you get a balanced drawing.
The Importance of Basic Shapes
Starting with simple shapes makes drawing easier. It helps you focus on the dog’s proportions and body parts. Shapes like circles, rectangles, and triangles are key for outlining a dog’s structure.
The dog’s head is a circle, and the body is a larger oval or rectangle. Legs are cylindrical, and ears are triangular.
Sketching the Dog’s Outline
To draw the dog’s outline, start with basic shapes. For a Labrador, use a large oval for the body and a smaller circle for the head. Learn more about drawing dogs with precision using the right tools.
After placing the basic shapes, refine the outline with more details. Be gentle and gradual, letting the shapes blend into a dog.
Mastering simple shapes makes drawing dogs fun and easy. It improves your drawing skills and boosts your confidence in drawing different breeds.
Adding Detail to Your Dog Drawing
Adding details to your dog drawing is where the magic happens. It turns a simple sketch into a realistic picture. You’ll focus on bringing your dog to life by adding detailed facial features, expressions, and fur texture.
Facial Features and Expressions
The face of a dog is key to capturing its personality. Start by detailing the eyes, which are the windows to the dog’s soul. Make sure they are expressive and the right size for the head.
Key Facial Features to Focus On:
- Eyes: Pay attention to the shape, size, and color. The eyes should be bright and expressive.
- Nose: Dogs have a unique nose shape and size depending on the breed. Research the specific breed you’re drawing to get it right.
- Mouth: The mouth and jawline can convey a range of emotions. A relaxed dog will have a different mouth shape compared to an excited or anxious one.
Detailing the Fur and Body
The fur texture and body details are essential for a realistic dog drawing. Different breeds have distinct fur types, from smooth to curly or wire-haired.
| Fur Type | Description | Drawing Tip |
|---|---|---|
| Smooth | Short, sleek fur | Use gentle strokes to capture the smoothness. |
| Curly | Tightly curled fur | Employ circular motions to depict the curls. |
| Wire-haired | Rough, wiry texture | Use short, jagged strokes to convey the wiry texture. |
By focusing on these details and using the right techniques, you can create a dog drawing that is not only realistic but also captures the unique personality of the dog.
Importance of Proportions in Dog Drawing
Getting the proportions right is key to a believable dog drawing. It’s what makes a dog look real and interesting. Proportions help capture the dog’s likeness and essence.
How to Measure and Maintain Proportions
To get proportions right, start by measuring the head, body, and legs. Use the head as a guide. For example, the body is usually 3-4 times the head’s length, depending on the breed.how-to-draw-a-dragon-comprehensive-guide-for-beginners
Here’s how to keep proportions in check:
- Break the body into basic shapes to set the structure
- Focus on the head-to-body ratio
- Make sure the legs match the body size
Common Proportional Mistakes to Avoid
When drawing dogs, it’s easy to make common mistakes. Some include:
- Having the head too big or too small compared to the body
- Getting the leg size wrong, making them too long or too short
- Not considering breed-specific traits that affect proportions
Knowing these mistakes helps you avoid them. This way, you can create a more realistic and well-proportioned dog drawing.
Tips for Drawing Different Dog Breeds
Drawing different dog breeds needs a sharp eye for detail and knowing their unique traits. Whether you’re new or experienced, getting the breed’s special features right can make your drawings stand out.
Distinguishing Features of Popular Breeds
Each dog breed has its own special features. For example, the Golden Retriever has a thick coat and is very friendly. The Greyhound is known for its sleek body and speed. To draw these breeds well, focus on their key traits.
Important features to think about when drawing popular breeds include:
- Coat texture and length
- Ear shape and size
- Tail characteristics
- Body proportions
For instance, a Golden Retriever drawing should show its thick coat and friendly face. A Greyhound drawing should highlight its slender body and short coat.how-to-draw-a-flower
Techniques for Realistic Breed Representation
To draw different dog breeds realistically, you need to learn various techniques. Using reference images to study the breed’s traits is helpful. Also, practicing drawing different breeds can improve your skills.
Here are some techniques for realistic drawings:
| Technique | Description | Example Breed |
|---|---|---|
| Layering | Build up layers of shading to capture the depth and texture of the coat. | Golden Retriever |
| Proportion Measurement | Measure the proportions of the breed to ensure accuracy in your drawing. | German Shepherd |
| Detailing | Pay attention to the details such as the eyes, nose, and mouth to capture the breed’s expression. | Poodle |
For more tips on drawing dogs, check out this guide on drawing dogs in four easy steps.
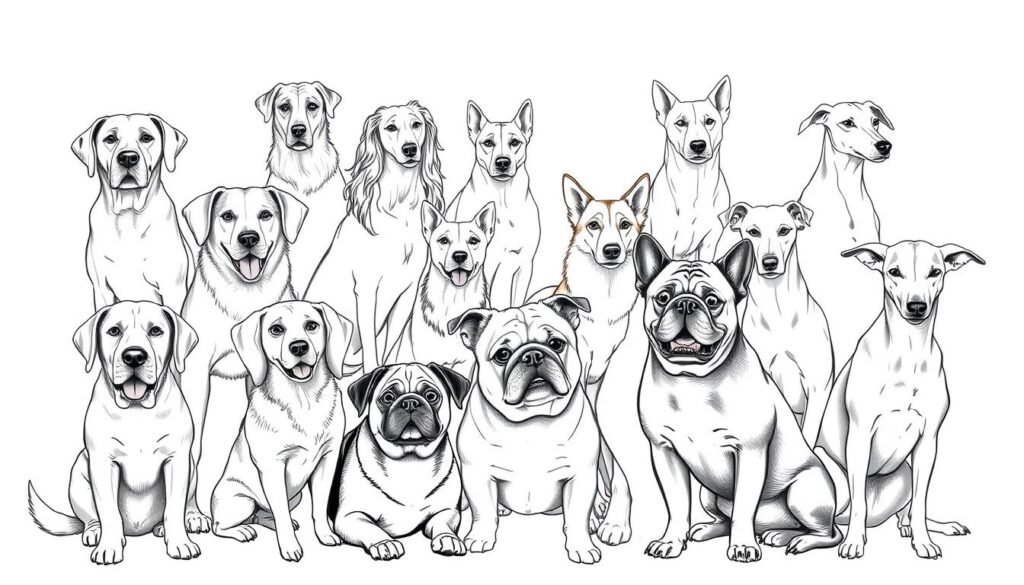
By mastering these techniques and knowing the unique features of different dog breeds, you can make realistic and engaging dog drawings. These will show off your artistic talent.
Shading Techniques for Dog Drawings
Learning to shade is key to making your dog drawings pop. Shading brings depth and realism, making your art more engaging.how-to-draw-a-guitar
To shade well, grasp the basics of light and shadow. Light from different angles changes how your drawing looks.
Understanding Light and Shadow
Light and shadow are vital for realistic drawings. The type and strength of light affect shadow placement. For dog drawings, knowing how light hits fur, eyes, and other parts is important.
There are many light sources to think about:
- Natural light: Soft and diffused, often used in outdoor settings.
- Artificial light: Can be harsh and direct, commonly used in indoor settings.
- Backlight: Creates a beautiful rim of light around the subject, separating it from the background.
Techniques for Adding Depth
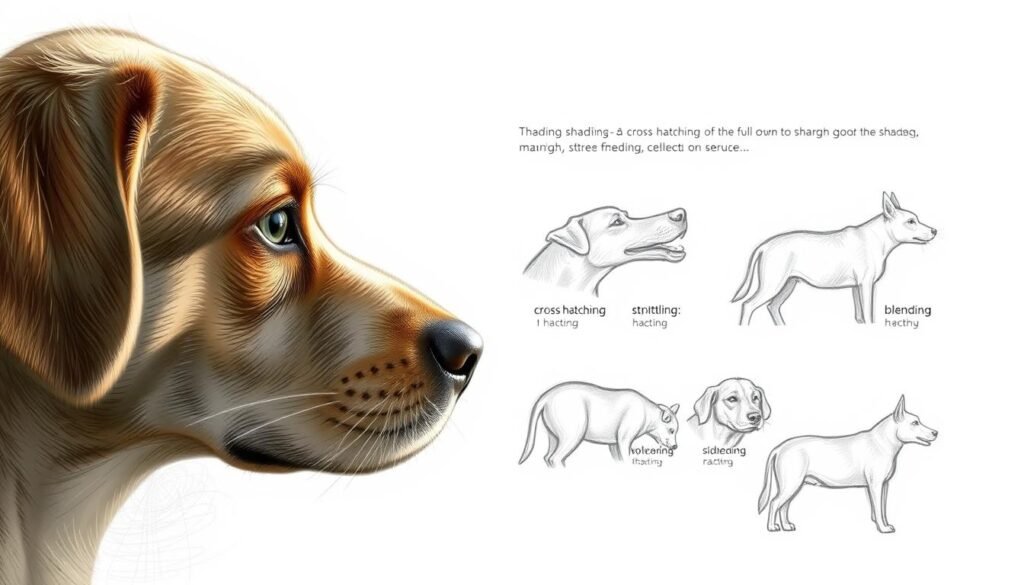
To add depth, use shading techniques like hatching, cross-hatching, and stippling. Each method creates different textures and shading.
Here’s a comparison of these techniques:
| Technique | Description | Best Used For |
|---|---|---|
| Hatching | Creating shading through closely spaced parallel lines. | Achieving smooth transitions and subtle shading. |
| Cross-hatching | Layering hatching lines at different angles. | Adding depth and dimension, creating detailed textures. |
| Stippling | Creating images using small dots. | Highly detailed work, achieving complex shading and textures. |
Mastering these techniques will improve your dog drawings. Remember, practice is essential. Try different methods to see what works best for you.
Practicing Your Dog Drawing Skills
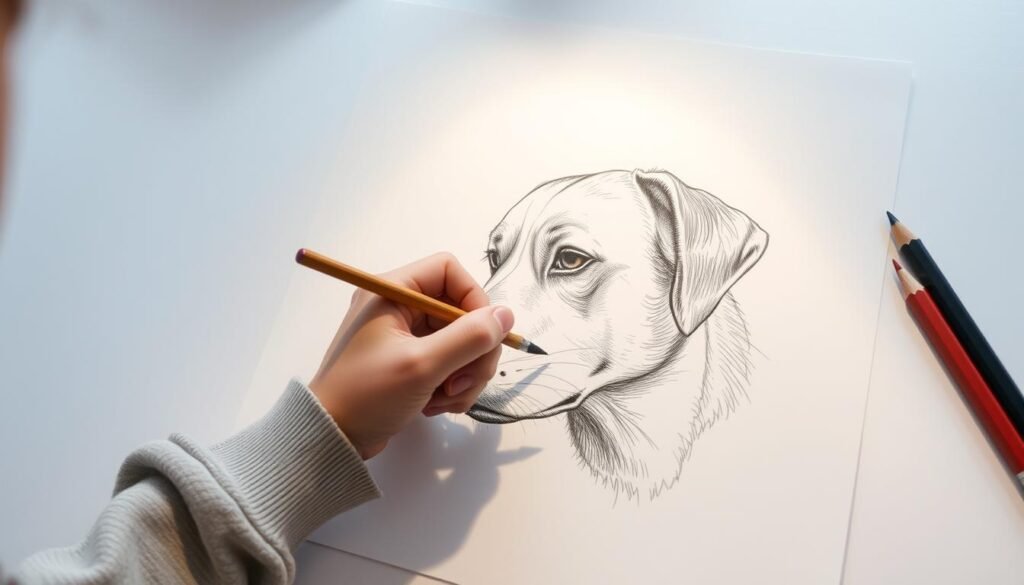
Just like any skill, the more you draw dogs, the better you get. Regular practice helps you grasp dog anatomy and boosts your drawing skills.
Creating a Drawing Routine
Having a set time for drawing is key to getting better. Choose a time each day or week to work on your dog drawings. Consistency is key to seeing your progress.how-to-draw-a-lightning-bolt
As Bob Ross said, “We don’t make mistakes, just happy little accidents.” This view can make practice fun and less stressful.
“The purpose of art is washing the dust of daily life off our souls.” –
Resources for Dog Drawing Practice
Use reference images of different dog breeds and poses to help you practice. You can find these online or in dog breed books. Also, try gesture drawing exercises to improve your skills.
- Reference images of various dog breeds
- Dog breed books and magazines
- Online tutorials and drawing courses
- Gesture drawing exercises
With a regular drawing routine and the right resources, you’ll see your dog drawing skills improve over time.
Finalizing and Improving Your Artwork
Now that you’ve finished your dog drawing, it’s time to check and improve it. Looking at your work is key. It helps you find what needs work and make changes.
Evaluating Your Drawing
Step back and look at your drawing objectively. Check if the proportions are right and if the face and expressions are clear. Think about if the shading and texture match the dog breed you drew.
When learning to draw a dog, paying attention to these details is crucial. It helps you draw a realistic dog.
Seeking Feedback and Revisions
Getting feedback from others is a great way to learn and improve. Share your drawing with other artists or online groups. This way, you can get helpful comments.
Use this feedback to make your drawing better. Keep refining until you’re happy with it. This will help you create a more detailed and interesting dog drawing.


