

Did you know a tiger’s stripes are as unique as a human fingerprint? This incredible detail is just one reason these magnificent animals captivate us. Capturing their essence on paper is a rewarding challenge for any artist.
I am excited to present this comprehensive tutorial. My goal is to guide you in creating a stunning, realistic portrayal of a tiger. This process is broken down into five clear, manageable stages.
My approach works for both beginners and experienced artists seeking to refine their technique. We will build the artwork from simple shapes to a fully realized piece. This method focuses on understanding fundamental structure first.
Learning to depict animals like tigers develops essential artistic skills. You will improve your observation of proportion and detail. I recommend setting aside uninterrupted time to practice each step carefully. This leads to satisfying results and builds lasting confidence.
Key Takeaways
- This tutorial simplifies a complex subject into five achievable steps.
- The method is designed to be effective for all skill levels.
- You will develop core skills in observation and proportion.
- Building the drawing from basic shapes ensures a solid foundation.
- Dedicated practice time is key to achieving the best results.
- Mastering this technique builds confidence for drawing other animals.
Understanding Tiger Anatomy and Composition
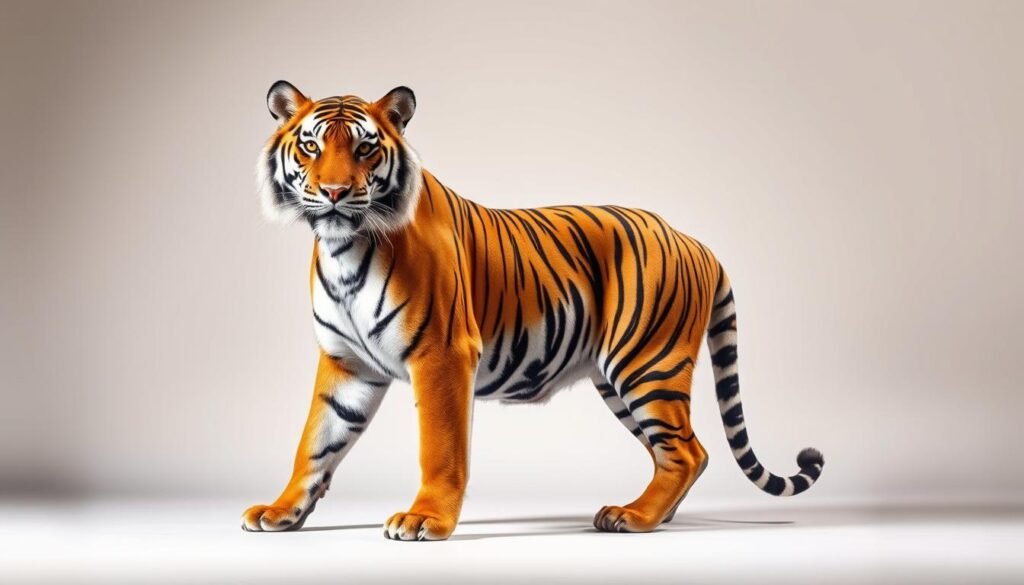
Before pencil touches paper, a thorough study of tiger proportions and features lays the foundation for success. I always analyze the distinctive characteristics that make this majestic creature unique among big cats.how-to-draw-a-boat
Analyzing Key Tiger Features
The powerful head structure follows a roughly circular shape with a shortened snout. Proper placement of the nose, eye, and ears creates the intense gaze that defines this magnificent animal.
Ears position on top of the head with distinctive white spots on the back. The triangular nose sits at the snout end, while the eye places slightly above and to the side.
Breaking Down the Head, Body, and Tail
The muscular body extends three to four times the head length. Powerful shoulders and hindquarters support this elongated form. Understanding these proportions is crucial for accurate representation, as detailed in this animal anatomy guide.
Stripes follow the body contours rather than appearing randomly. This pattern serves as natural camouflage in forest habitats. The thick-based tail tapers toward the tip with ringed stripes.
I’ve observed that baby tiger cubs share adult proportions but with larger heads relative to their bodies. Their features appear softer and less defined. Tigers like other big cats possess retractable claws and distinctive facial fur patterns.
Mastering these anatomical elements will help you create authentic artwork. For additional visual reference, explore this comprehensive big cat drawing tutorial.
How to draw the tiger: Step-by-Step Tutorial

We will now move from understanding tiger anatomy to actively constructing the drawing using a clear, step-by-step method. This process builds a solid foundation for the detailed work that follows.
Sketching Basic Shapes and Guidelines
Start with two overlapping circles to represent the chest and hindquarters. Place a smaller circle above them for the head. These forms are your primary guide.
Inside the head circle, sketch two intersecting lines. This cross helps position facial features accurately. Add two small arcs on top for the ears.how-to-draw-waves
Connect the circles with a smooth line for the back and another for the belly. This defines the basic torso shape.
Refining the Tiger’s Facial Features and Ears
Refine the head shape, extending a rounded snout from the front. Place a triangular nose at its tip. Position the eye along the horizontal guideline.
Define the ears by adding inner curves for depth. This simple detail adds significant dimension to your image.
Adding Details like Stripes and Fur
The final step involves adding the iconic stripes. Let them flow naturally over the body’s contours. Vary their width for a realistic effect.
Use short, gentle lines to suggest fur texture, especially around the face and underbelly. This technique brings your creation to life.
- Proportions are key: Ensure the head size relates correctly to the body.
- Follow the form: Let stripes wrap around the legs and tail.
- Build texture gradually: Layer fur lines for a soft, realistic finish.
Tips and Techniques for a Realistic Tiger Drawing

Mastering pencil control transforms basic sketches into lifelike animal portraits. Proper technique ensures your artwork captures the majestic presence of these magnificent creatures. I will share essential methods that elevate your artistic results.how-to-draw-a-cloud
Using Light, Smooth Strokes with a Pencil
Begin every artwork with gentle pressure on your pencil. Light strokes create guidelines that erase easily if adjustments are needed. This approach prevents damaging your paper surface.
Move your pencil from the shoulder and elbow for fluid lines. This technique provides better control than wrist-only movements. Build up darker values gradually through layering.
For initial circles and shapes, use an HB or 2B pencil. Switch to softer 4B or 6B pencils for final details. Maintain a sharp point for precise work on facial features.
Choosing the Right Tools and Materials
Quality paper with texture handles multiple pencil layers effectively. I recommend 80-100 lb weight paper for durability. This surface accepts erasing without deterioration.
Keep a kneaded eraser handy for lifting light marks and creating highlights. Reference photographs provide excellent guidance for accurate proportions. Consider watermarking your finished image for privacy protection.
Taking time between sessions allows fresh perspective on your progress. These tools and techniques work for various animals beyond this specific project.
Conclusion
Mastering these fundamental techniques opens doors to creating diverse animal subjects with accuracy. This tutorial provides essential steps that build from basic shapes to detailed features. Each step reinforces proper proportion and form.
Regular practice develops lasting skills. Focus on the head structure and work from the top downward. Try sketching a baby tiger to understand proportional differences. These magnificent animals deserve our artistic attention and conservation support.how-to-draw-a-castle
I encourage you to continue your journey. Share your creations to inspire others. Your dedication to learn draw realistic wildlife makes a meaningful contribution to art and awareness.


